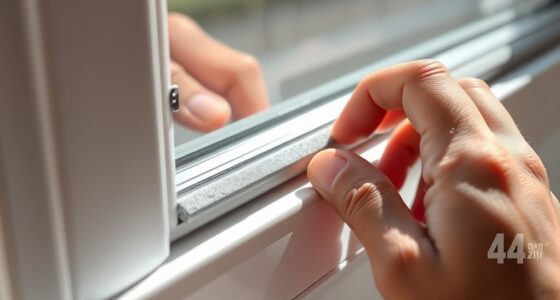
To caulk like a pro in kitchens, baths, and beyond, start with clean, dry surfaces free of old caulk or debris. Cut the tube tip at a 45-degree angle and test the flow on scrap material before applying. Hold the gun at a 45-degree angle and apply steady pressure for a smooth, even bead. Smooth the caulk immediately with a damp finger or tool. Proper prep, technique, and cleanup make your finish look professional — and there’s more to master if you keep going.
Key Takeaways
- Properly clean and dry surfaces to ensure optimal caulk adhesion and prevent future issues.
- Use the right caulk type, applying a steady, controlled bead for a neat, professional appearance.
- Smooth the caulk immediately with a damp finger or tool for a clean, polished finish.
- Test the caulk flow beforehand to avoid blobs and uneven lines during application.
- Allow proper curing time and keep the area dry for lasting, durable results.
Have you ever struggled with uneven or messy caulk lines? If so, you’re not alone. Caulking can seem straightforward, but achieving professional-looking results takes skill and practice. The good news is, with the right technique, you can transform your kitchen, bath, or any space with clean, smooth caulk lines that last. The key is preparation. Before you start, verify the surface is clean, dry, and free of old caulk, mold, or debris. Use a utility knife or scraper to remove any previous caulk, then wipe down the area with a damp cloth to eliminate dust and grease. This creates a solid foundation for the new caulk to adhere properly.
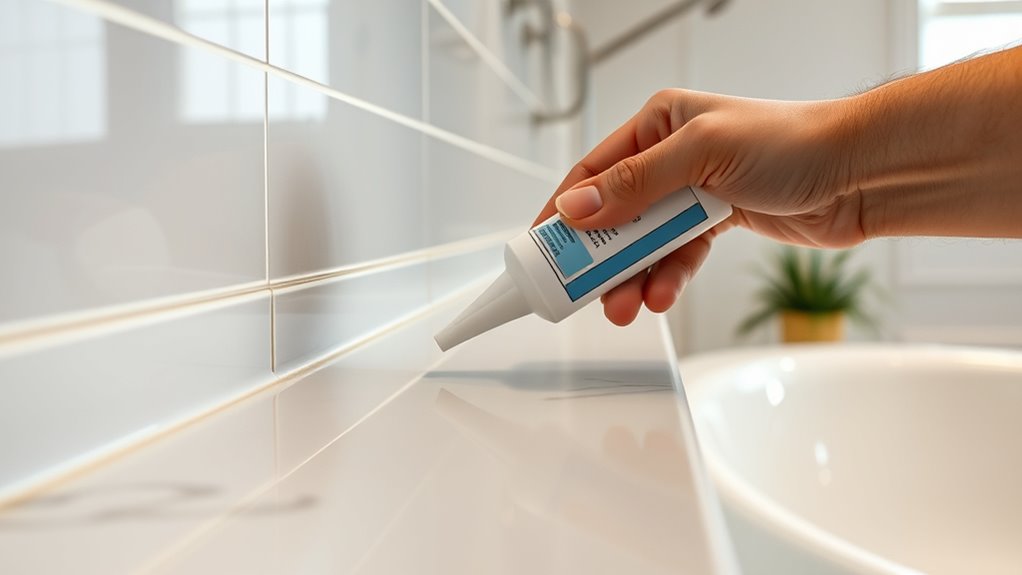
Once the surface is prepped, choose the right caulk for your project. For kitchens and bathrooms, silicone or latex caulk with mold and mildew resistance works best. When you open the caulk tube, cut the tip at a 45-degree angle, making the opening just wide enough for the bead you need. Fit the tube into a caulking gun, and test the flow on a piece of scrap material or paper to get a feel for steady pressure. This helps prevent blobs or uneven lines during application.
Choose the right mold-resistant caulk and test the flow before application.
When you’re ready to apply, hold the caulking gun at a 45-degree angle and steady it along the joint or seam. Use slow, consistent pressure to dispense the caulk smoothly. As you move, keep the gun steady and maintain a steady pace to produce an even bead. Don’t rush; slow and deliberate movements give you better control over the line. If you do create a mess or uneven line, don’t panic. You can smooth out imperfections immediately with a damp finger, a caulk finishing tool, or a small, damp sponge. This helps push the caulk into the joint and creates a clean, professional finish.
After applying, give the caulk a few minutes to set, then check the bead and wipe away any excess with a damp cloth. For the best results, avoid exposing the freshly caulk to water or moisture for at least 24 hours, as this can compromise adhesion and cure. Proper surface preparation can also help prevent delayed curing and ensure a durable seal. With practice, you’ll develop a steady hand and an eye for detail, making your caulking look like it was done by a pro. Remember, patience and preparation are your best tools for achieving flawless, durable caulk lines that enhance the look and function of your spaces.
Frequently Asked Questions
What Types of Caulk Are Best for Outdoor Use?
For outdoor use, you should choose a high-quality, weatherproof caulk like silicone or polyurethane. These types resist moisture, UV rays, and temperature fluctuations, ensuring long-lasting seals. Silicone caulk is flexible and ideal for gaps around windows and doors, while polyurethane offers excellent adhesion and durability for exterior surfaces. Always check the product label to confirm it’s suitable for outdoor applications, and prep surfaces properly for the best results.
How Long Does Caulk Typically Last Before Needing Replacement?
Caulk typically lasts between 5 to 10 years before needing replacement, depending on the environment and quality. You should check for cracks, peeling, or gaps regularly, especially in areas exposed to moisture or extreme weather. If you notice any signs of deterioration, it’s time to reseal and refresh your caulk to prevent water damage and maintain a clean, chic appearance. Proper maintenance prolongs caulk’s lifespan and keeps your space protected.
Can I Paint Over Caulk Without Affecting Its Adhesion?
Yes, you can paint over caulk, but make sure it’s paintable caulk first. Clean the surface thoroughly and let it dry completely. Apply a primer if needed, then use high-quality paint designed for your surface. This helps guarantee good adhesion without compromising the caulk’s flexibility or sealing ability. Always follow the manufacturer’s instructions for both caulk and paint to get the best results.
What’s the Proper Method to Remove Old, Hardened Caulk?
To remove old, hardened caulk, start by softening it with a caulk removal solvent or heat gun. Then, use a caulk removal tool or utility knife to carefully cut and scrape away the residue. Be gentle to avoid damaging surrounding surfaces. Wipe the area clean with a damp cloth, making certain all remnants are gone before applying fresh caulk. This process ensures a smooth, secure seal for your project.
Are There Eco-Friendly Caulking Options Available?
Yes, there are eco-friendly caulking options available. Look for products made from natural or biodegradable materials, such as plant-based or silicone alternatives that emit fewer VOCs. You can also choose low-VOC or VOC-free caulks to reduce harmful fumes. Always check labels for eco-friendly certifications or labels indicating environmentally safe ingredients. These options help you seal effectively while minimizing environmental impact and indoor air pollution.
Conclusion
Now that you’re a caulking maestro, you can conquer any kitchen or bath with the finesse of a pro—no more leaks or mold to ruin your day. Who knew that a simple tube of caulk could turn you into the DIY hero of your home? So go ahead, caulk like a boss, and watch your friends marvel at your newfound skills. Just don’t forget: with great caulking power comes great responsibility… to never leave a gap!


