
You can make fresh, flavorful bread in a machine without overkneading by using the dough or basic cycle, which gently develops gluten. Focus on precise ingredients and monitor the dough early for the right consistency, adjusting moisture as needed. Proper proofing and shaping are key for a perfect loaf. To discover simple tricks and tips for avoiding overworking your dough, keep exploring ways to optimize your bread-making process.
Key Takeaways
- Use the machine’s “dough” cycle to develop a fresh loaf without extensive kneading by hand.
- Incorporate pre-made or no-knead dough recipes designed for bread machines.
- Rely on longer rising times during the machine’s proofing phase to achieve proper texture without manual kneading.
- Add ingredients like yogurt or milk powder to improve moisture and softness without extra kneading.
- Shape and bake the dough after initial rise, avoiding traditional kneading, for a fresh loaf with minimal handling.
Understanding the Basic Process of Making Bread in a Machine
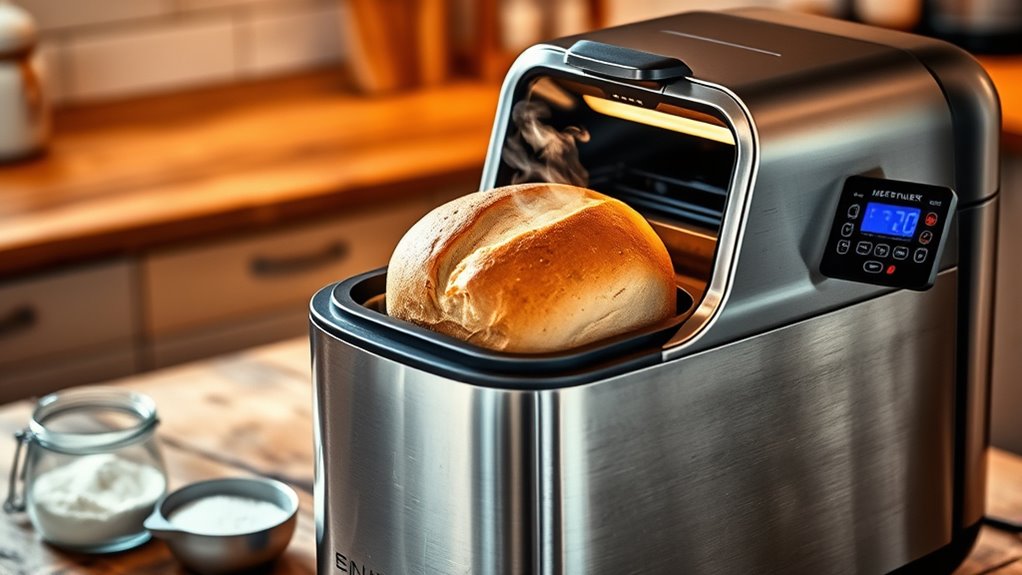
To understand the basic process of making bread in a machine, start by adding water, sugar, and yeast to the bread machine pan. Let it sit for about 10 minutes so the yeast can dissolve and foam. Next, add oil, flour, and salt to the yeast mixture. Select the Basic or White Bread cycle and press Start. During the cycle, the machine automatically kneads the dough, allowing gluten to develop and creating a smooth, elastic texture. After kneading, the machine shifts into the rise phase, where it maintains specific temperatures to help the dough expand. This seamless process results in a freshly baked loaf without manual kneading, thanks to the machine’s precise control over each stage. Additionally, regular appliance maintenance can ensure your bread maker operates efficiently and lasts longer. Proper cleaning and periodic calibration of the machine’s settings can also optimize performance, which is essential for consistent bread quality. Incorporating proper ingredients ensures the best possible results and consistent bread texture.
Preparing Ingredients for a Seamless Baking Experience

Preparing your ingredients carefully sets the foundation for a successful bread machine bake. Measure ingredients precisely by weight to guarantee consistent dough texture and proper rise. Use high-quality ingredients like unbleached bread flour, active dry yeast, and pure water for the best flavor and texture. Proper ingredient preparation includes warming liquids to about 110°F (43°C) to activate the yeast without killing it, which helps with fermentation. Always add liquids first, then dry ingredients to promote even mixing and proper dough consistency. Be mindful not to overload your machine; stick to its maximum capacity, usually around 3 cups of flour for a 1.5 lb loaf. Paying attention to ingredient quality and preparation assures a seamless, reliable baking experience. Measuring techniques can further enhance accuracy and consistency in your bread-making process. Additionally, understanding the benefits of precise measurements helps in achieving optimal results every time. For consistent results, consider using a digital scale to ensure accuracy in your ingredient measurements.
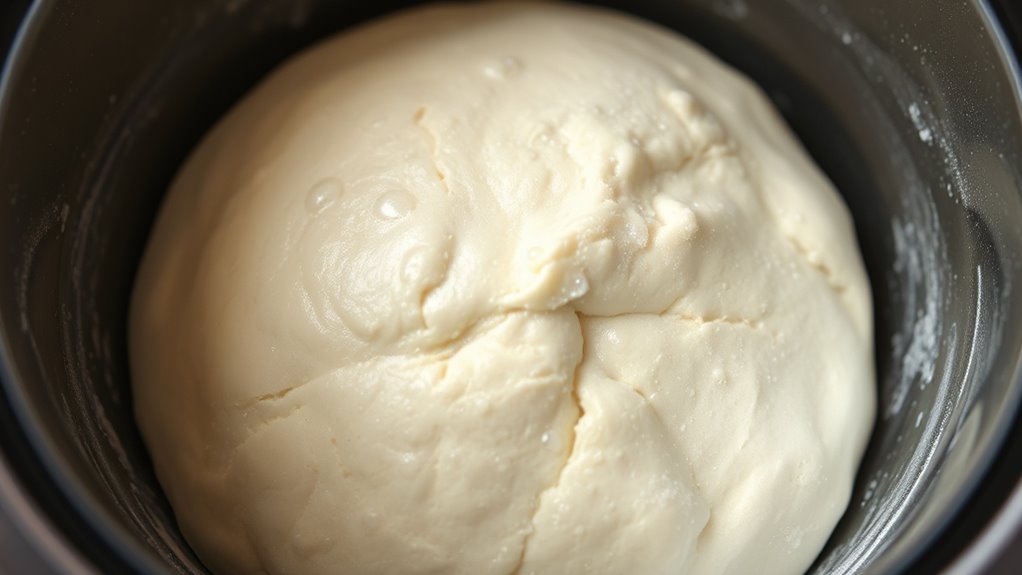
How to Use the Dough Cycle to Avoid Overkneading
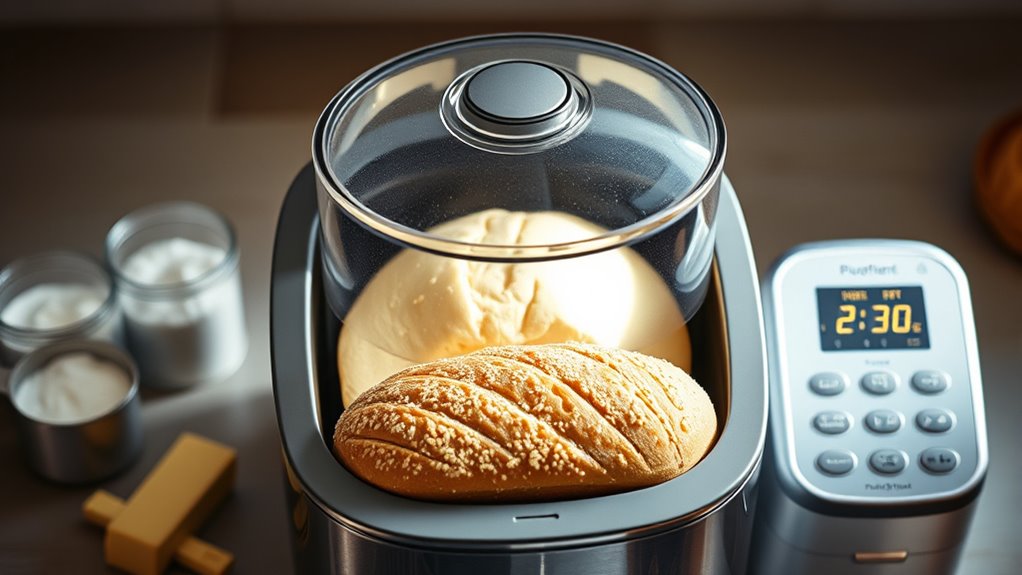
Using the bread machine’s “dough” cycle gives you greater control over kneading and helps prevent overworking the gluten. During the cycle, monitor the dough by opening the lid briefly to check its texture. If it feels smooth and elastic, you can stop the machine early to avoid overkneading, which can make bread tough. Proper gluten development is essential for creating the right structure and ensuring a light, airy loaf. When the dough reaches the ideal consistency, it will have a slightly tacky feel without being sticky. Once the kneading is complete, remove the dough for shaping and a second rise if needed, giving you flexibility in how your bread turns out. The dough cycle provides gentle, controlled kneading, especially useful for whole grain or delicate doughs that tend to overdevelop with extended machine kneading. This approach helps you achieve the perfect dough texture without risking overworking the dough in your bread machine. Additionally, understanding the dough consistency during the cycle can help you make adjustments in real-time for optimal results. Using the kneading process properly can also improve the overall texture and rise of your homemade bread.
Tips for Checking and Adjusting Dough During the Cycle
During the kneading cycle, keep an eye on the dough’s consistency to make certain it’s developing properly. If it feels too dry or sticky, you can adjust hydration by adding small amounts of water or flour. Monitoring dough regularly checks help prevent overproofing or underproofing, resulting in better bread quality. Using a headphone jack can be helpful if you want to listen to music while baking without disturbing others. Being aware of industry trends can also guide you in selecting the best techniques and equipment for consistent results. Incorporating butter processing techniques tips can inspire you to experiment with different textures and designs, making your baking process more enjoyable.
Monitor Dough Consistency
To effectively monitor dough consistency, start by checking it within the first minute of kneading. You want the dough to form a cohesive ball and avoid being too dry or wet. During kneading, open the lid around 15-18 minutes in to observe if the dough is sticking to the sides and pulling away cleanly from the bowl. Look for a dough texture that’s smooth and slightly tacky—dry dough crumbles, while overly wet dough is sticky. Use a spatula to scrape unmixed flour from the corners and assess the overall consistency. Troubleshooting involves adjusting hydration if the dough seems too dry or too wet during the cycle. Small, gradual adjustments help ensure the dough develops the right texture for perfect bread.
Adjust Hydration Levels
Ever wonder how to guarantee your dough has the perfect hydration? During kneading, check the dough consistency by opening the lid around minute 15. Look for signs like dough clinging to the sides or forming a smooth, elastic ball—these indicate proper hydration levels. If the dough feels too dry or crumbly, add water one tablespoon at a time, mixing thoroughly before adding more. If it’s too wet or sticky, incorporate flour gradually, ensuring even distribution. Keep a spatula handy to scrape unincorporated ingredients from the sides and corners for consistent kneading. Regularly monitoring and adjusting hydration during the cycle helps achieve the ideal dough texture, resulting in a light, airy loaf with suitable kneading and flour adjustment.
Prevent Over/Underproofing
Checking your dough at key points during the cycle is essential to prevent overproofing or underproofing. Monitoring the dough’s progress ensures it reaches the perfect proofing stage for a light, well-risen loaf.
- Assess dough around 1 minute into kneading to confirm paddle engagement and initial consistency.
- Check again at 15-18 minutes to see if it pulls away from the sides and feels smooth and elastic.
- Adjust dryness by adding water or milk if it’s crumbly; add flour if it’s too sticky, then recheck.
- Briefly open the lid during checks to accurately evaluate moisture content and prevent over- or under-hydration.
- Early, regular monitoring helps you catch proofing issues early, ensuring ideal dough consistency for perfect baking results.
Shape, Proof, and Finish Your Bread Manually
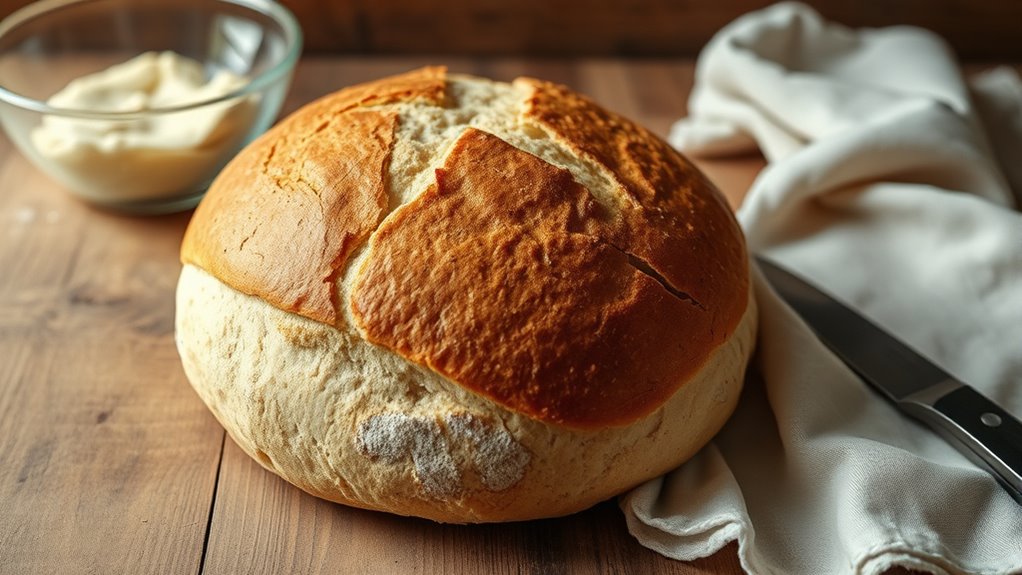
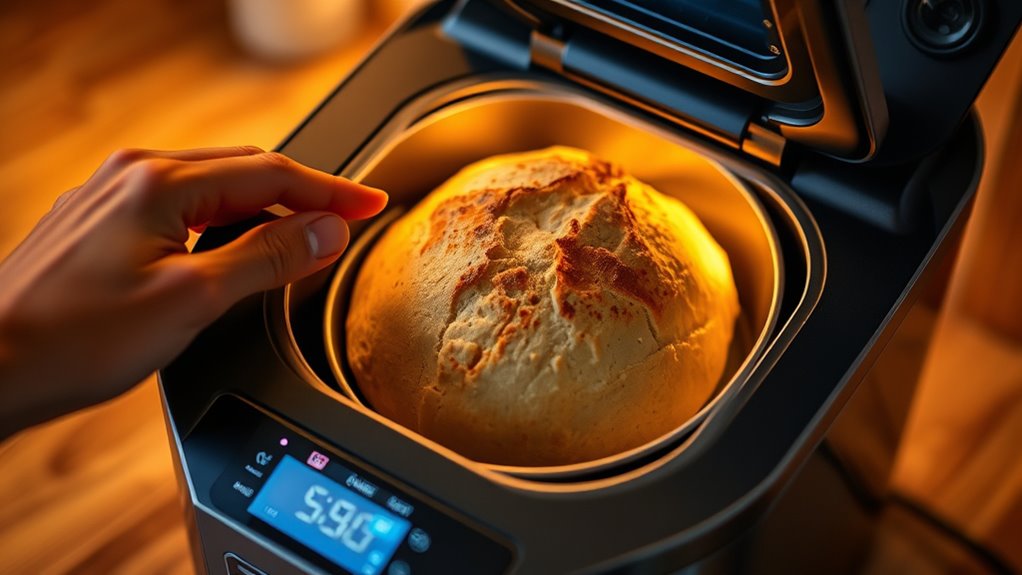
Shaping, proofing, and finishing your bread manually are essential steps that influence its final appearance and texture. To shape your dough, gently deflate it and form it into a smooth, tight ball or your desired shape, promoting even rise. Proper proofing involves placing the shaped dough in a warm, humid environment, like a proofing basket, until it doubles in size, usually 30 minutes to 2 hours. Before baking, score the dough’s surface to control expansion and release gases. After proofing, lightly press the dough; if it springs back slowly, it’s ready to bake. Carefully transfer the shaped and proofed dough onto a baking surface or into a loaf pan to ensure even baking and a professional-looking loaf.
Customizing Recipes for Better Results

You can enhance your bread by experimenting with different cheeses and fresh herbs to create unique flavors. Adjust the amount of liquids like yogurt or juice to improve texture and moisture. Keep track of your tweaks so you can perfect your favorite custom recipes over time.
Experiment With Cheese Variations
Have you ever wondered how adding different types of cheese can transform your bread? Experimenting with cheese variations in your bread machine allows you to customize flavors and textures easily. During the initial mixing stage, incorporate grated cheeses like mozzarella, cheddar, or parmesan for rich flavor. Use cottage cheese or ricotta to add moisture and a creamy texture by mixing them thoroughly into the dough before kneading. To enhance flavor complexity, consider adding powdered herbs or spices alongside the cheese. When working with moist cheeses, adjust the liquid content slightly to prevent the dough from becoming too sticky or dry. For even melt and distribution, add cheese at the end of the kneading cycle or during shaping. These simple tweaks elevate your bread with cheese addition and creative variation.
Incorporate Fresh Herbs Easily
Adding fresh herbs to your bread can elevate its flavor and aroma with minimal effort. To incorporate fresh herbs effectively, chop them finely and add them just before the kneading process begins. This ensures the herbs maintain their bright flavor and aren’t overpowered by the kneading process. Adding herbs during this stage helps with herb distribution, giving each slice a balanced herb flavor. For even coverage, fold the herbs into the dough during kneading or sprinkle them on top before the final rise. Keep in mind, stronger herbs like rosemary or red pepper flakes can enhance taste without overwhelming the bread, even in small amounts. Fresh herbs provide vibrant flavor and aroma, making your homemade bread uniquely delicious.
Adjust Liquids for Texture
Wondering how to perfect your bread’s texture? Adjusting the liquids in your recipe is key. Small changes can make a big difference in dough consistency and bread texture. Here are some tips:
- Slightly increase liquids (water, milk) by 1-2 tablespoons for softer, more elastic dough.
- Add extra moisture with ingredients like yogurt, mango juice, or milk powder to enhance crumb softness.
- Reduce liquids if the dough is too sticky, ensuring it pulls away from the pan cleanly; add gradually.
- For denser bread, increase liquids slightly to improve gluten development.
- Always measure liquids precisely and consider environmental factors like humidity, which can affect dough hydration and require recipe adjustments.
Fine-tuning your liquids helps achieve the perfect crumb and softer loaf.
Troubleshooting Common Issues Without Overkneading

To troubleshoot common bread machine issues without overkneading, it’s essential to monitor the dough’s texture carefully during the cycle. Overkneading can tear gluten strands, making your bread dense and flat. Pay close attention to the dough texture—aim for a smooth, elastic ball. Consider manually controlling the process by stopping the machine early or adjusting the knead cycles if your machine allows. Shorter knead cycles help prevent excessive gluten development, reducing the risk of overkneading. You can also lift the bowl periodically or use stretch and fold techniques to check dough consistency mid-cycle. Proper timing and observation ensure ideal gluten formation, leading to a well-risen loaf without damage from overmixing. This approach keeps your bread light and airy.
Enhancing Your Bread With Variations and Add-Ins
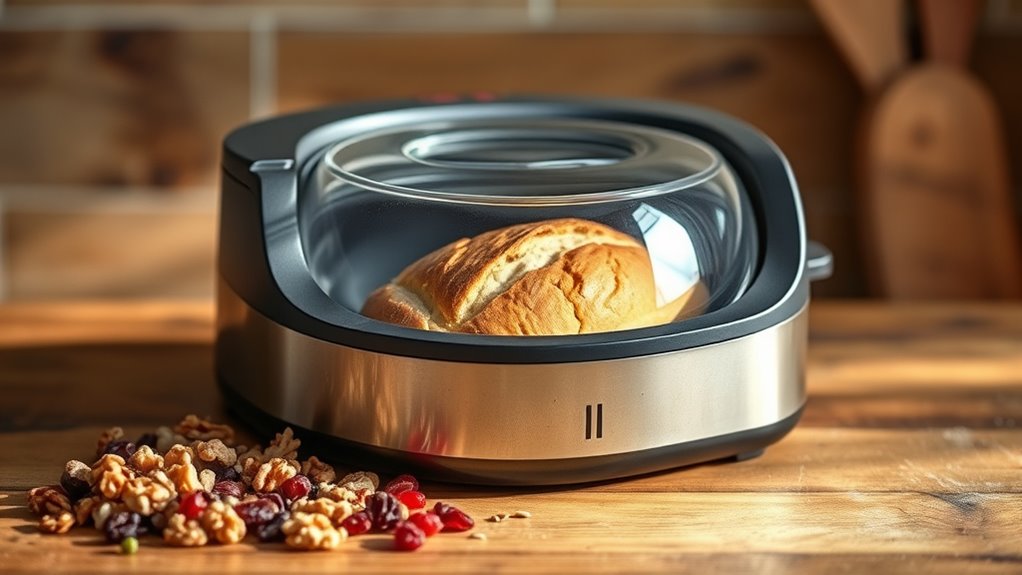
Enhancing your bread with variations and add-ins allows you to customize flavors and improve texture, making each loaf unique. You can incorporate shredded cheese like mozzarella or cheddar for extra flavor and moisture, creating a richer bite. Adding dried herbs such as rosemary or red pepper flakes during mixing infuses your bread with aromatic notes. Incorporate liquids like plain yogurt or mango juice to boost moisture and develop a tender crumb. Experiment with ingredients like dry milk powder to strengthen gluten and achieve a softer, better-rising loaf. You can also modify texture and crust by substituting olive oil or all-purpose flour.
- Shredded cheese for flavor and moisture
- Herbs for aroma and depth
- Liquids like yogurt or juice for moisture
- Dry milk powder to improve texture
- Ingredient swaps for personalized recipe variations
Frequently Asked Questions
Does No Knead Bread Work?
You might wonder if no-knead bread really works. It does! By combining high hydration and long fermentation, you create a gluten structure without manual kneading. You just mix your ingredients, let the dough rest for 12-24 hours, and then bake. The result is a flavorful, crusty loaf with good texture. With patience and proper technique, you’ll find no-knead bread to be a simple, effective way to enjoy homemade bread.
Does a Bread Maker Knead the Dough?
Think of your bread maker as a gentle hand guiding your dough dance. Yes, it kneads the dough, turning and folding it like a skilled partner, developing gluten and elasticity. During the cycle, the paddle works tirelessly for 15 to 30 minutes, ensuring your bread has that perfect texture. So, rest assured, your bread maker actively kneads, transforming simple ingredients into a beautifully crafted loaf.
When Can I Remove the Paddle From the Bread Machine?
You can remove the paddle once your bread machine signals the end of kneading or after the first rise, if your model allows manual removal. Wait until the machine has completed kneading or the dough has fully developed to avoid damaging the paddle or affecting bread quality. Always check your bread machine’s manual for specific instructions, as timing and method can vary between models.
Why Are Bread Makers No Longer Popular?
Think of bread makers as fading stars in a night sky—they once shined brightly but now seem dim. You might notice they’re less popular because artisanal baking and advanced ovens offer more versatility and better quality. Plus, bread machines can be bulky and pricey, making them less appealing. As a result, many choose traditional baking methods, savoring the craft and flavor that come with manual kneading and baking.
Conclusion
By understanding your bread machine’s cycles and ingredients, you can craft perfect loaves without overkneading. Embrace manual shaping and proofing for personalized touches, and don’t shy away from experimenting with add-ins. Remarkably, some experts suggest that minimal kneading allows gluten to develop more naturally, resulting in a better texture. With these tips, you’re empowered to bake fresh, artisanal bread at home—proving that simplicity often leads to the most satisfying results.