
To avoid nail regret, start by planning your gallery wall carefully. Measure your wall space and create paper templates of your frames, arranging them on the wall with painter’s tape to visualize the layout. Use a level for precise hanging and work from the center outward for balance. Take your time making adjustments before committing with nails, ensuring everything looks perfect. Keep learning tips to perfect your display and prevent any regrets later.
Key Takeaways
- Use painter’s tape to outline frame arrangements on the wall before committing to nails.
- Create paper templates matching frame sizes and experiment with layout without damaging walls.
- Measure and mark exact hanging points after finalizing the layout to ensure precision.
- Work systematically, aligning artwork with a level, and adjust spacing for a balanced display.
- Step back frequently to review the overall look and make small adjustments to avoid nail regret.
Creating a gallery wall can transform any space into a personalized masterpiece, but planning it carefully guarantees a cohesive and polished look. Before grabbing nails and hooks, take a moment to visualize what you want your wall to say. Think about the style—do you prefer modern minimalism, eclectic charm, or rustic warmth? Clarifying your theme helps guide your choices and guarantees everything works together seamlessly. You’ll want to gather a variety of artwork, photos, or decorative objects that fit your style, but don’t rush into hanging without a plan.
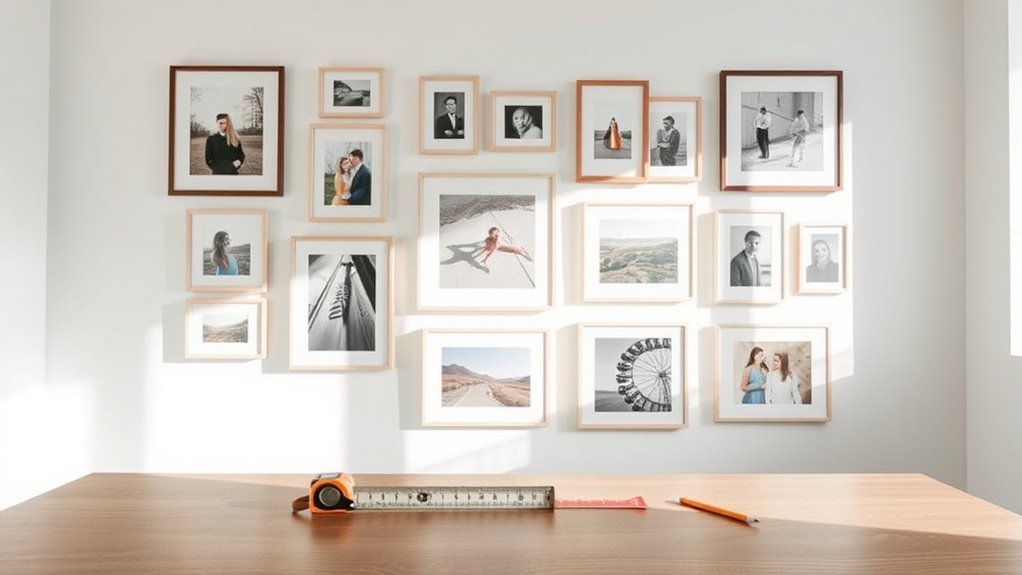
Start by measuring your wall space accurately. Use a tape measure or painter’s tape to mark the dimensions on the wall, so you can experiment with your layout without damaging the paint. Lay out your frames on the floor first, arranging them in different configurations until you find one that feels balanced. This step allows you to see the overall composition and adjust spacing, sizes, or placements before committing. Keep in mind that a mix of frame styles and sizes can add visual interest, but it’s vital to maintain some consistency—like matching frames or color schemes—to keep the look cohesive.
Start by measuring and experimenting with your wall layout on the floor for a balanced, cohesive gallery.
When you’re happy with your arrangement, consider creating a paper template for each piece. Cut out pieces of paper matching your frames’ sizes and tape them to the wall, shifting them around until you’re satisfied with the arrangement. This way, you avoid unnecessary holes and nails, giving you flexibility to tweak your layout without regret. Once you’ve settled on a design, measure the exact placement points for each nail or hook. Use a level to ensure your artwork hangs straight, and double-check the distances between pieces to maintain even spacing.
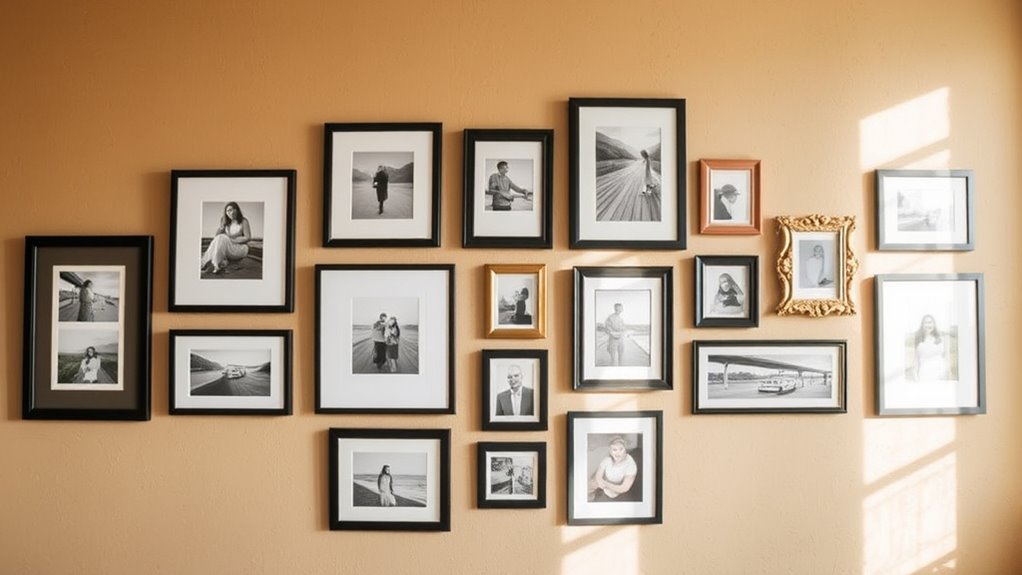
As you hang each piece, work systematically from the center outward or from one side to the other, depending on your layout. Take your time to align everything precisely; rushing can lead to crooked or uneven displays. Remember, this isn’t a race, and small adjustments can make a big difference in achieving a professional look. If you find yourself second-guessing, step back and look at the whole wall—sometimes a fresh perspective reveals tweaks that make your gallery feel intentional and balanced. Additionally, understanding the importance of affordable framing options can help you stay within budget while maintaining style.
Frequently Asked Questions
What Tools Are Best for Measuring and Marking Wall Placements?
You should use a tape measure or ruler to measure wall spaces accurately. A pencil or painter’s marker helps you mark spots lightly for hangers or nails. A level guarantees your artwork stays straight, preventing crooked displays. For perfect alignment, consider using painter’s tape or a chalk line as guides. These tools make it easier to plan your gallery wall precisely, avoiding mistakes and creating a polished, professional look.
How Can I Visualize My Gallery Wall Before Hanging?
Imagine your wall as a blank canvas waiting for a masterpiece. To visualize your gallery wall, lay out your frames on the floor first, arranging and rearranging until it feels right. Alternatively, use painter’s tape to outline space on the wall, giving you a clear preview. You could also create a digital mockup with online tools or photo editing apps to see your vision come to life before making any holes.
What Are Alternative Methods to Nails for Hanging Art?
You can use adhesive strips like Command hooks or strips designed for art, which hold pictures securely without nails. Picture hanging rails or rails with hooks let you swap art easily and avoid wall damage. Alternatively, try using tension rods, wire systems, or suction cups for lightweight pieces. These options give you flexibility, protect your walls, and eliminate the worry of nail holes, making art hanging simpler and less permanent.
How Do I Choose the Right Frame Sizes for My Wall?
You should start by measuring your wall space and choosing frame sizes that complement each piece and the overall layout. Don’t worry about perfect symmetry; instead, aim for a balanced mix of sizes to create visual interest. Use painter’s tape to mock up your arrangement before hanging. This way, you’ll guarantee your gallery looks cohesive and well-proportioned, preventing the regret of mismatched or awkwardly sized frames.
How Can I Fix Mistakes or Adjust Layout After Hanging?
If you need to fix mistakes or adjust your layout, don’t worry—it’s easier than you think. Gently remove the frames and reposition them, using painter’s tape to visualize new placements first. If a nail is in the wrong spot, carefully tap it out and rehang the frame. Keep a level handy to confirm everything stays straight, and take your time to get the perfect look without damaging your wall.
Conclusion
So, go ahead and plan that gallery wall carefully—you might actually enjoy the process without the nail regret haunting you later. Ironically, the more you obsess over perfect placement now, the less you’ll have to patch up when things go awry. Turns out, a little planning saves a lot of nail holes—and a lot of frustration. Who knew that avoiding chaos could be as simple as a good plan? Happy decorating, and may your walls stay just as you envisioned!