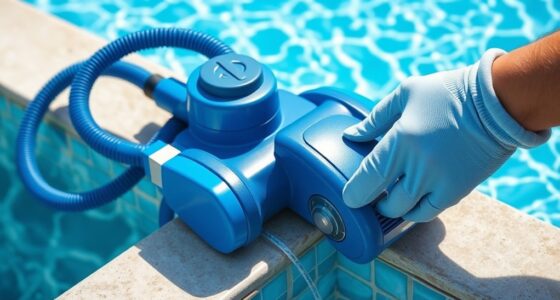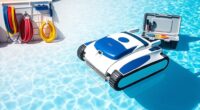
If your automatic pool cleaner isn’t working right, start by checking the power source and making sure the cords and connections are secure and undamaged. Inspect brushes and wheels for wear or debris, and clean the filter and debris chamber to maintain proper flow. Confirm the navigation sensors are clean and calibrated, and verify the weight distribution and buoyancy. Reset and update firmware if needed. To get your cleaner back in top shape, keep exploring these troubleshooting steps.
Key Takeaways
- Verify power source and inspect cords for damage; reset circuit breakers if needed.
- Check and clean filters, debris chambers, and water flow pathways regularly.
- Examine brushes, wheels, and float components for wear or damage; replace as necessary.
- Ensure sensors are clean, calibrated, and obstacle avoidance features are active.
- Perform system resets, firmware updates, and verify wireless connectivity for optimal performance.
![AAOBOSI Meat Grinder Electric, [3000W Max] Meat Grinder Heavy Duty with 2 Stainless Steel Blades & 3 Grinding Plates, Sausage Maker & Kibbe Kit for Home Kitchen Using](https://m.media-amazon.com/images/I/41aUFgahZ4L._SL500_.jpg)
AAOBOSI Meat Grinder Electric, [3000W Max] Meat Grinder Heavy Duty with 2 Stainless Steel Blades & 3 Grinding Plates, Sausage Maker & Kibbe Kit for Home Kitchen Using
Unleash the Power Meat Grinder: Aobosi electric meat grinder is a powerhouse in your kitchen! Its 100% pure...
As an affiliate, we earn on qualifying purchases.
Checking the Power Source and Cables
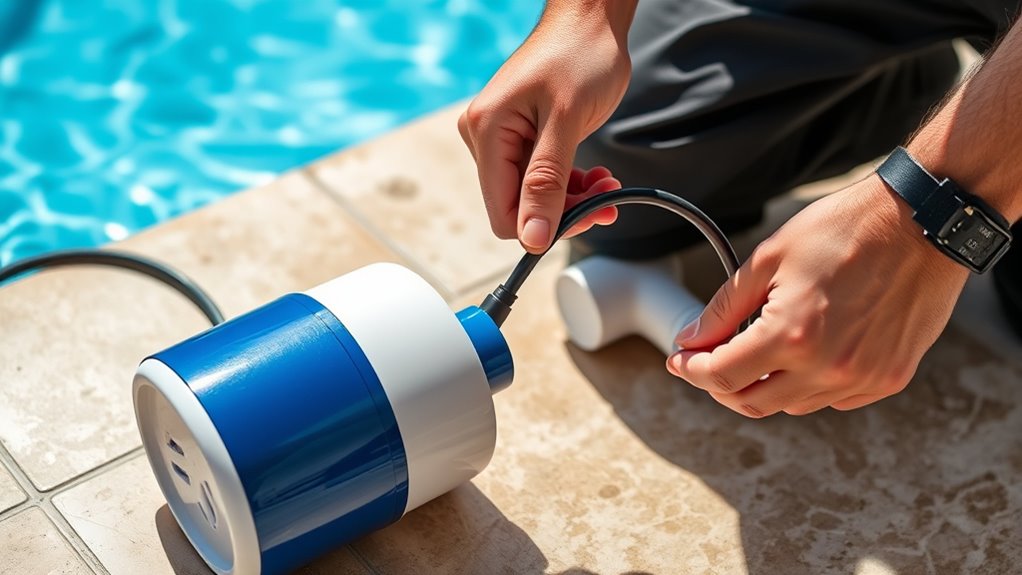
Before troubleshooting your automatic pool cleaner, you should first check the power source and cables to guarantee everything is properly connected. Start by inspecting the power outlet to ensure it’s supplying power. Plug in another device to confirm the outlet works. Next, examine the power cord and connections for any damage or loose fittings. If your cleaner isn’t turning on, check the circuit breaker; it might have tripped. Reset the breaker if needed, and ensure it’s in the correct position. Avoid using the cleaner if the breaker keeps tripping, as this indicates a possible electrical issue. Confirm that the power outlet and circuit breaker are functioning correctly before moving on to other troubleshooting steps. Proper power supply is essential for your cleaner’s operation. Additionally, ensure the electrical connections are secure and free from corrosion to maintain consistent power flow. Regular inspection of electrical components and understanding electrical safety protocols can help prevent unexpected failures. Being familiar with electrical safety practices and circuit breaker operation can further protect you during troubleshooting.
KitchenAid Stand Mixer Attachment, Food Grinder KSMMGA, Metal Food Grinder
Connect to any household KitchenAid Stand Mixer power hub and use the power of the motor to run...
As an affiliate, we earn on qualifying purchases.
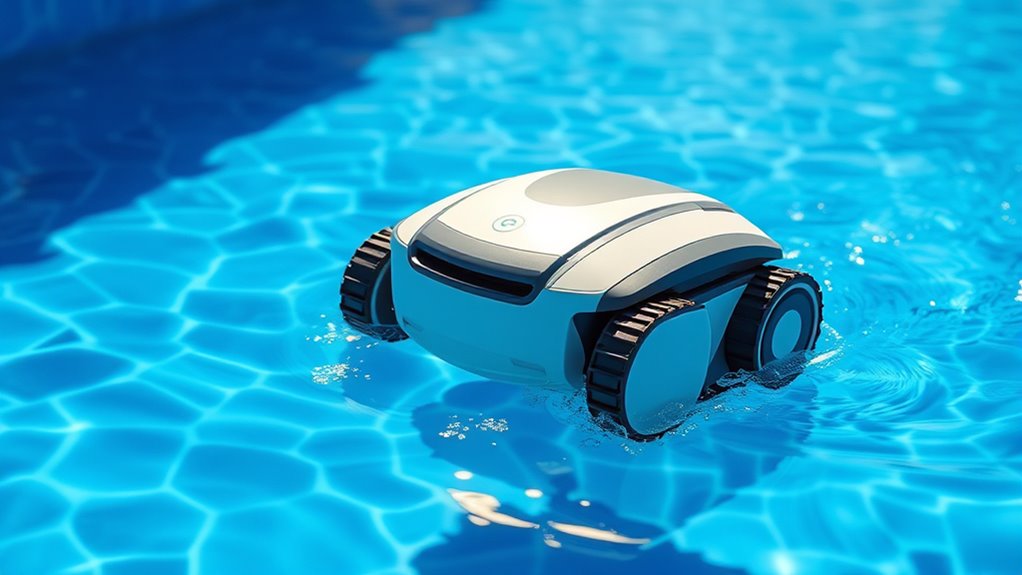
Inspecting the Brushes and Wheels

Start by checking the brushes for signs of wear or damage, as worn brushes won’t clean effectively. Then, examine the wheels to make certain they turn smoothly and aren’t jammed or cracked. Addressing these issues can help restore your cleaner’s performance quickly. Additionally, inspecting for manipulative behaviors that may cause the cleaner to malfunction can further improve its operation.
Check Brush Wear
How can you tell if your automatic pool cleaner’s brushes and wheels are worn out? Perform a wear evaluation by inspecting the brushes closely. Look for frayed bristles, rounded edges, or uneven wear that indicate they’re no longer effective. If the brushes are considerably worn down or damaged, it’s time for brush replacement to restore cleaning efficiency. Worn brushes won’t scrub debris off the pool surfaces properly, leading to missed spots and increased strain on the cleaner. Check the wheels for smooth rotation; if they look cracked or don’t turn easily, worn wheels could be causing mobility issues. Regularly evaluating brush condition helps maintain your cleaner’s performance and prevents unnecessary strain on its motor. Keep in mind that seasonal variations can impact the wear and tear on your cleaner’s components, so inspecting more frequently during high-use periods is beneficial. Additionally, understanding payment processing can help you choose the best options for purchasing replacement parts or scheduling professional repairs promptly. Utilizing maintenance schedules can also ensure timely inspections and replacements, extending the lifespan of your pool cleaner. Staying aware of automation in business trends can also offer insights into innovative maintenance solutions. Replace worn brushes promptly to keep your pool spotless and your cleaner running smoothly.
Examine Wheel Function
To guarantee your automatic pool cleaner operates smoothly, it’s important to examine the functionality of its wheels along with the brushes. Check the wheel alignment to ensure they spin freely and stay straight. Inspect the tread condition; worn or cracked treads can hinder movement and cleaning efficiency. Properly aligned wheels help your cleaner navigate the pool floor effectively. If you notice misalignment or damaged treads, replace or realign the wheels. Regular inspection prevents future issues and keeps your cleaner running efficiently. Additionally, reviewing wheel rotation and ensuring the wheels turn smoothly without resistance can help maintain optimal performance. For optimal operation, consider verifying that the suspension and handling components are in good condition, as these also contribute to smooth movement across various pool surfaces. Also, keeping the wheels free of debris ensures consistent traction and prevents unnecessary strain on the motor. Remember that proper maintenance can extend the lifespan of your pool cleaner and improve its overall performance. Incorporating regular inspections of these components, similar to performance upgrades in vehicle tuning, can significantly enhance your cleaner’s longevity and efficiency.
![AAOBOSI Meat Grinder, 4-In-1 Meat Grinder Electric [2800W Max] with 3 Slice, Shred Blades,2 Blades,3 Plates,Sausage Stuffer,Kubbe Kit, for Home Kitchen Use, Stainless Steel](https://m.media-amazon.com/images/I/41OxWdRbMML._SL500_.jpg)
AAOBOSI Meat Grinder, 4-In-1 Meat Grinder Electric [2800W Max] with 3 Slice, Shred Blades,2 Blades,3 Plates,Sausage Stuffer,Kubbe Kit, for Home Kitchen Use, Stainless Steel
4-IN-ONE Versatility: With 4 kinds of accessories this All-in-One meat grinder can take care of all your kitchen...
As an affiliate, we earn on qualifying purchases.
Cleaning the Filter and Debris Chamber
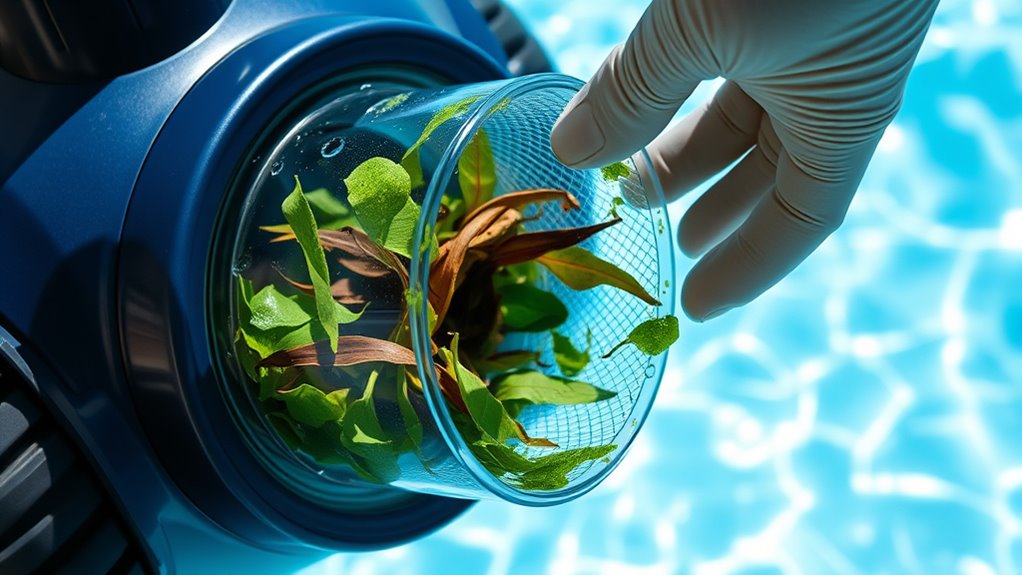
Regularly cleaning the filter and debris chamber is essential to keep your automatic pool cleaner functioning efficiently. Proper filter maintenance and debris removal prevent clogs that can stall or damage your device. When you clean these parts, you restore ideal suction, ensuring your cleaner works like new. Take a moment to:
- Feel the satisfaction of a spotless filter
- Enjoy the peace of knowing your pool stays pristine
- Prevent costly repairs with regular upkeep
- Experience effortless cleaning sessions
- Gain confidence in your pool’s cleanliness
- Remember that neural networks can enhance your understanding of the cleaner’s performance and troubleshooting techniques.

Electric Meat Grinder, Sausage Stuffer with 3 Sausage Tubes, 2 Blades, 3 Plates, 3200W Max, Meat Grinder Heavy Duty for Home Kitchen Use, Stainless Steel (Black)
【Powerful & Faster】Aiheal meat grinder has a powerful motor (300W, 3200W Max locked power). Helps you take less...
As an affiliate, we earn on qualifying purchases.
Examining the Skimmer and Intake Valves
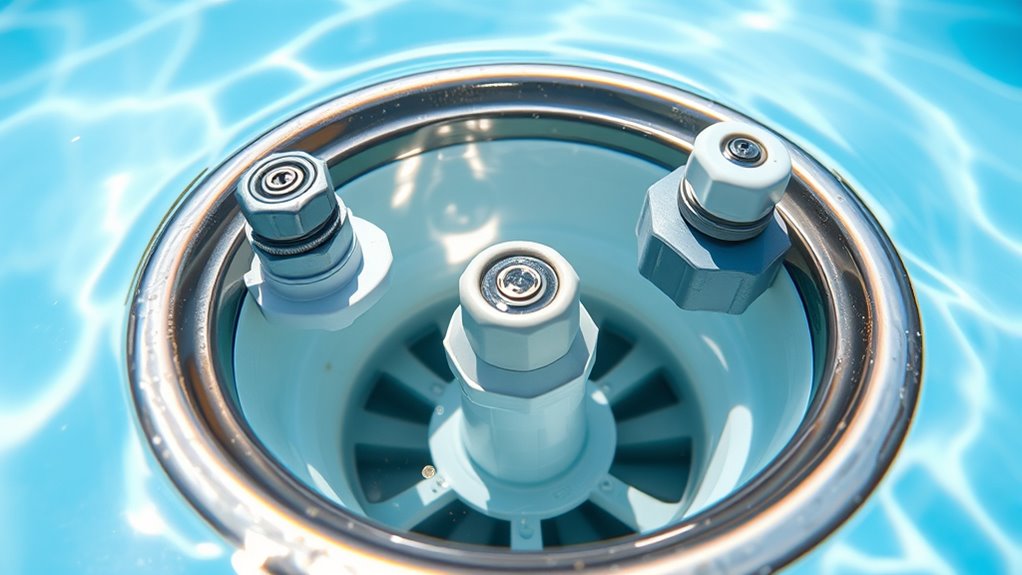
After cleaning the filter and debris chamber, it’s time to check the skimmer and intake valves to guarantee your pool cleaner maintains peak performance. Start by inspecting the skimmer basket; remove any debris or blockages that could restrict water flow. A clogged basket reduces suction, making it harder for your cleaner to operate efficiently. Next, examine the intake valve for any debris or obstructions. Ensure the valve opens and closes smoothly, without leaks or cracks. If you notice debris buildup or damage, clean or replace the parts as needed. Properly functioning skimmer and intake valves are essential for maintaining water flow, which directly impacts your pool cleaner’s ability to navigate and clean effectively. Regular checks prevent performance issues before they escalate, especially since smart technology can assist in monitoring these components remotely. Additionally, verifying the integrity of these components helps avoid costly repairs and ensures a longer lifespan for your pool equipment. Being aware of valve operation can further help in diagnosing potential problems early. Incorporating knowledge about industry transformations such as automation and remote monitoring can enhance your troubleshooting approach.
Verifying the Robot’s Movement and Navigation
Start by observing how your pool cleaner moves across the pool surface to make certain it follows its usual pattern. Make sure it’s not getting stuck or missing spots, which could indicate navigation issues. Also, check that it’s avoiding obstacles and not bumping into walls or pool features.
Check Navigation Patterns
To guarantee your automatic pool cleaner is thoroughly covering your pool, it’s essential to observe its navigation patterns. Check how it moves across the pool, paying attention to its paths and areas it might miss. Use the user interface to start a cleaning cycle and monitor its patterns in real-time. Look for signs of inefficient navigation, such as repetitive paths or missed spots. If the robot isn’t covering the entire pool, it could indicate a problem with its navigation patterns. Ensuring proper movement helps maximize cleaning efficiency and extends the life of your device.
Consider these emotional cues:
- Feel confident knowing your pool is spotless
- Enjoy peace of mind with thorough coverage
- Avoid frustration from missed spots
- Trust your cleaner’s navigation skills
- Experience the satisfaction of a pristine pool
Confirm Obstacle Avoidance
Ensuring your pool cleaner effectively avoids obstacles is key to its ideal performance. Start by verifying the sensor calibration, as proper calibration guarantees accurate obstacle detection. If your cleaner isn’t detecting obstacles correctly, it may bump into walls or get stuck. Test its navigation by observing its movement around the pool, looking for signs of erratic or repeated collisions. Clean the sensors gently to remove dirt or debris that could impair obstacle detection. If necessary, recalibrate the sensors according to the manufacturer’s instructions. Confirm that the obstacle avoidance feature is active in the settings. Proper sensor calibration and reliable obstacle detection are essential for smooth navigation, helping your cleaner cover the pool efficiently without unnecessary interruptions or damage.
Troubleshooting Electrical Connections and Controllers
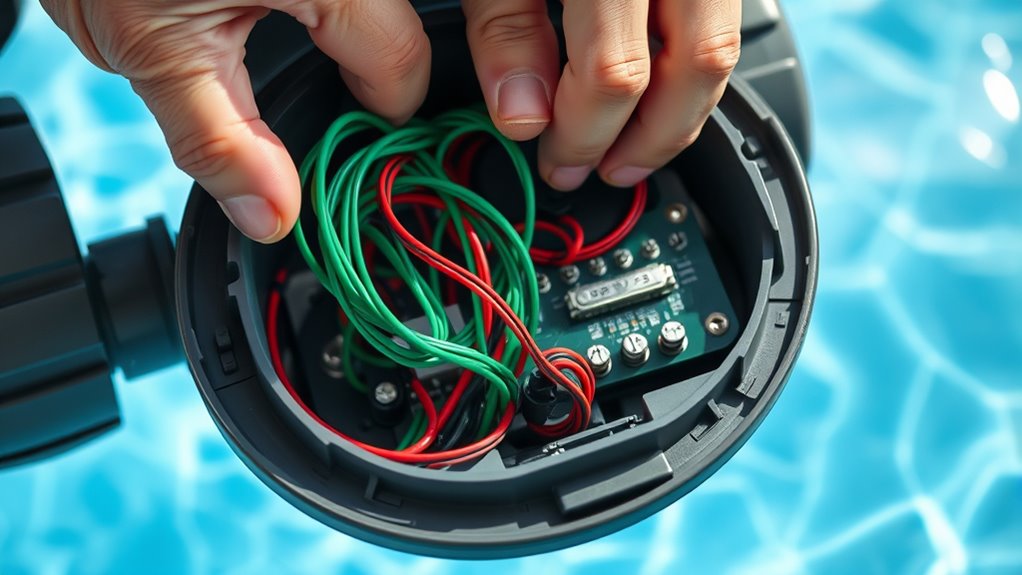
When troubleshooting electrical connections and controllers on your automatic pool cleaner, it’s essential to first verify that all wiring is secure and free from corrosion. Loose or corroded connections can disrupt power and wireless connectivity, causing your cleaner to malfunction. Check that the controller’s software is up to date, as outdated firmware can impede performance. If your cleaner isn’t responding or connecting properly, consider these steps:
- Confirm all wiring is intact and corrosion-free
- Ensure the controller has recent software updates
- Reset the controller to restore default settings
- Test wireless connectivity signals
- Inspect power sources for consistent voltage
Addressing these issues promptly can restore your cleaner’s efficiency and prevent future electrical frustrations. Don’t ignore small problems—they can turn into costly repairs if left unchecked.
Ensuring Proper Weight Distribution and Buoyancy
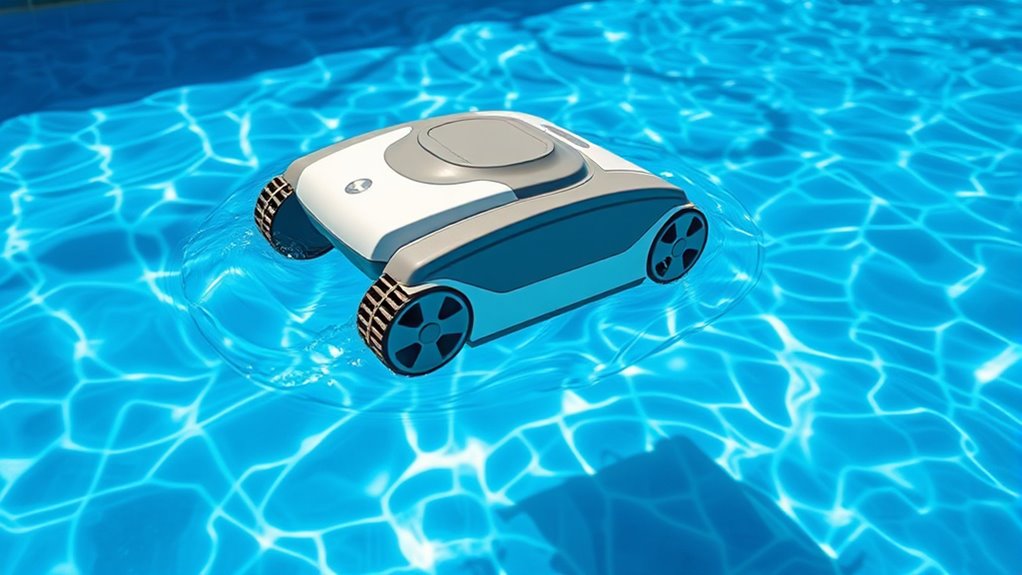
Proper weight distribution and buoyancy are essential for your automatic pool cleaner to operate smoothly. When your cleaner has proper weight balance, it navigates effectively, avoiding stalls or flips. Buoyancy control helps maintain the correct depth, ensuring thorough cleaning of your pool surfaces. To optimize both, check that weights are evenly distributed along the cleaner’s body and that float components are functioning properly. Adjust weights as needed to prevent it from floating too high or sinking too low. Here’s a quick guide:
| Issue | Solution | Result |
|---|---|---|
| Cleaner floats too high | Add weights or lower buoyancy components | Better contact with pool surface |
| Cleaner sinks too low | Remove weights or increase buoyancy elements | Improved movement and coverage |
| Uneven weight distribution | Adjust weights evenly across the cleaner | Smooth operation and efficiency |
| Poor buoyancy control | Inspect float parts and adjust as needed | Consistent cleaning performance |
Resetting and Calibrating the Cleaner

Resetting and calibrating your automatic pool cleaner is essential for peak performance. When you perform these steps, you guarantee it runs efficiently and avoids common issues like software glitches or remote control troubleshooting. To get started, turn off the cleaner and disconnect it from power. Then, follow your model’s specific reset instructions—often holding a button or removing and reinserting batteries. Calibration may involve placing the cleaner in the pool and initiating a test run, ensuring proper navigation. Remember to check for software updates regularly, as they improve functionality. Additionally, if remote control troubleshooting persists, reset the remote and reconnect it to the cleaner. Keep these steps in mind to maintain smooth operation and extend the life of your cleaner.
Identifying Mechanical Blockages and Obstructions
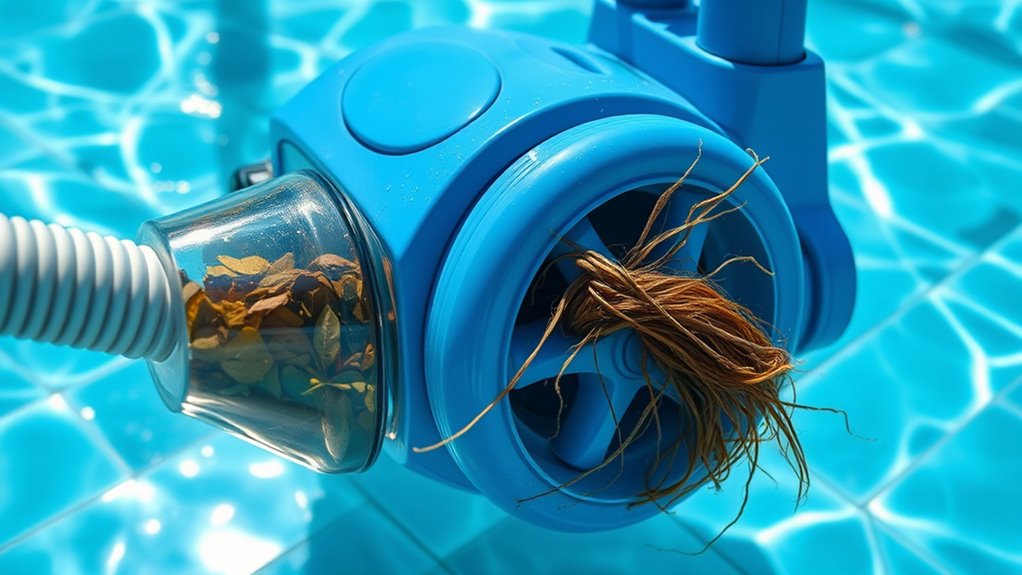
Mechanical blockages and obstructions are common causes of automatic pool cleaner malfunctions. You should regularly inspect the cleaner’s brushes, hoses, and intakes for marine debris or debris trapped in underwater obstructions. Marine debris like leaves, twigs, or small objects can clog the brushes or hoses, reducing suction and movement. Underwater obstructions, such as algae buildup or debris caught in drains, can also impede the cleaner’s path. To identify these issues, turn off the cleaner and carefully examine its components, paying close attention to areas where debris might accumulate. Clear out any debris or obstructions you find, and ensure the cleaner’s pathways are unobstructed. Regular maintenance will prevent future blockages and keep your pool cleaner functioning efficiently.
Frequently Asked Questions
How Often Should I Replace Parts on My Automatic Pool Cleaner?
You should replace parts on your automatic pool cleaner based on its replacement schedule and part lifespan. Typically, check your manual for specific timelines, but generally, brushes and filters need replacement every 6 to 12 months. Keep an eye on wear and tear, and replace parts promptly to guarantee peak performance. Regular maintenance helps extend the cleaner’s lifespan and keeps your pool consistently clean.
Can Environmental Factors Affect My Cleaner’S Performance?
Think of your pool cleaner as a diligent gardener, but environmental factors can turn it into a storm. Water pH imbalances can corrode parts, while debris accumulation creates a thick mudslide that stalls its progress. Keep your water balanced and clear out debris regularly. When you do, your cleaner will glide smoothly, like a swimmer in calm waters, ensuring it performs at its best despite nature’s whims.
What Safety Precautions Should I Follow During Maintenance?
When performing maintenance on your pool cleaner, always prioritize safety. Follow pool chemical safety by wearing gloves and goggles to avoid splashes. Turn off electrical power and unplug the device to guarantee electrical safety precautions are met, preventing shocks. Regularly inspect cords and connections for damage. Keep the area dry, and never handle electrical parts with wet hands. By following these safety tips, you protect yourself and maintain a safe, clean pool environment.
How Do I Store My Cleaner During Off-Season?
Storing your cleaner during the off-season keeps it in prime condition. Start with simple storage solutions—rinse thoroughly, remove debris, and dry completely. Store in a cool, dry, and sheltered space to prevent damage. Avoid extreme temperatures and direct sunlight. Proper off-season maintenance involves checking for wear and tear, then storing the cleaner in a dedicated spot. This ensures your automatic pool cleaner stays pristine and ready for use when swimming season returns.
Are There Signs Indicating My Cleaner Needs Professional Repair?
If you notice your automatic pool cleaner isn’t working properly, look for signs it needs professional repair rather than just DIY fixes. Common issues include inconsistent movement, strange noises, or failure to connect with your pool’s filtration system. If troubleshooting doesn’t resolve these problems, it’s best to seek expert help. Ignoring these signs can lead to further damage, so don’t hesitate to call a professional when needed.
Conclusion
So there you have it—your foolproof guide to troubleshooting your pool cleaner. If you thought it’d fix itself with a magic wave, think again. With a little patience and these tips, you’ll be back to relaxing poolside in no time—no tech wizardry required. Just remember, even the smartest robot can’t outsmart a stubborn leaf or a dodgy connection. Happy cleaning, and may your pool stay crystal clear—without the drama!