
To install a suction pool cleaner, start by gathering your tools, such as screwdrivers and hoses, and guarantee your pool’s water chemistry is properly balanced. Attach the hose securely to the skimmer or pump, then connect the cleaner to the hose, making sure all fittings are tight and free of leaks. Submerge the cleaner fully in the pool, keeping the hose straight and free of kinks. Finally, test and adjust the settings for ideal performance—more tips follow to help you get it right.
Key Takeaways
- Gather necessary tools, check water levels, and ensure pool chemicals are balanced before installation.
- Attach the hose securely to the skimmer or pump, ensuring tight, leak-free connections.
- Fully submerge the cleaner and hose, avoiding air pockets and kinks for optimal suction.
- Verify that the suction port and hose are free of debris and properly connected.
- Power on the system, then test and adjust the cleaner’s movement and navigation for effective coverage.
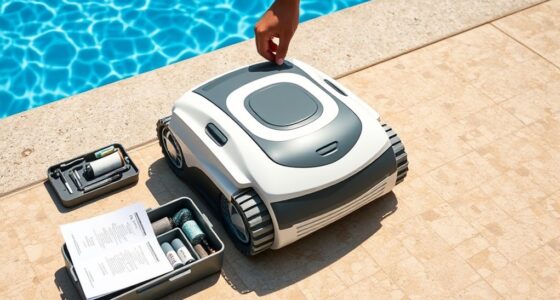
Gather Necessary Tools and Materials
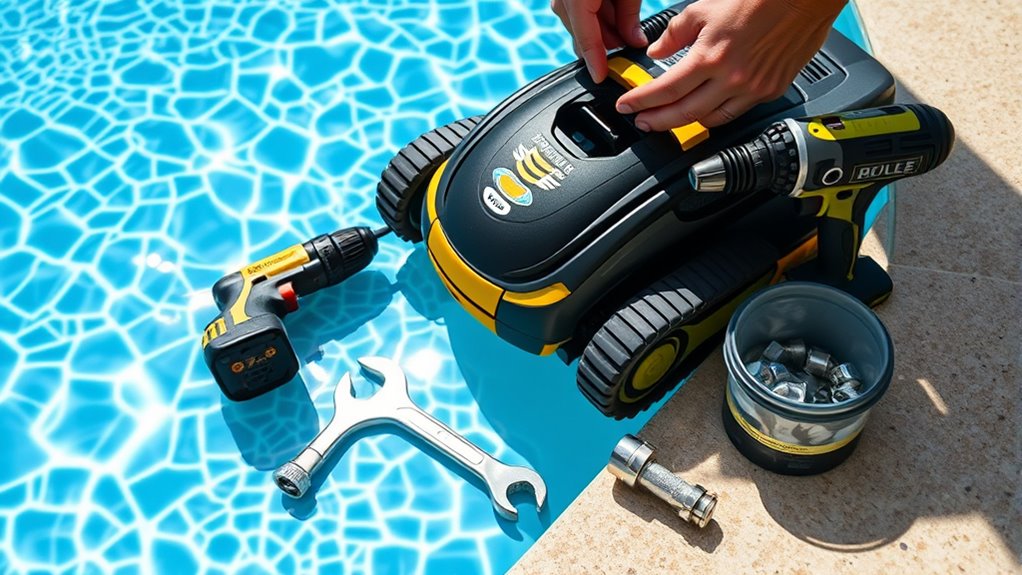
Before you begin installing your suction pool cleaner, you need to gather all the necessary tools and materials. Start with basic items like a screwdriver, pliers, and possibly a wrench, depending on your cleaner model. Make sure your pool is properly balanced; a correct pool chemical balance is essential for safe operation and effective cleaning. Wear safety precautions, such as gloves and eye protection, to prevent injuries during installation. Check that your pool’s water level is adequate, as low levels can damage the cleaner. Have your user manual handy for specific instructions related to your model. Confirm that your hoses and connectors are in good condition, and gather any additional parts included with the cleaner. Proper preparation ensures a smooth setup and safe operation. Additionally, understanding the importance of fuel injection cleaning can help maintain your pool’s equipment efficiency and longevity. Regularly inspecting filter systems can improve the overall performance and lifespan of your pool equipment. Furthermore, inspecting your essential oils for pool maintenance, although not typical, can sometimes help in reducing algae growth when used carefully in water treatments.
Prepare Your Pool and Pool Equipment
To guarantee your suction pool cleaner operates effectively, you need to prepare your pool and pool equipment properly. Begin by checking your pool’s chemical maintenance; ensure chlorine levels, pH, and alkalinity are balanced to prevent algae and debris buildup. Clean the skimmer baskets and remove any debris from the pool surface. Follow pool safety precautions by turning off the pump and power supply before making any adjustments. Inspect your pool’s water level—too low or high can hinder cleaner performance. Clear the area around the pool of obstacles that could obstruct the hose or cleaner. Properly preparing your pool and equipment ensures ideal cleaning and prevents potential issues during installation and operation.
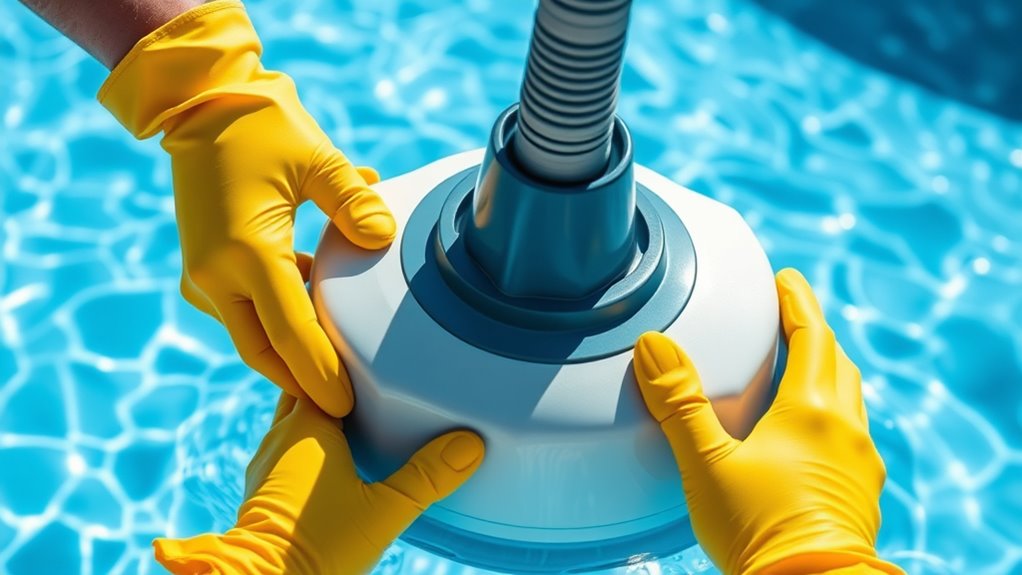
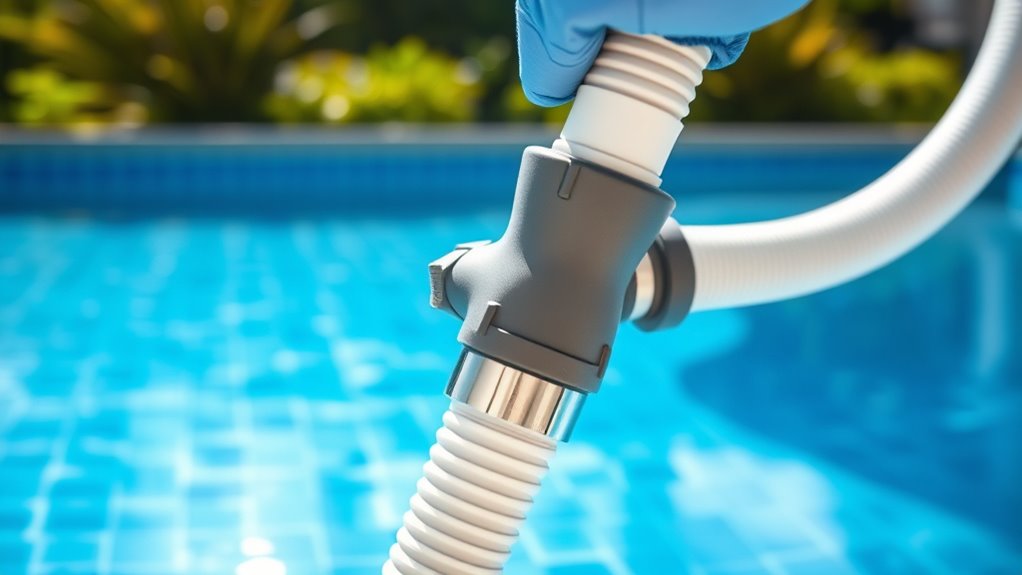
Attach the Hose to the Skimmer or Pump
Wondering how to guarantee your suction pool cleaner has a secure connection? First, make certain the hose connection is tight and free of leaks. Attach the hose to the skimmer or pump, making sure the connection is snug to prevent air leaks that could reduce suction power. When securing the skimmer attachment, push the hose firmly onto the skimmer port or pump fitting until it clicks or feels secure. Check for any gaps or loose fittings, as these can cause the cleaner to lose suction or stop working altogether. Once connected, gently tug on the hose to confirm it’s firmly attached. A proper hose connection ensures your pool cleaner operates efficiently and keeps your pool spotless. Additionally, verifying that all fittings are properly fitted can help maintain optimal suction power and prolong the life of your cleaner.
Connect the Suction Pool Cleaner to the Hose
Start by securing the hose to the cleaner firmly to prevent leaks. Make sure the cleaner is aligned properly with the hose to guarantee smooth operation. Additionally, verify that the sealant ingredients are compatible with your pool’s materials to maintain effectiveness. For optimal performance, ensure the connection points are tightly secured and free of debris before turning on the pump. It is also important to monitor AI vulnerabilities to ensure the safety of your equipment and data. Regularly inspecting the filter system can help prevent blockages and maintain proper flow. Be aware that currency fluctuations can impact the cost of replacement parts and accessories, so staying informed can save you money. Finally, check for any leaks or loose connections before turning on the pump.
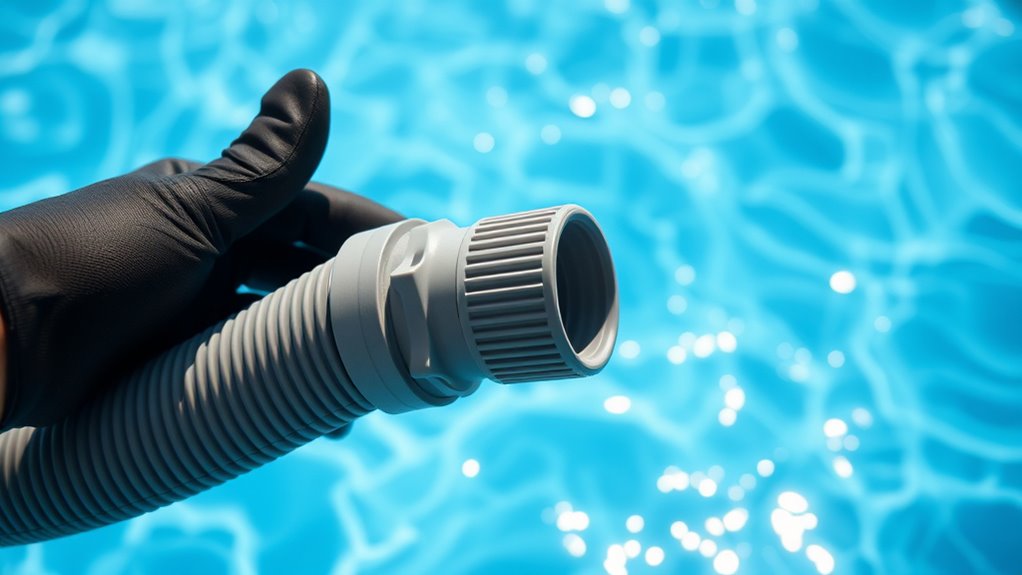
Attach Hose Securing
Once you’ve aligned the hose with the suction port on the cleaner, secure the connection tightly to prevent leaks and loss of suction. Check that the hose diameter matches the port to guarantee a snug fit. Use the securing clips provided with your cleaner to lock the hose in place firmly. Make sure each clip clicks into position, holding the hose securely without overtightening, which could damage the connection. Properly securing the hose prevents air leaks that can reduce cleaning efficiency. Double-check that the clips are evenly spaced and fully engaged. A tight, well-secured hose guarantees maximum suction power and smooth operation as the cleaner moves around your pool. This step is essential for an effective, trouble-free cleaning process. Additionally, understanding how self-watering plant pots work can help you better maintain the system and ensure consistent performance. To optimize suction efficiency, regularly inspect and clean the hose and connections to remove any debris or blockages that may impede water flow, as proper maintenance extends the lifespan of your equipment.
Align Cleaner Properly
To guarantee your suction pool cleaner functions properly, you need to align it correctly with the hose connection. Proper alignment ensures maximum cleaning performance and maintains your cleaning schedule. Start by attaching the hose securely to the cleaner and the skimmer or dedicated suction port. Make sure there are no twists or kinks in the hose, as this can reduce suction and energy efficiency. Adjust the cleaner so it moves smoothly along the pool floor and walls without resistance. When the cleaner is aligned correctly, it will operate efficiently, conserving energy and extending the lifespan of your equipment. Consistently checking this alignment helps keep your cleaning schedule on track and prevents unnecessary wear and tear. Proper setup ultimately leads to a cleaner, more energy-efficient pool.
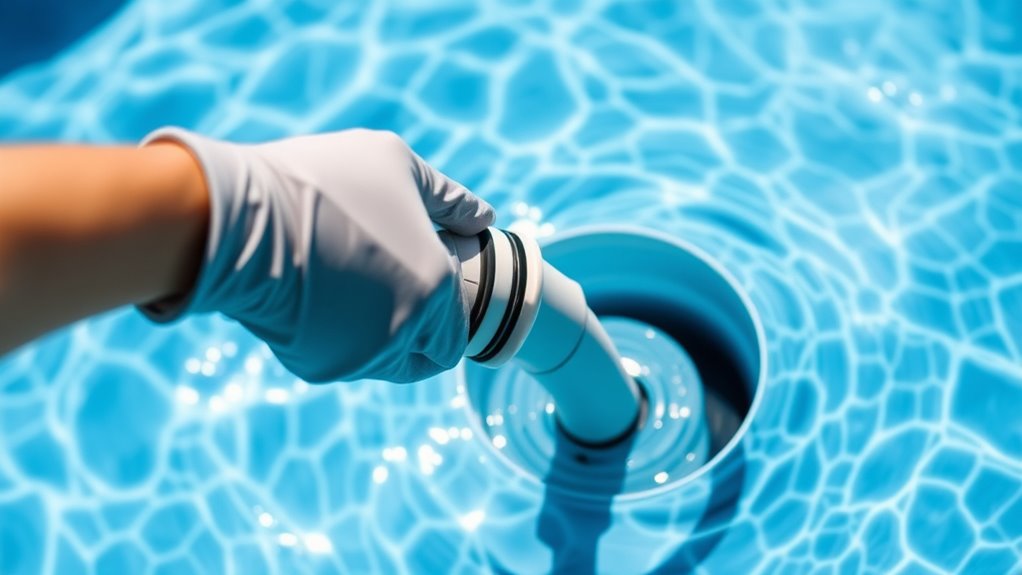
Check for Leaks
After properly aligning the cleaner, the next step is to connect it securely to the hose and check for leaks. Ensuring no air or water leaks is essential for maximum cleaning efficiency and pool safety tips. Here’s what to do:
- Inspect all connections for tightness, especially where the hose attaches to the cleaner and skimmer.
- Submerge the cleaner and hose in the pool to observe for air bubbles or water seepage, indicating leaks.
- Adjust fittings as needed, and double-check your pool’s chemical balance to prevent corrosion and maintain safety.
- Regularly assess the connection points to prevent wear and tear, which can compromise airflow around the unit and overall pool safety.
- Keep an eye on the filter system to ensure debris does not cause blockages that could reduce performance.
- Remember that proper maintenance and timely inspections help sustain the cleaner’s performance and extend its lifespan.
- Monitoring the hose connections regularly can help detect early signs of deterioration, ensuring your cleaner functions effectively over time.
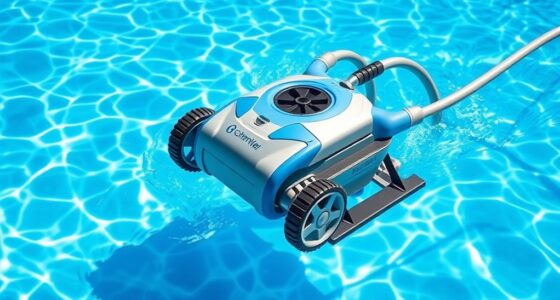
Position and Submerge the Cleaner in the Pool
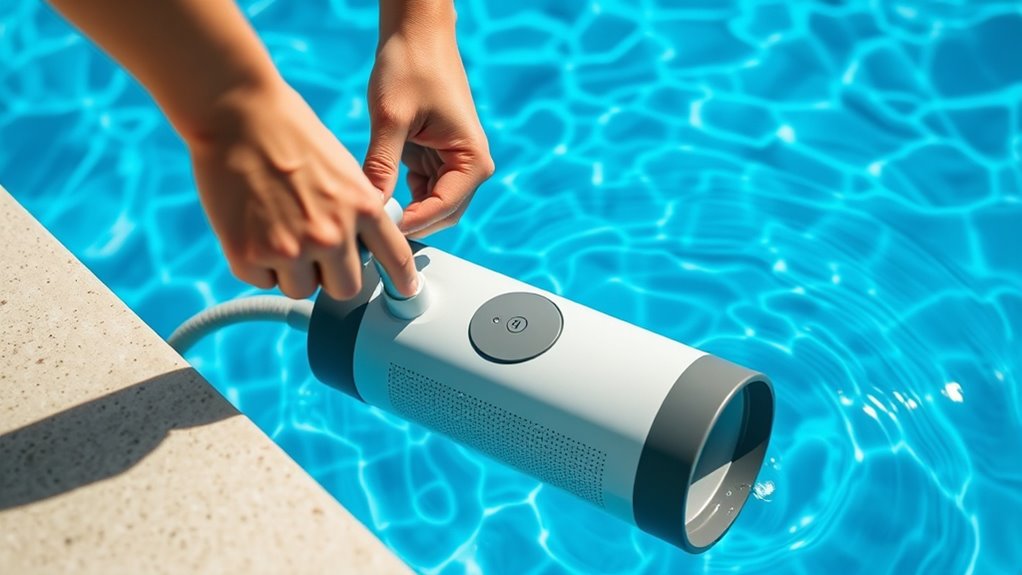
Positioning and submerging your suction pool cleaner correctly is essential for effective cleaning. Begin by attaching the hose to the cleaner and ensuring all connections are tight. Place the cleaner onto the pool surface, making sure it’s centered and stable. As you submerge it underwater, keep steady pressure to prevent air from getting trapped in the hose, which can hinder suction. Proper underwater positioning allows the cleaner to move freely across the pool surface without obstruction. Ensure the hose is fully submerged to avoid air pockets that could disrupt suction power. Once submerged, gently release the cleaner so it can settle on the pool surface. Correct positioning at this stage helps the cleaner operate efficiently and maximizes cleaning coverage. Additionally, verifying the headphone connection ensures the device functions correctly and prevents interruptions during operation. To further ensure optimal performance, it’s important to check that the suction port is free of debris before submersion. Maintaining a clean and unobstructed suction system is vital for consistent cleaning results, especially since Kia Tuning can enhance vehicle performance, reminding us of the importance of proper setup for optimal results. Regularly inspecting the hoses and connections can prevent leaks and maintain steady suction during the cleaning process.
Test the Cleaner and Adjust Settings as Needed

Now that your cleaner is in position, it’s time to test its performance. Check the suction power to make sure it’s effectively removing debris, and adjust the navigation settings if it isn’t covering the pool evenly. Fine-tuning these details helps your cleaner work efficiently and keeps your pool sparkling. Pay attention to how the cleaner interacts with the pool’s surface and walls, ensuring it maximizes its coverage area for optimal cleaning results. Additionally, observing the cleaner’s automation capabilities can help identify areas where adjustments improve overall efficiency. Regularly inspecting the filter performance will help maintain consistent cleaning, especially if you notice a decline in suction power. Incorporating remote work principles, such as scheduling regular checks, can also ensure consistent performance over time.
Check Suction Power
How can you guarantee your suction pool cleaner is working effectively? First, check the suction power to ensure proper water circulation, which is crucial for efficient pool maintenance. Weak suction can lead to missed debris and poor cleaning. To test this, follow these steps:
- Observe the cleaner’s movement; it should glide smoothly across the pool floor.
- Listen for unusual sounds indicating blockages or air leaks.
- Check the hose for kinks or obstructions that may reduce suction.
If the cleaner isn’t performing well, adjust the hose or water flow settings. Maintaining ideal suction power helps improve water circulation, keeping your pool clean and balanced. Regularly testing and adjusting ensures your cleaner works at its best.
Fine-tune Navigation Settings
To guarantee your suction pool cleaner navigates efficiently, you need to test its performance and make necessary adjustments to the navigation settings. Begin by running the cleaner and observing how it moves across the pool. Use the software calibration feature to fine-tune its path, ensuring it covers the entire area without missing spots. Pay attention to obstacle avoidance—if the cleaner gets stuck or misses areas, adjust the settings to improve its responsiveness. Some models allow you to modify navigation speed or pattern via the control panel or app. Regular testing helps identify issues early, so you can optimize the cleaner’s route. Properly calibrated software and effective obstacle avoidance are essential for thorough cleaning and efficient operation.
Frequently Asked Questions
How Often Should I Run My Suction Pool Cleaner?
You should run your suction pool cleaner based on your pool’s maintenance schedule and cleaning frequency needs. Typically, running it 2-3 times a week keeps your pool clean and clear. If you notice more debris or algae, increase the frequency. Regular use ensures better water quality and less manual skimming. Adjust the schedule as needed, especially after storms or heavy use, to maintain ideal pool cleanliness.
Can I Use a Suction Pool Cleaner With a Saltwater Pool?
Using a suction pool cleaner in a saltwater pool is totally doable, and it’s not as complicated as you might think. Saltwater pools have unique pool chemistry, but they won’t harm your cleaner if you verify the materials. Just ensure your cleaner has enough suction power to handle the salt and debris. Regularly monitor the pool chemistry and cleaner performance, and you’ll keep your pool sparkling like a gem in the sun!
What’S the Best Way to Store the Cleaner During Off-Season?
You should store your suction pool cleaner properly during off-season maintenance to guarantee it stays in good condition. Use suitable storage solutions like a cool, dry place away from direct sunlight. Rinse the cleaner thoroughly, remove any debris, and let it dry completely before storing. Coil the hoses neatly to prevent kinks. Proper off-season storage helps prolong the cleaner’s lifespan and ensures it’s ready for use when swimming season resumes.
How Do I Troubleshoot if the Cleaner Isn’T Moving Properly?
Think of your pool cleaner as a diligent explorer facing obstacles. If it’s not moving properly, common causes often include clogged hoses, debris blocking the inlet, or improper placement. Troubleshooting steps involve checking and clearing hoses, ensuring the cleaner is positioned correctly, and inspecting for obstructions. By systematically addressing these issues, you’ll help your cleaner navigate the pool’s depths smoothly, restoring its quest for cleanliness.
Are There Safety Tips to Consider During Installation?
During installation, prioritize electrical safety by unplugging power sources before starting, and avoid contact with water or wet surfaces to prevent shocks. Handle chemicals carefully, ensuring they’re stored away from the installation area to avoid spills or reactions. Always read the manufacturer’s instructions thoroughly, use proper tools, and wear protective gear. Taking these precautions helps keep you safe from electrical hazards and chemical exposure throughout the installation process.
Conclusion
Think of installing your suction pool cleaner as guiding a tiny boat through calm waters. With the right tools and steps, you’re steering it smoothly toward sparkling, clean shores. Once in position, it’ll navigate on its own, much like a trusty vessel charting a clear course. Soon, your pool will gleam like a treasure chest, all thanks to your careful setup. So, enjoy the journey—your sparkling pool awaits!