
Silicone bakeware’s insulating properties can cause uneven baking and soggy bottoms if you don’t take proper steps. To get even results, always place molds on a sturdy baking sheet, preheat your oven fully, and consider increasing baking time slightly while reducing oven temperature by about 25°F. Proper cooling and greasing also help prevent sogginess. Follow these tips, and you’ll discover more ways to master silicone baking for perfect, consistent results.
Key Takeaways
- Use a sturdy baking sheet beneath silicone molds to improve heat transfer and prevent sogginess.
- Preheat the oven fully and verify temperature with an oven thermometer for consistent baking.
- Slightly reduce oven temperature by 25°F and extend baking time to counteract silicone’s insulating effect.
- Cool baked goods completely on a wire rack before removal to prevent sogginess and maintain texture.
- Lightly grease and dust molds to ensure easy release and avoid sticking or uneven baking.

Post-it 100% Recycled Super Sticky Notes, 3 x 3 in, Pastels, 5 Pads
- Number of Pads: 5 pads included
- Note Size: 3 x 3 inches
- Sheets per Pad: 70 sheets per pad
As an affiliate, we earn on qualifying purchases.
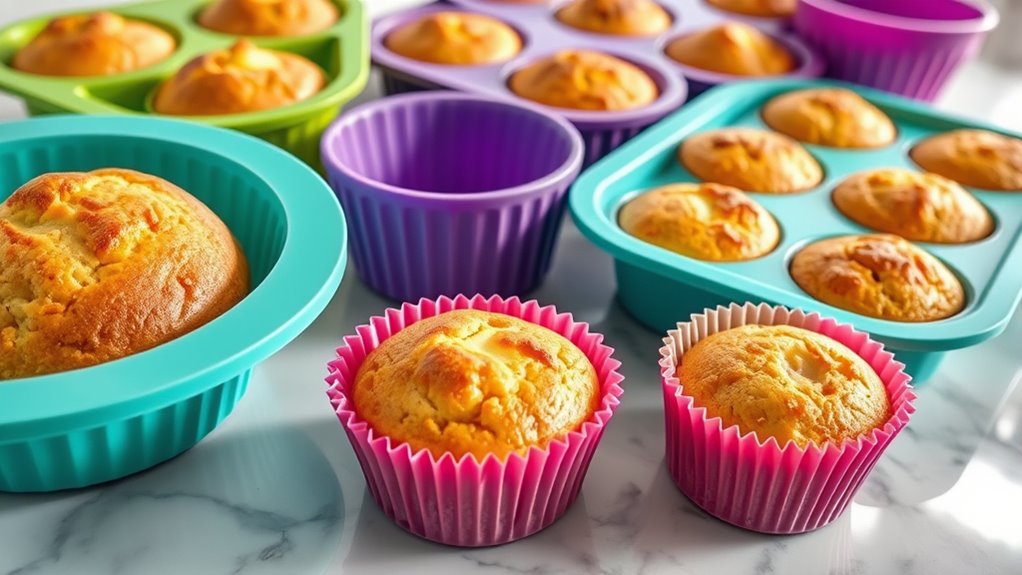
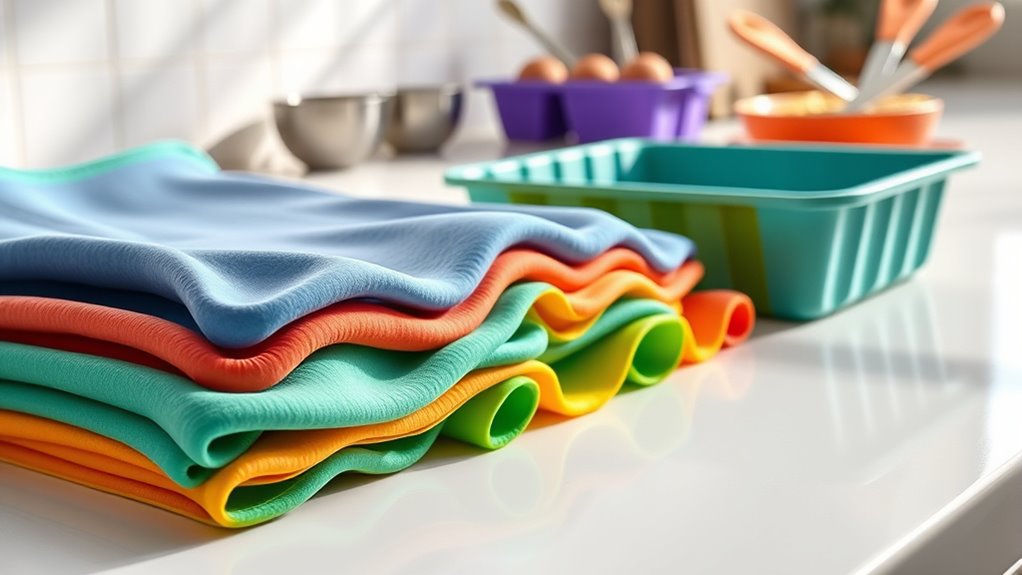
Understanding How Silicone Bakeware Works

Silicone bakeware works by using flexible, heat-resistant polymers that can withstand oven temperatures up to 450°F (232°C). Silicone molds are a popular choice for bakers because of their flexibility and non-stick properties. Unlike metal pans, silicone molds don’t conduct heat well, which can affect how baked goods turn out. Their insulating nature may slow heat transfer, leading to longer baking times or uneven results. To improve baking performance, always place your silicone molds on a sturdy baking sheet to provide stability. This setup helps promote more even heat distribution. Keep in mind that adjusting baking times or temperatures, like increasing baking duration or lowering the oven temperature, can also help you achieve better, more consistent results with your silicone bakeware. Additionally, vetted silicone bakeware options are available that can enhance your baking experience. Understanding thermal conductivity can help you better anticipate how silicone bakeware interacts with heat, especially considering oven temperatures and how they influence baking outcomes. Recognizing the heat insulation properties of silicone can also guide you in adapting your baking techniques for optimal results. Incorporating proper preheating of your oven ensures that heat is evenly distributed from the start, improving baking consistency.

250 Count Colored Index Cards 3x5 Inch with Key Ring, 180gsm Heavy Weight Flash Cards 5 Color (50 Sheets Each) Portable Note Taking for Students, Teachers, Study Note Cards for Office School Supplies
- Premium Thick Paper: 180gsm heavy-weight, bleed-resistant paper
- Key Ring Design: Attach to bags or keys for convenience
- Vibrant Color Assortment: Includes purple, blue, green, pink, white
As an affiliate, we earn on qualifying purchases.
The Key Factors for Achieving Even Baking
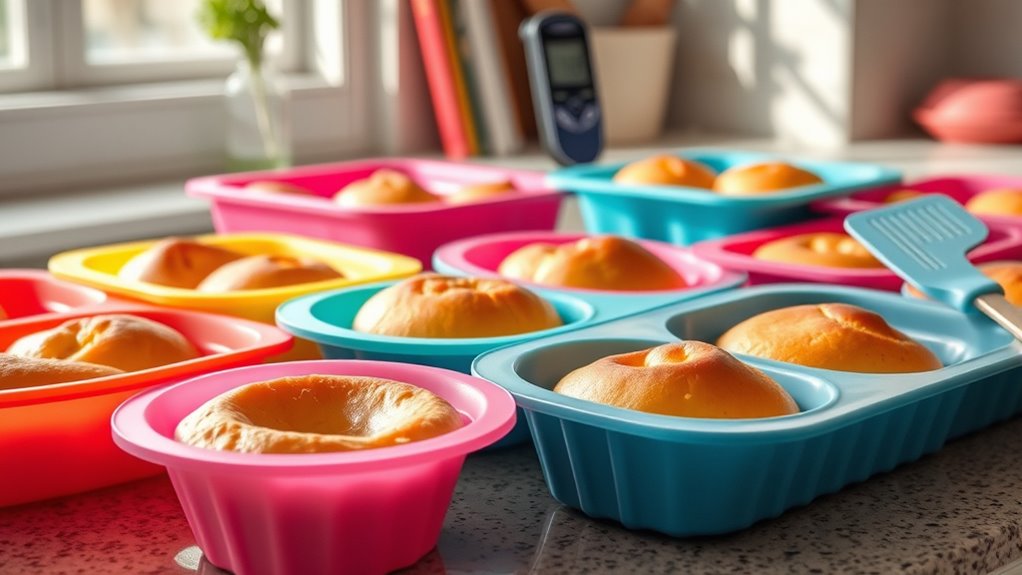
To get even baking with silicone, you need to focus on proper prepping techniques, like using a sturdy, preheated sheet pan. Adjust your oven temperature slightly or extend baking time to counteract silicone’s insulating effect. Using baking aids such as metal or glass bases can also help guarantee your treats bake evenly. Incorporating heat conduction properties into your baking setup can further improve results, ensuring consistent heat transfer. Additionally, understanding baking technology can help you troubleshoot uneven baking issues more effectively. Incorporating preppy dog names into your baking themes can add a touch of sophistication and fun to your presentation. Moreover, selecting appropriate bakeware materials can significantly influence heat distribution and baking outcomes, especially when considering the thermal conductivity of different materials.
Proper Prepping Techniques
Ensuring even baking with silicone bakeware starts with proper preparation. Before using, rinse and thoroughly dry your silicone mold to remove excess moisture, which can cause soggy bottoms or uneven baking. Lightly coat the inside with nonstick cooking spray, then dust with flour or cocoa powder to prevent sticking and promote even heat distribution. Placing the silicone mold on a sturdy, rimmed baking sheet adds stability and guarantees consistent heat transfer. Keep in mind that silicone’s insulating properties may require increasing baking time by 5–10 minutes to ensure thorough baking and avoid sogginess. Additionally, heat conduction can be affected by silicone’s insulating qualities, so adjusting bake times accordingly is recommended. Proper baking techniques are essential for achieving optimal results when using silicone bakeware. Using professional-grade silicone molds can also help improve heat transfer and baking consistency. It’s also helpful to rotate your bakeware halfway through baking to promote even heat distribution across the oven. Finally, allow baked goods to cool completely before removing from the mold. This step helps moisture escape, resulting in a crisp, evenly baked crust.
Correct Oven Temperature
Maintaining the correct oven temperature is essential for achieving even baking results. To prevent soggy bottoms and ensure proper crust formation, set your oven to the recommended temperature, but remember that glass and ceramic pans often require 25°F lower. Using an oven thermometer helps verify that your oven hits the correct oven temperature, reducing the risk of over- or under-baking. Always preheat fully before placing your bakeware inside, allowing heat to distribute evenly. Position your bakeware on the middle rack to avoid hot spots and promote uniform heat exposure. When using silicone or glass pans, consider adding 5–10 minutes to baking time due to their insulating properties. Properly maintaining the correct oven temperature is your key to consistent, perfectly baked goods. Additionally, understanding how different baking materials influence heat conduction can help you achieve more predictable results. Being aware of oven calibration ensures your oven heats accurately over time, further improving baking outcomes. Regularly checking your oven’s temperature with an oven thermometer can help maintain precise heat levels, preventing common baking issues.
Use of Baking Aids
Using the right baking aids can make a significant difference in achieving even baking results with silicone bakeware. Properly preparing your baking pans guarantees heat distributes evenly and prevents sticking. Lightly coat silicone molds with butter and dust with flour or cocoa powder for better release. Placing your silicone bakeware on a preheated, perforated sheet pan improves airflow, promoting uniform baking. Remember, silicone’s insulating properties may require increasing baking time by 5–10 minutes. Avoid overfilling and place bakeware on a stable, flat surface to maintain consistent heat. Proper baking techniques can help prevent common issues like sogginess and uneven browning. Investing in baking tools designed for silicone bakeware can further enhance your results. Cooling baked goods completely before removal prevents sogginess and helps set their structure. Using these baking aids, your baked goods will turn out evenly baked and perfectly textured.
Linbsunne Gel Pens Black Ink Pens for Office 0.5mm Fine Point Pen Smooth Writing Retractable (Metal gold clip-10 pcs)
- Fine Point Gel Pens: 0.5mm black ink for precise writing
- Quick-Drying Ink: Fast-drying, smudge-resistant black ink
- Convenient Metal Clip: Secure metal clip for easy attachment
As an affiliate, we earn on qualifying purchases.
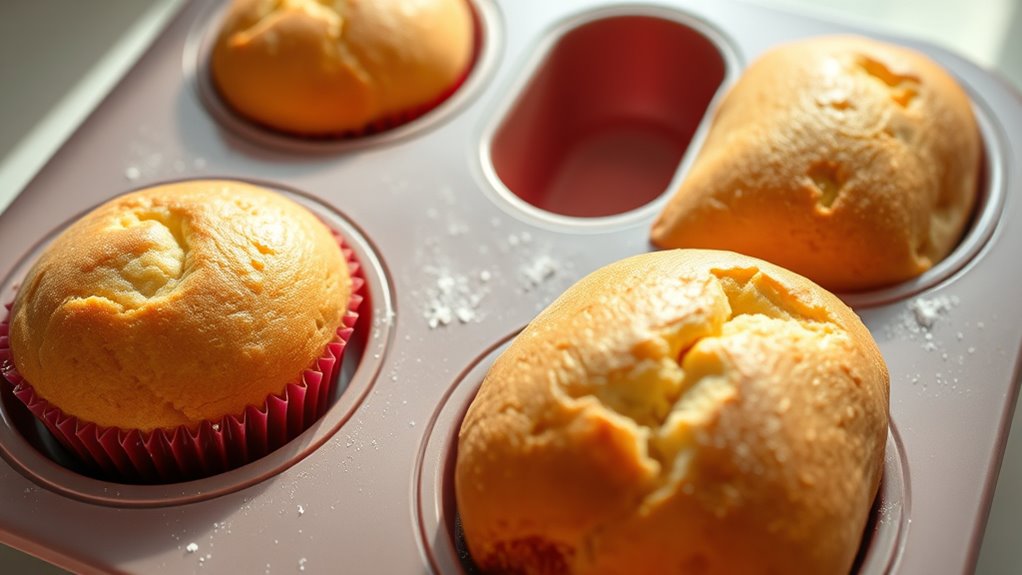
Common Mistakes That Lead to Soggy Bottoms
One common mistake that leads to soggy bottoms is placing silicone bakeware directly on a hot oven surface or skipping preheating. Make sure you’re preheating the oven and using a preheated baking sheet to improve heat transfer. When using silicone mold or silicone pans, avoid filling them too full, which traps moisture and hampers crust formation. Using silicone bakeware without proper ventilation can also trap steam, especially with high-moisture recipes. Relying solely on silicone’s insulating properties without adjusting baking time or temperature may prevent proper browning. Elevating your silicone mold slightly from the oven surface helps ensure even heat distribution and reduces sogginess. Remember, proper preheating, ventilation, and mindful filling are key to avoiding soggy bottoms when using silicone bakeware.

Mr. Pen- Sticky Notes Set, 410 Pack, Ruled, Dotted & Blank Notes
- Set Includes Various Note Types: Ruled, Dotted, and Blank notes
- Colorful Neon and Index Tabs: Neon sticky notes with tabs
- High-Quality Thick Paper: Durable 20lb paper
As an affiliate, we earn on qualifying purchases.
Proper Preparation: Ensuring Your Silicone Molds Are Ready
Before you start baking, make sure to thoroughly clean your silicone molds with warm water and mild soap to remove any residues. Dry them completely to prevent soggy bottoms and guarantee even baking. Lightly greasing or dusting the molds can also help with easy release and better results.
Thoroughly Clean Before Use
To guarantee your silicone bakeware performs its best, it’s essential to thoroughly clean it before first use. This ensures a dust-free, ready-to-bake surface and preserves its nonstick qualities. First, rinse your silicone bakeware with warm water and mild soap, removing any manufacturing residues. Next, wipe the entire surface with a clean, dry cloth or paper towel. For faster drying, place the flexible silicone mold in a warm oven for 2-3 minutes or air-dry completely. Remember to avoid abrasive cleaners or scrub brushes that could damage the nonstick surface. Whether you’re using a baking sheet or various shapes and sizes, proper cleaning keeps your bakeware easy to clean and prevents odors or mold, making sure of even baking results every time.
Ensure Complete Drying
Ensuring your silicone bakeware is completely dry before use is essential for ideal baking results. Moisture trapped in the molds can cause baked goods to stick, create soggy bottoms, or lead to uneven baking. To prepare your silicone bakeware properly, rinse and wipe it with a damp cloth first, then let it air dry or warm it briefly in the oven for 2-3 minutes. Avoid folding or bending the silicone to prevent moisture buildup. Here’s a quick checklist to guarantee dryness:
| Step | Method | Result |
|---|---|---|
| Rinse and wipe | Damp cloth | Remove residues |
| Air dry or oven dry | 2-3 minutes in warm oven | Evaporate remaining moisture |
| Avoid folding | Store flat and unfolded | Prevent mold and damage |
| Check surface | Confirm fully dry before use | Proper release and baking |
Proper drying helps your silicone bakeware perform at its best.
Lightly Grease or Dust
Lightly greasing or dusting your silicone bakeware is a simple step that can make a big difference in your baked goods’ appearance and release. To prepare your mold properly, consider these steps:
- Use a clean, dry pastry brush to apply a thin coat of butter or nonstick spray, ensuring even coverage without excess.
- Lightly dust the shape with flour, cocoa powder, or a combination, especially for chocolate or delicate treats.
- Make sure your silicone molds are completely dry—air dry or warm in a low oven for 2–3 minutes—to prevent moisture from causing sticking.
- Avoid over-greasing, as too much fat can make baked goods greasy or affect their shape. Proper greasing and dusting maximize nonstick performance.
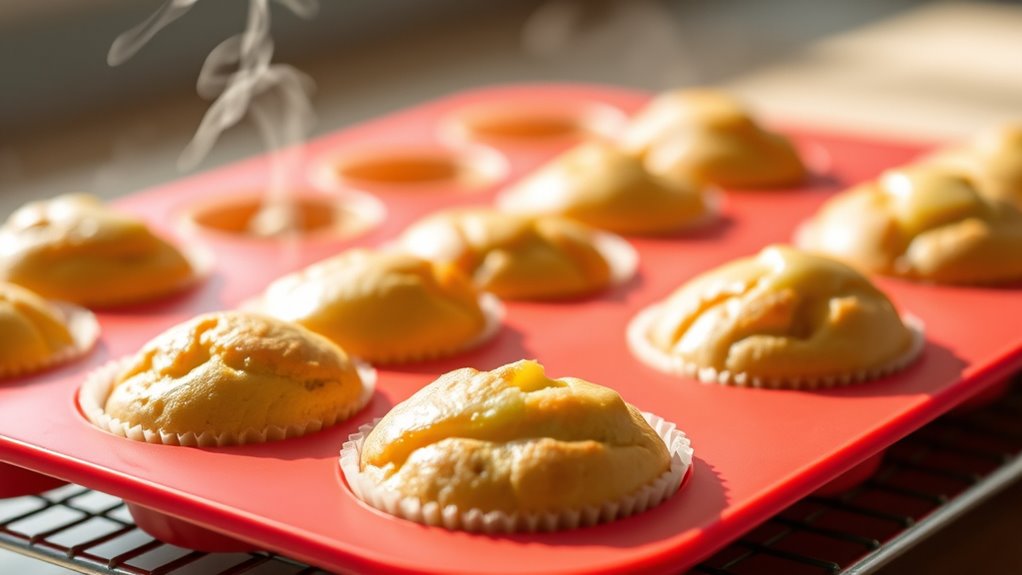
Adjusting Baking Times and Temperatures for Silicone Pans

Because silicone pans have insulating qualities, you’ll need to adjust your bake time and temperature to get the best results. Start by reducing your oven temperature by about 25°F (14°C) to prevent over-browning and promote even baking. While your recipe’s standard bake time is a good starting point, expect to increase it by 5–10 minutes due to silicone’s insulation. Keep an eye on your baked goods and check for doneness with a toothpick or cake tester, as they may not brown as much. Remember, don’t rely solely on appearance—use the test for accuracy. Placing your silicone pan on a sturdy sheet tray helps ensure even heat transfer, preventing soggy bottoms and promoting consistent baking.
The Role of Proper Cooling and Handling Techniques
Proper cooling and handling are key to preserving the quality of baked goods made in silicone pans. To prevent sogginess and ensure crispness, follow these steps:
- Allow baked goods to cool completely on a wire rack before removing them from the silicone mold or pan.
- Remove baked goods promptly after cooling to prevent steam from trapping moisture and causing sogginess.
- Use a gentle, even pressure with a spatula around the edges to safely lift baked goods without damaging their structure.
- For cakes and pastries, flip the silicone mold onto a cooling rack to promote air circulation and reduce moisture buildup underneath.
When and How to Use Greasing or Dusting With Silicone
While silicone bakeware is naturally nonstick, knowing when and how to grease or dust it can make a difference—especially with intricate or delicate designs. For a cake pan, a light greasing with a pastry brush using butter, followed by dusting with flour or cocoa powder, helps ensure easy release. This extra step is particularly helpful with detailed molds or recipes that have low fat content, where sticking is more likely. Be careful not to use too much butter, as excess can make your baked goods greasy and affect appearance. Lightly grease and dust the mold before pouring in batter, and focus on even coverage. This simple technique guarantees your cakes come out cleanly, preserving their shape and presentation.
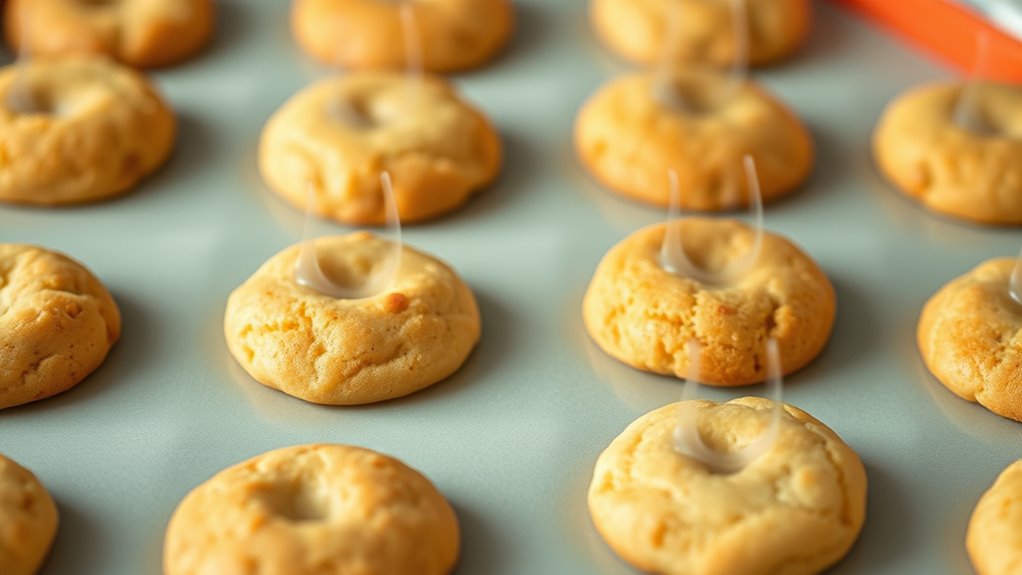
Tips for Enhancing Crust and Browning in Silicone Bakes

To achieve a crisp crust and appealing browning when baking with silicone, you should start by preheating your oven and placing the silicone mold on a sturdy baking sheet. This ensures even heat transfer and better crust development. To enhance browning, prefer to use these tips:
Preheat oven, place silicone on a baking sheet for even heat and better crust.
- Lightly dust the inside of the silicone mold with flour or cocoa powder before pouring in batter.
- Bake at a slightly higher temperature—around 5°F to 10°F above standard—to promote better crust formation.
- Brush the baked surface with an egg wash or melted butter before baking for extra color.
- Avoid overloading the mold; use thin, evenly spread layers for uniform browning and crispness.
These steps help you get the most out of your silicone bakeware’s crust and browning potential.
Expert Tricks for Perfectly Baked Goods Every Time

For consistently excellent results, increasing your baking time by 5 to 10 minutes is essential when using silicone bakeware, as its insulating properties can cause baked goods to conduct heat more slowly. To promote even baking, place your silicone molds on a sturdy sheet pan before filling. This provides stability and helps conduct heat uniformly into your batter or dough. Always preheat your oven fully and resist opening the door frequently, which can disrupt the temperature and lead to soggy bottoms. For intricate molds, lightly butter or dust with flour or cocoa powder to facilitate easy release and prevent excess moisture buildup. Finally, cool baked goods completely before removing them from silicone molds—this allows the structure to set properly and ensures your treats stay moist and perfectly baked.
Frequently Asked Questions
What Are the Disadvantages of Silicone Bakeware?
Your silicone bakeware has some disadvantages. It insulates baked goods, which can lead to uneven baking or soggy bottoms instead of a crisp crust. Its flexibility might cause uneven heat distribution if not placed on a sturdy sheet. Plus, silicone doesn’t conduct heat well, so your baked items may stay moist or undercooked on the bottom. Also, longer baking times and less browning can affect your baked goods’ texture.
Do You Adjust Baking Time for Silicone Pans?
When baking with silicone pans, you should definitely adjust the baking time. Since silicone is insulating and doesn’t conduct heat well, baked goods often take 5-10 minutes longer than in metal pans. Start checking at the usual time, then add 2-3 minute increments if needed. You might also lower the oven temperature slightly to prevent overbaking or burning. Always test for doneness with a toothpick for best results.
Why Do Some Bakers Choose Not to Use Silicone Bakeware?
You might avoid silicone bakeware because it can lead to uneven baking, making it tough to get that perfect crust. Its insulating properties sometimes cause soggy bottoms and longer baking times. Plus, the flexibility makes it tricky to transfer baked goods without mess. While silicone’s non-stick nature is helpful, many prefer metal pans for their ability to brown evenly and create crisp, caramelized edges.
Should Silicone Molds Be Greased Before Baking?
You might wonder if you should grease silicone molds before baking. Generally, silicone is nonstick, so you don’t need to, but a light coating of butter or nonstick spray can help with intricate or delicate designs. Dusting with flour or cocoa powder creates an extra barrier, making it easier to remove baked goods cleanly. Just remember, a thin layer is best—too much can affect the final look and texture.
Conclusion
While silicone bakeware often gets a bad rap for soggy bottoms, the truth is, with proper prep and technique, you can achieve even, golden-brown results. Many believe silicone prevents crust formation, but it actually enhances heat distribution when used correctly. So, don’t shy away from experimenting—adjust your baking times, preheat your pan, and handle your baked goods with care. With a little practice, you’ll see that perfect bake isn’t just a myth; it’s entirely doable with silicone.