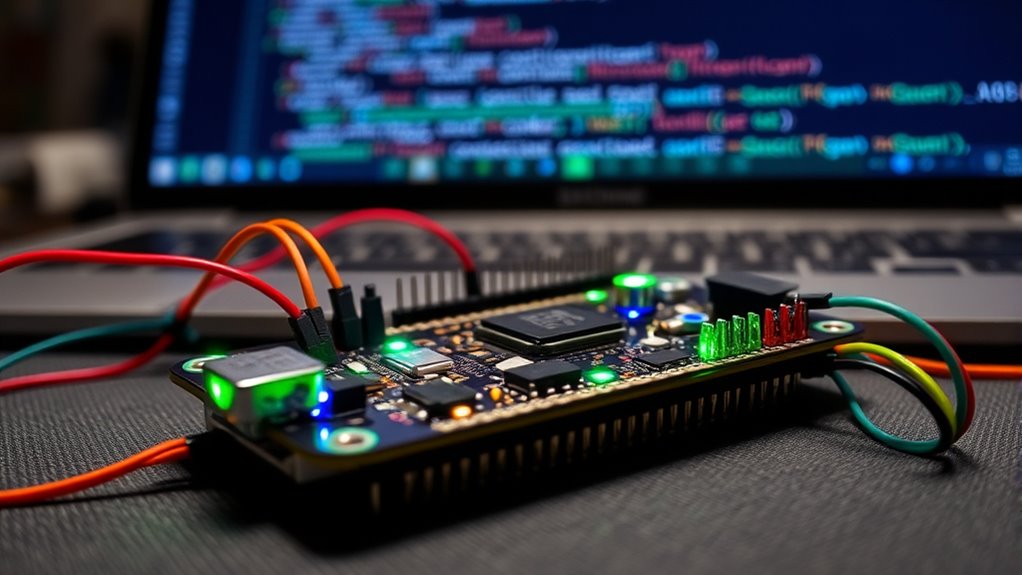
To get started with ESPHome, first flash the firmware onto your ESP device using a USB connection and tools like the ESPHome dashboard or CLI. Then, configure your device with simple YAML files, setting up sensors, switches, and other components tailored to your needs. Make sure to calibrate sensors for accurate readings and troubleshoot Wi-Fi issues for reliable connectivity. Keep exploring these basics to reveal more advanced customization and automation options.
Key Takeaways
- Flash custom firmware onto ESP devices using ESPHome’s dashboard or CLI tools for device setup.
- Create simple YAML configuration files to define sensors, switches, and components.
- Calibrate sensors by adjusting offsets or scaling to ensure accurate readings.
- Troubleshoot Wi-Fi connectivity issues by verifying credentials, signal strength, and router settings.
- Maintain reliable operation by updating firmware, configuring network settings, and monitoring device performance.
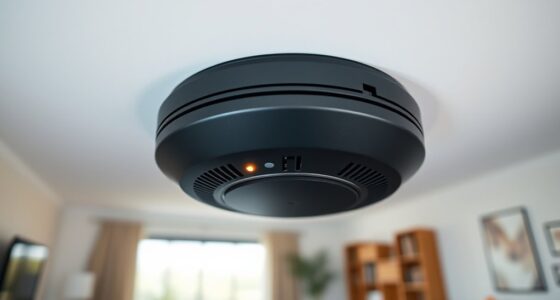
Have you ever wanted to easily customize and automate your smart home devices? ESPHome makes it straightforward to do just that, allowing you to flash firmware onto ESP8266 and ESP32 devices, configure them to suit your needs, and integrate them seamlessly into your smart home setup. Before diving into the fun part, it’s essential to understand a few basics, especially around sensor calibration and Wi-Fi troubleshooting, to ensure your devices perform at their best.
When you start working with ESPHome, the first step is flashing the firmware onto your device. This process involves connecting your ESP device to your computer and using the ESPHome dashboard or command-line tools to upload the custom firmware. Once flashed, you can begin configuring your device. This configuration includes setting up sensors, switches, and other components, often through a simple YAML file. Proper sensor calibration is important here. For example, if you’re using temperature sensors or light sensors, calibration ensures the readings are accurate. You might need to adjust offsets or scaling factors within your configuration to match real-world values. Accurate sensor calibration not only improves automation reliability but also helps you make informed decisions based on sensor data.
Flashing firmware and calibrating sensors are key steps for reliable ESPHome device setup.
Wi-Fi troubleshooting is another essential aspect of working with ESPHome. If your device struggles to connect or drops off the network, it can disrupt your entire setup. When faced with Wi-Fi issues, start by verifying your network credentials in the configuration file. Double-check that your SSID and password are correct, especially if you recently changed your Wi-Fi password. If your device can’t connect, try moving it closer to your router or access point to improve signal strength. Sometimes, Wi-Fi interference from other devices or networks can cause connectivity problems, so switching to a less congested channel or 2.4 GHz band can help. Additionally, ensure your router isn’t blocking new devices or has MAC filtering enabled, which could prevent your ESP device from connecting. If you’re still having trouble, reviewing logs can reveal clues—like failed authentication or signal issues—that guide your troubleshooting efforts. Keep in mind that understanding the role of Wi-Fi signals is crucial for maintaining reliable device connectivity.
Once your device is connected and configured, you can use ESPHome’s automation features to make your smart home more responsive and personalized. Whether you’re automating lights, controlling sensors, or integrating with other systems, the key is to keep calibration and connectivity smooth. Regularly calibrate sensors to maintain accuracy, and stay vigilant about Wi-Fi troubleshooting to keep your devices reliably online. This proactive approach ensures your smart home runs seamlessly, giving you peace of mind and control at your fingertips. With these fundamentals, you’re well on your way to mastering ESPHome basics and creating a smarter, more connected home environment.
Frequently Asked Questions
Can ESPHOME Work With All ESP8266 and ESP32 Devices?
ESPHome works with most ESP8266 and ESP32 devices, but firmware limitations and hardware compatibility can affect functionality. Some devices might lack sufficient memory or specific features needed for ESPHome, so you should check the device specifications beforehand. While it supports many popular models, newer or less common boards may require custom configurations or might not be fully compatible. Always verify compatibility to make certain of smooth operation.
Is ESPHOME Compatible With Other Home Automation Platforms?
Yes, ESPHome is compatible with other home automation platforms through third-party integrations. You can connect your ESPHome devices to systems like Home Assistant, OpenHAB, or Node-RED, enabling seamless automation. Additionally, ESPHome supports cloud connectivity, allowing remote control and monitoring. This flexibility makes it easy to integrate your ESPHome-powered devices into your existing smart home ecosystem, enhancing automation capabilities and simplifying management.
How Do I Troubleshoot Flashing Errors With ESPHOME?
Think of flashing errors like a stubborn lock—you need the right key. First, check your connections carefully; loose cables can be the culprit. If flashing still fails, try firmware recovery mode to reset your device. Also, troubleshoot your connection, ensuring your PC and ESP device communicate smoothly. With patience and these steps, you’ll open your device’s potential, overcoming flashing glitches and getting ESPHome back on track.
Can I Customize the User Interface in ESPHOME Dashboards?
Yes, you can customize the user interface in ESPHome dashboards through dashboard customization and user interface design. You can modify layouts, add or remove widgets, and adjust styles directly in the YAML configuration files. This allows you to tailor the dashboard to your preferences, making it easier to monitor and control your devices. Experiment with different configurations to create a user-friendly and visually appealing interface that best suits your needs.
What Security Measures Are Available When Using ESPHOME?
Think of your ESPHome setup like a locked treasure chest. You can secure it with device encryption, which keeps your data safe from prying eyes, and user authentication, ensuring only trusted users access your devices. These security measures act like a sturdy lock and a secret code, protecting your smart home from unauthorized access. By enabling these features, you create a safer environment for your connected devices and personal data.
Conclusion
Now that you’ve navigated the seas of ESPHome, you’re ready to sail smoothly through your smart device projects. Think of flashing and configuring as planting seeds that will grow into a lush garden of automation. With each step, you’re crafting a symphony of connected gadgets, turning your ideas into a vibrant, living ecosystem. Keep experimenting and exploring—your smart home masterpiece is just a few keystrokes away, waiting to blossom under your expert touch.