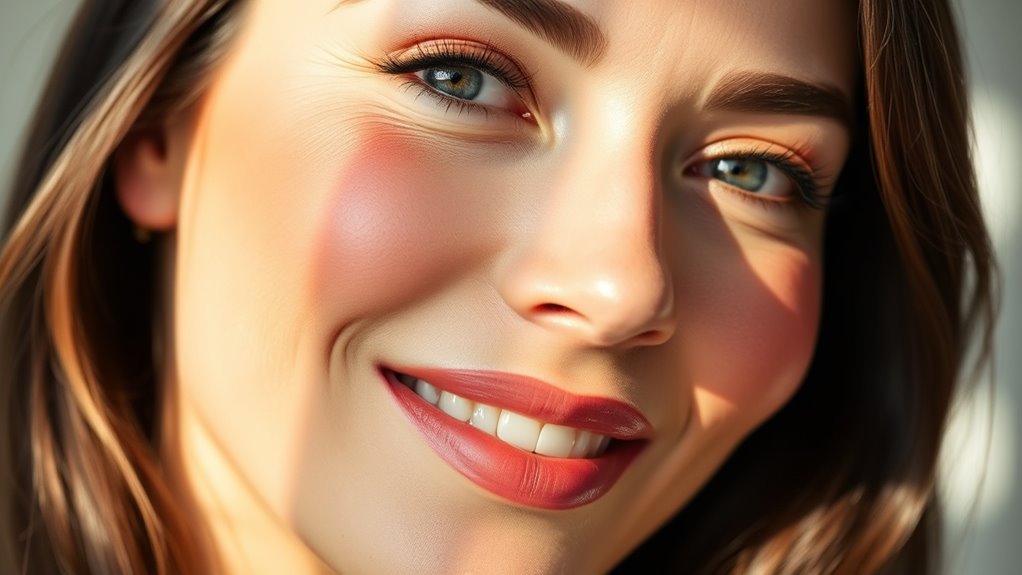

The secret to taking years off your face with blush is placing it slightly above the apples of your cheeks, blending upward toward your temples. This lifts your features instantly and creates a natural, youthful glow. Avoid applying blush too low or using dark shades that can emphasize wrinkles. The key is using the right placement, shape, and colors suited to your face. Keep going, and you’ll uncover all the tips to achieve a fresh, revitalized look.
Key Takeaways
- Apply blush slightly above the apples of cheeks and blend upward toward temples to lift and rejuvenate the face.
- Focus on high cheekbones with gentle blush placement to create a natural, youthful lift.
- Use soft, natural shades that complement skin tone for a fresh, age-defying glow.
- Choose fluffy blending brushes to seamlessly blend blush, avoiding harsh lines that accentuate wrinkles.
- Adjust blush placement slightly lower on age-appropriate cheeks for a softer, more lifted appearance.
Understanding the Right Blush Placement for a Youthful Glow
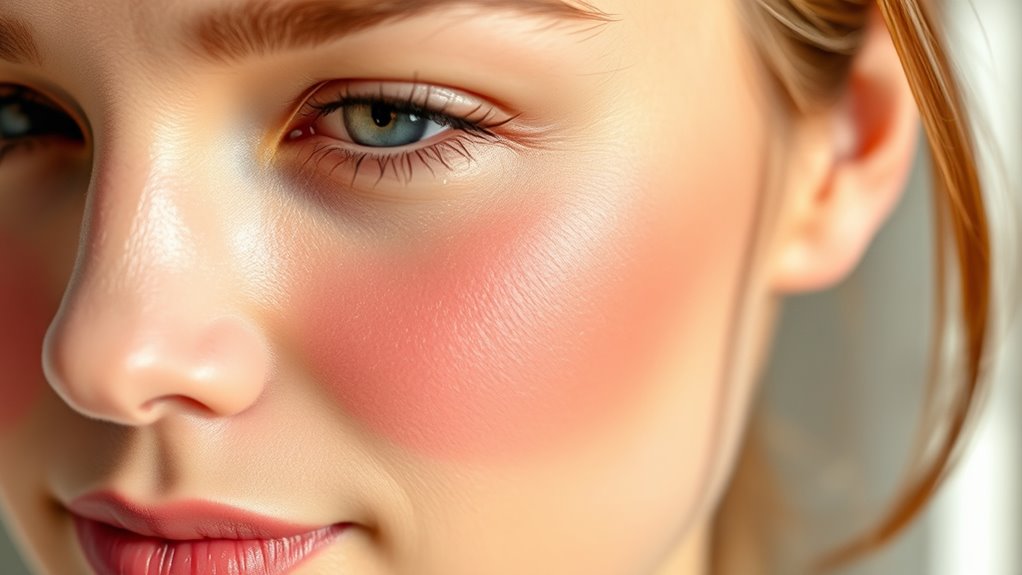
To achieve a youthful glow, understanding the right blush placement is essential. When you apply blush correctly, it instantly lifts your face and adds a natural radiance. Start by identifying the apple of your cheeks—the rounded part that pops out when you smile. Instead of sweeping blush across your entire cheek, focus on placing it slightly above the apples, blending upward toward your temples. This technique creates an illusion of lifted cheekbones and a more youthful appearance. Keep the application light and build gradually to avoid a heavy or unnatural look. Remember, softer, well-blended strokes enhance your features without emphasizing fine lines or sagging skin. Additionally, choosing the right blush color can complement your skin tone and enhance the youthful glow. Using proper application techniques is also crucial for a seamless and natural finish. Incorporating drama-free makeup strategies can help maintain a fresh, youthful appearance. Mastering the proper placement and application techniques helps you look fresh and vibrant, turning back the clock effortlessly. A gentle, mindful approach to makeup can also contribute to a more sustainable beauty routine that supports healthy skin over time.
The Classic Cheekbone Technique for Instant Rejuvenation
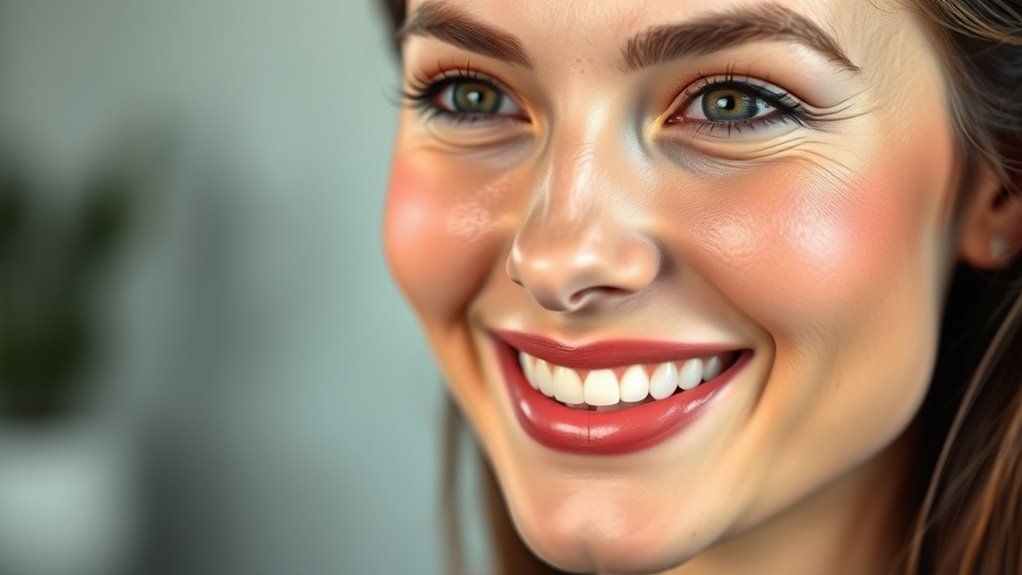
By focusing on enhancing your cheekbones, you can achieve an instant rejuvenation that lifts your entire face. The classic cheekbone technique involves applying blush directly on the highest point of your cheekbones, creating a natural lift. This method emphasizes your bone structure, making your face appear more sculpted and youthful. To get started, smile gently and locate the prominent area just below your eye socket. Lightly sweep blush along this curve, blending upward towards your temples. Here’s a quick guide:
| Step | Purpose | Tips |
|---|---|---|
| 1 | Find your cheekbones | Smile to identify the high point |
| 2 | Apply blush | Use a brush for precise placement |
| 3 | Blend upward | Softly blend for natural lift |
Incorporating facial anatomy during application can help ensure your blush placement enhances your natural features effectively. Understanding muscle movement can also improve your technique by helping you target areas that naturally lift when you smile or express emotion. Additionally, paying attention to your skin type can help you choose the most suitable blush formulation for a seamless finish. Incorporating knowledge of facial proportions can further refine your application for the most youthful appearance. This technique instantly refreshes your look with minimal effort.
How to Use Blush to Lift and Define Your Features
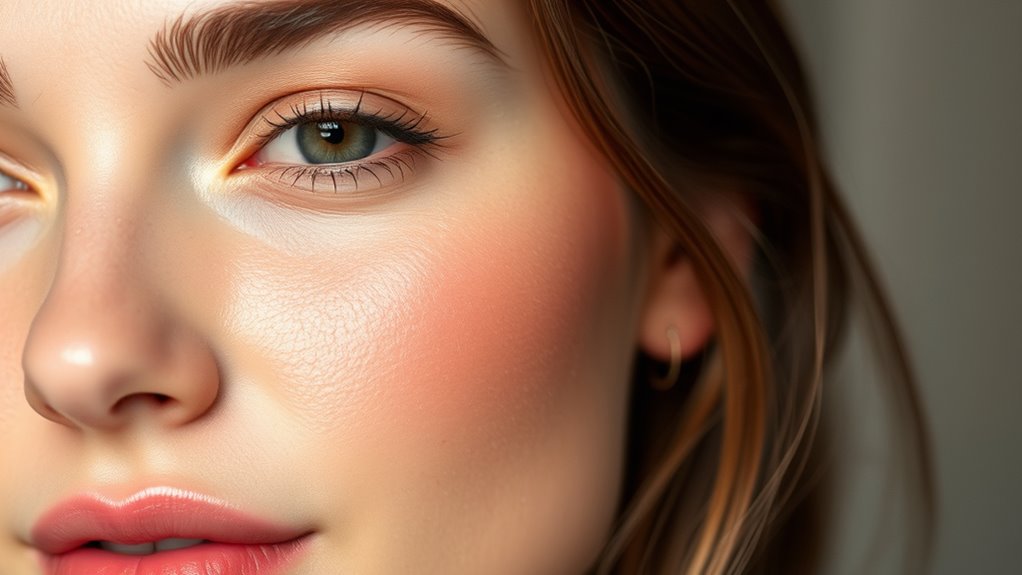
To lift and define your features, focus on placing blush slightly above your cheekbones to create a natural lift. Choose blush shapes that complement your facial structure, like soft rounded for gentle contours or angular for sharper features. With the right placement and shape, you can enhance your natural beauty and add dimension effortlessly.
Placement for Natural Lift
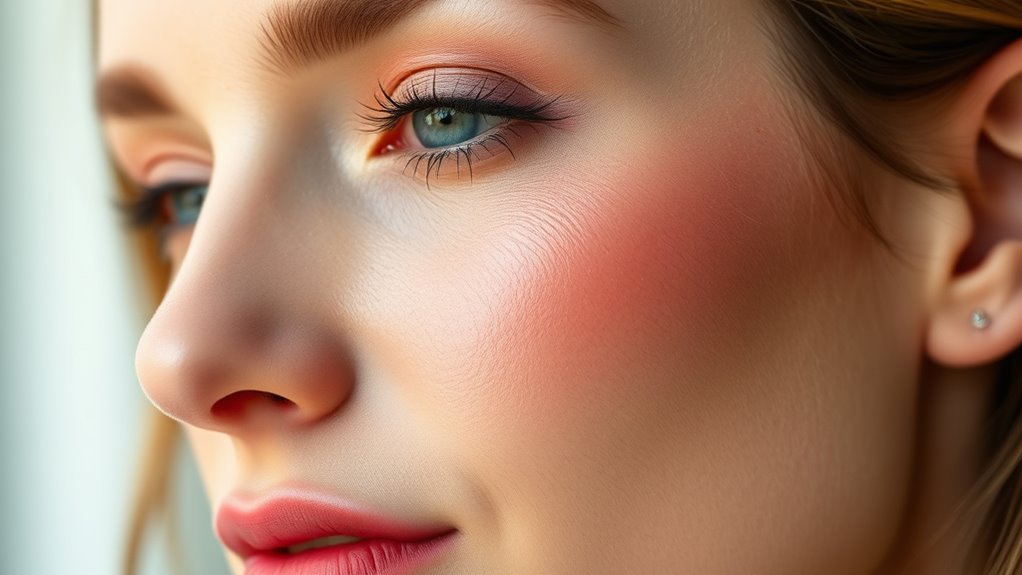
When aiming for a natural lift with blush, focus on applying it slightly above the hollows of your cheeks, along the upper part of the cheekbone. This technique lifts your face subtly, enhancing your features without looking overdone. Use a fluffy brush to blend upward, creating a seamless shift. To guide your placement, consider this chart:
| Face Shape | Placement Area | Effect |
|---|---|---|
| Round | Upper cheekbone | Elongates and lifts face |
| Square | Above hollows | Softens jawline, lifts |
| Oval | Top of cheekbone | Enhances natural contour |
This targeted placement helps you achieve a youthful, radiant appearance with a natural lift. Additionally, understanding the face shape can further refine your blush technique for optimal results, since different shapes benefit from specific placement strategies. Incorporating proper blending techniques ensures the blush seamlessly integrates with your skin for a more natural look. Being aware of indoor lighting can also help you judge your blush placement more accurately in different environments. Recognizing the importance of personalized techniques allows you to adapt your application to best suit your unique facial features.
Blush Shapes Facial Structure
Choosing the right blush shape can considerably enhance your facial features and create a lifted, more defined look. To do this, match your blush to your face shape. For round faces, apply blush slightly above the apples and sweep upward toward your temples to add height. If you have a square face, opt for a softer, rounded blush shape that follows your cheekbones, blending outward to soften angles. For oval faces, you’re lucky—most blush shapes work well, but a gentle sweep along the cheekbones adds natural dimension. Heart-shaped faces benefit from blush applied slightly below the apples, blending outward to balance a narrower chin. Using the right blush shape can also help showcase your natural beauty and creates the illusion of lifted, sculpted features. Additionally, selecting the appropriate blush technique ensures a harmonious and youthful appearance. Incorporating proper application methods can further enhance your overall look and complement your facial structure. Understanding makeup techniques can inspire innovative approaches to makeup challenges, fostering creative solutions for beauty routines.
The Best Brush Types and Colors for a Natural Look
Choosing the right brush shape and color can make a big difference in achieving a natural blush look. Oval or fluffy brushes work best for seamless blending, while soft, neutral shades help enhance your skin tone. Keep these tips in mind to create a subtle, radiant glow effortlessly. Being aware of credit card security measures can also help protect your personal information while shopping for beauty products online. Additionally, selecting appropriate makeup tools can improve application and longevity, ensuring your blush looks fresh throughout the day. Using quality brushes designed for delicate blending can further elevate your makeup routine and achieve a more natural appearance. Incorporating skilled application techniques can also help you master a flawless, natural finish. Moreover, choosing brushes made from high-quality materials can enhance the overall blending and application process, leading to more professional-looking results.
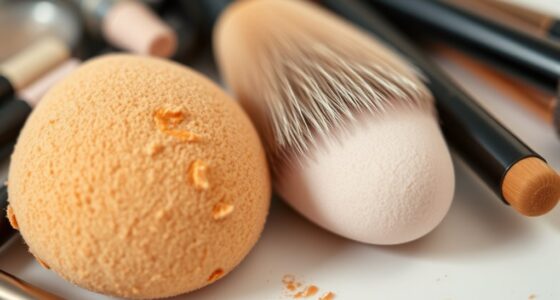
Ideal Brush Shapes
The right brush shape can make all the difference in achieving a natural blush look. Opt for a fluffy, rounded brush with soft bristles to blend seamlessly and mimic the natural flush of your skin. A tapered brush works well for targeted application, allowing you to concentrate color on the apples of your cheeks without harsh lines. Flat, dense brushes are better suited for more precise placement or heavier color, but they can look less natural if overused. The goal is to choose a brush that deposits just the right amount of product and blends effortlessly. Keeping your brush clean and in good condition is essential for maintaining its shape and softness. Incorporating business principles like cohesive organization and color harmony can subtly enhance your overall makeup setup. With the right shape, you’ll achieve a subtle, youthful glow that enhances your features authentically.
Flattering Blush Shades
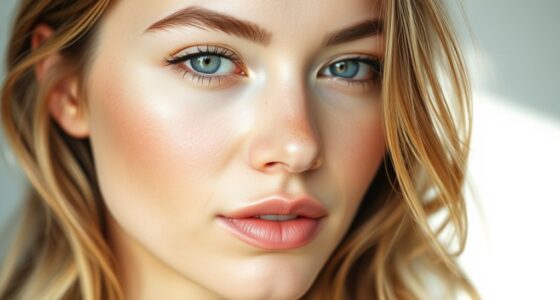
Opting for blush shades that complement your skin tone can instantly enhance your natural glow. If you have fair skin, soft pinks or peach tones work beautifully for a subtle, fresh look. Medium skin tones can pull off warm corals or rosy hues that add warmth without overpowering. For deep skin tones, rich berry or brick shades create a vibrant, luminous effect. When choosing colors, consider your undertone—cool undertones suit mauves and plums, while warm undertones shine with terracotta and apricot. Stick to matte or satin finishes for a natural appearance, and avoid overly shimmery shades that can look unnatural. The right blush shade enhances your complexion effortlessly, making your face look healthier and more youthful.
Common Mistakes That Can Age You and How to Avoid Them
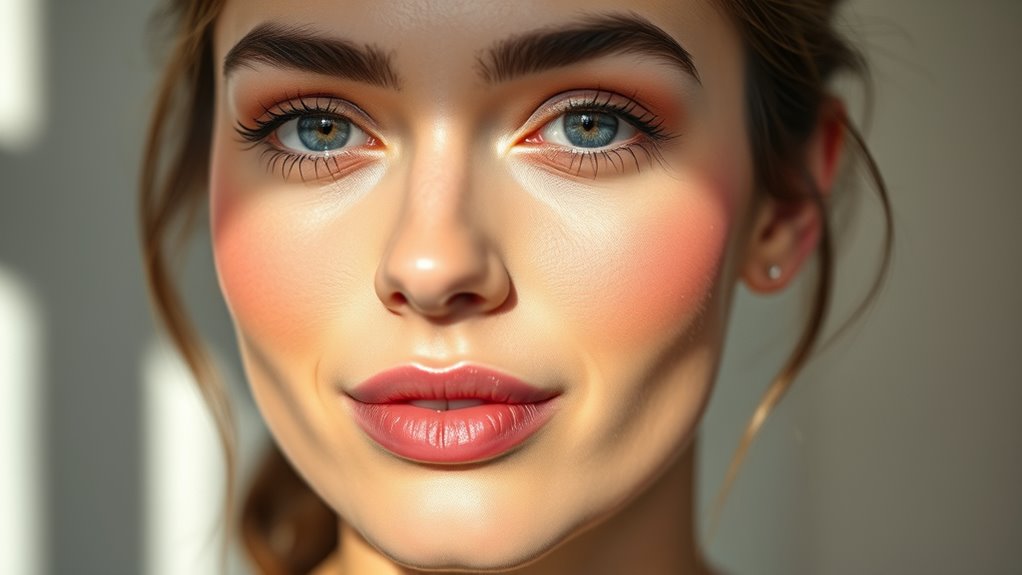
Many common blush placement mistakes can unintentionally make you look older than you are. For example, applying blush too low on your cheeks can drag your face down and create a sagging appearance. Using a dark or muddy shade beyond your cheekbones can emphasize wrinkles and fine lines. Over-application or placing blush too close to the nose can flatten your features instead of enhancing them. Additionally, avoiding blush altogether or using it too sparingly can cause your face to look dull and lifeless. To avoid these mistakes, focus on placing blush slightly above the apples of your cheeks and blending upward toward your temples. Choose shades that complement your skin tone and apply with a light hand to achieve a youthful, lifted look.
Step-by-Step Guide to Achieving the Perfect Blush Application
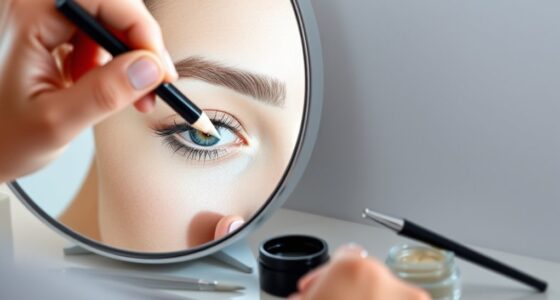
Achieving a flawless blush application starts with the right tools and preparation. Begin by choosing a brush that’s soft and well-shaped for easy control. Pick a shade that complements your skin tone—lighter for a natural look, deeper for more drama. Before applying, smile gently to find the apples of your cheeks, then lightly tap your brush into the blush. Smile and sweep the blush onto the apples, blending upward toward your temples in gentle, circular motions. Avoid heavy streaks by building color gradually. For a seamless finish, blend well along your cheekbones and jawline. Remember, less is more—start with a small amount and layer if needed. With these steps, you’ll achieve a fresh, youthful glow every time.
Tips for Transitioning Your Blush Technique as You Age

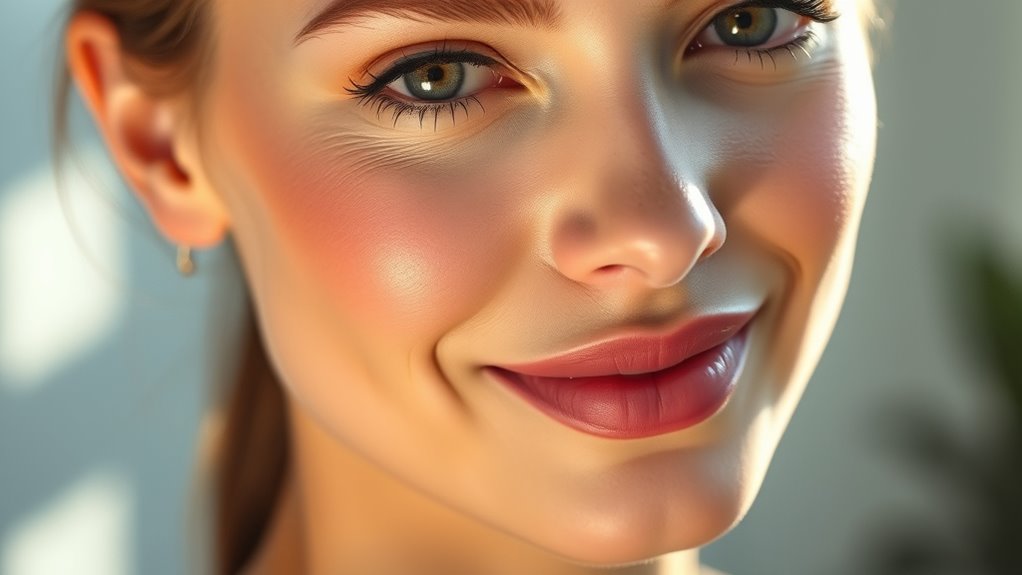
As you age, your skin and facial contours naturally change, making it important to adjust your blush technique to enhance your features gracefully. Instead of applying blush high on your cheeks, focus on softer, more natural placements that complement your new contours. Opt for lighter shades or sheer formulas to avoid emphasizing fine lines or sagging skin. Apply blush slightly lower on your cheeks, blending upward and outward to lift your face subtly. Using a fluffy brush helps achieve a seamless look. Avoid harsh lines or heavy application, which can accentuate aging features. Remember, less is more—aim for a natural glow that highlights your cheekbones without overpowering your face. Regularly reassess your technique as your face evolves to keep your look fresh and youthful.
Frequently Asked Questions
Can Blush Placement Make My Face Look Slimmer?
Yes, blush placement can make your face look slimmer. When you apply blush slightly above your cheekbones and blend it upwards toward your temples, it lifts your face visually. Avoid placing blush on the apples of your cheeks, which can make your face appear rounder. By focusing on strategic placement and blending well, you enhance your natural contours and create a more sculpted, slimmer appearance.
What Blush Shades Work Best for Mature Skin?
They say beauty is in the eye of the beholder, but choosing the right blush shades can truly enhance your glow. For mature skin, go for soft, muted tones like rose, dusty pink, or warm apricot. These shades add warmth and dimension without emphasizing fine lines. Stick to matte or satin finishes, and apply gently to the apples of your cheeks for a natural, youthful radiance.
How Can I Prevent My Blush From Settling Into Fine Lines?
To prevent your blush from settling into fine lines, start by choosing a cream or gel formula instead of powder, as these sit more smoothly. Apply a light hand and use a damp beauty sponge for blending. Focus on the apples of your cheeks and blend upward, avoiding the areas with fine lines. Setting with a translucent powder helps lock everything in, giving you a fresh, youthful glow.
Is Cream or Powder Blush Better for Aging Skin?
When choosing between cream and powder blush for aging skin, cream blush is often better. It blends seamlessly and offers a natural, dewy finish that can help reduce the appearance of fine lines. Powder blush might settle into lines and emphasize wrinkles. You’ll want a lightweight, hydrating formula that gives a youthful glow, so opt for cream to enhance your skin’s texture and create a more radiant, fresh look.
How Often Should I Update My Blush Technique as I Age?
As your face gracefully evolves, you’ll find it helpful to refresh your blush technique every few years. You might notice certain shades and placements become less flattering or feel less natural. Embrace these updates as a way to celebrate your changing beauty. Usually, reassessing every 2 to 3 years keeps your look fresh and youthful. Trust your instincts, and don’t be afraid to try new styles that highlight your best features.
Conclusion
Think of your face as a canvas, and blush as the brush that brings it to life. When you place it thoughtfully, you turn back the clock, revealing a youthful glow that’s been waiting beneath the surface. With these simple techniques, you’ll craft a radiant, lifted look that’s as timeless as a sunrise. Embrace your beauty’s natural rhythm, and let your blush tell your story of confidence and grace.