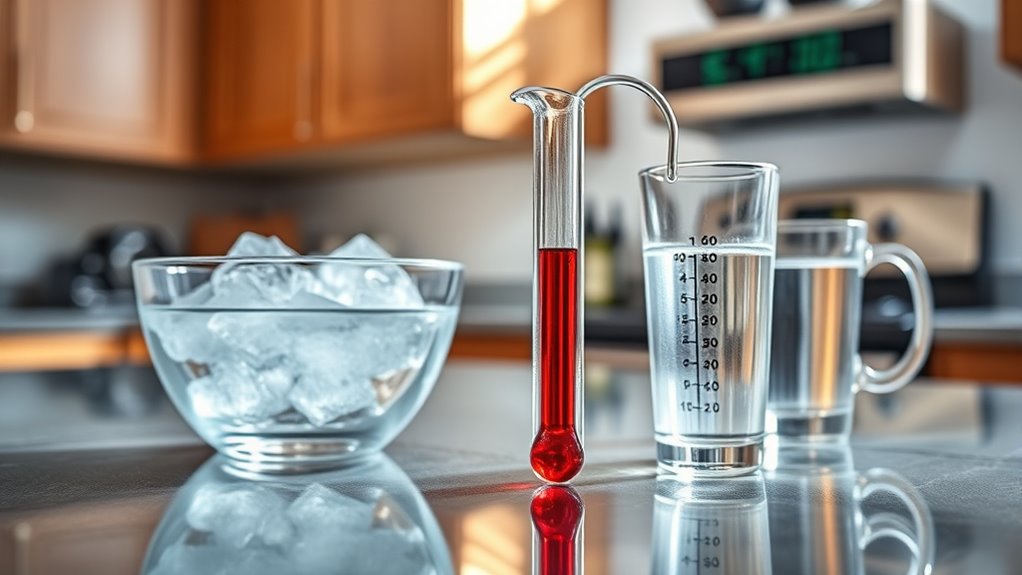

To calibrate your thermometer at home, start by preparing an ice water mixture with crushed ice and minimal water to reach 32°F (0°C). Submerge the sensing tip fully without touching the sides or bottom of the container and wait for the temperature to stabilize—your device should read 32°F. Next, calibrate it in boiling water at 212°F (100°C) for sea level (adjust if you’re at higher altitudes). If needed, use the device’s calibration feature or mentally adjust for any discrepancy. Continue exploring for more tips on keeping your thermometer accurate.
Key Takeaways
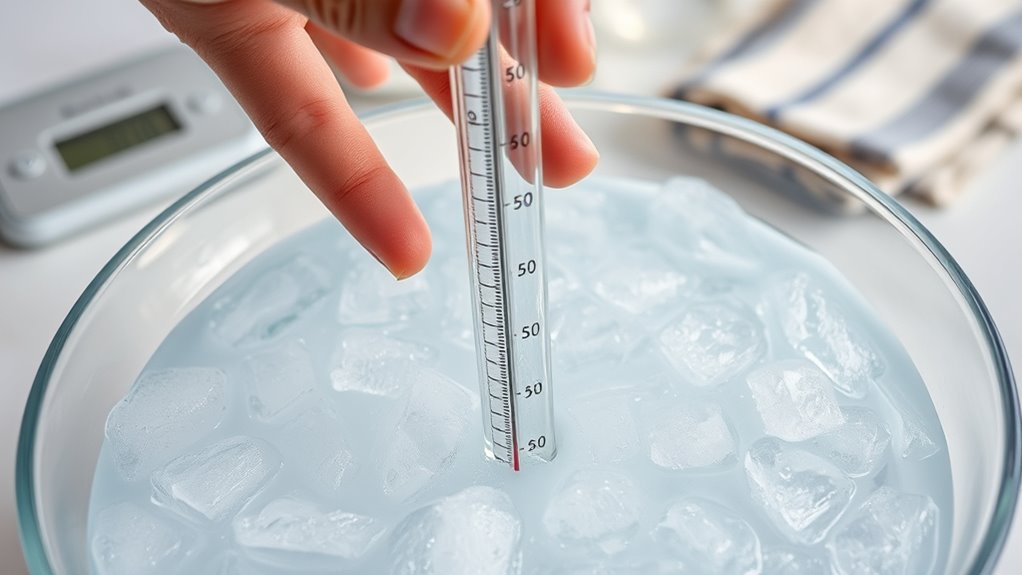
- Prepare an ice water mixture with crushed ice and minimal water, ensuring the sensing tip is fully submerged without touching container sides.
- Insert the thermometer into the ice water and wait for the reading to stabilize; it should read 32°F (0°C).
- For boiling point calibration, place the thermometer in boiling water (at sea level) and wait for stabilization; it should read 212°F (100°C).
- Use the thermometer’s calibration adjustment feature if available to correct discrepancies; follow the manufacturer’s instructions.
- Regularly perform calibration checks, record results, and adjust or replace the thermometer as needed for accurate readings.
Calibrating your thermometer guarantees you get accurate temperature readings, which is crucial for cooking, science experiments, or maintaining proper storage conditions. Whether you’re using a digital thermometer or another type, ensuring it’s properly calibrated is key to reliable measurements. Digital thermometers are popular because they provide quick, easy-to-read results, but they can drift over time. To keep them precise, you need to follow calibration standards that are simple enough to do at home. These standards usually involve using known temperature points, such as the freezing and boiling points of water, which serve as reliable benchmarks.
Start by selecting a calibration method that suits your thermometer type. For digital thermometers, the most common approach involves using ice water and boiling water. First, prepare a mixture of crushed ice and a small amount of water in a container. It should be just enough to fill the space around the thermometer’s sensing tip without submerging it too deeply. Insert the thermometer into the ice water, making sure the sensing tip is fully immersed and not touching the sides or bottom of the container. Wait until the reading stabilizes, then check the display. It should read 32°F (0°C). If it doesn’t, you’ll need to adjust or note the discrepancy for future reference.
Next, perform the boiling water test. Bring a pot of distilled water to a rolling boil. Insert the thermometer into the boiling water, ensuring it’s fully submerged but not touching the pot’s sides or bottom. Wait for the reading to stabilize, then compare it to the boiling point of water—212°F (100°C) at sea level. Remember, altitude affects boiling points, so if you’re at higher elevations, adjust expectations accordingly. If your digital thermometer doesn’t read correctly, check if it has calibration adjustment options. Many models allow you to recalibrate via a menu or button. If it doesn’t, note the difference and mentally compensate when taking measurements.
Maintaining calibration standards at home is straightforward but essential. Regularly performing these tests helps ensure your digital thermometer stays accurate over time. If readings are consistently off, consider replacing the batteries or the device itself. Proper calibration also involves understanding the limits of your thermometer—some are more sensitive and require more frequent checks. Always follow the manufacturer’s instructions for calibration procedures, as they may vary depending on the model. By integrating these simple calibration checks into your routine, you’ll guarantee that your digital thermometers provide consistent, accurate readings, whether for perfect cooking, scientific accuracy, or safe food storage.
Frequently Asked Questions
How Often Should I Calibrate My Thermometer?
You should calibrate your thermometer at least once a year to verify accuracy. Regular accuracy checks using calibration tools help identify any drift in readings. If you notice inconsistent or questionable results, re-calibrate immediately. For frequent or critical measurements, consider more frequent calibration. Proper calibration maintains reliable temperature readings, so invest time in checking periodically and using calibration tools to keep your thermometer precise and dependable.
Can I Calibrate Any Type of Thermometer at Home?
You can calibrate many types of thermometers at home, but not all. Imagine holding a glass thermometer in a cup of ice water or boiling water—these are simple calibration methods that help check temperature accuracy. Digital thermometers often have calibration settings, making adjustments straightforward. However, some specialized thermometers require professional calibration to ensure precision. Always check your thermometer’s instructions to see if home calibration is feasible and effective.
What Are Signs My Thermometer Needs Calibration?
You’ll notice your thermometer needs calibration if it gives readings that seem off during an accuracy check, like showing a temperature too high or too low compared to a known standard. If you suspect inaccuracies, use calibration tools or boiling water and ice baths to test its reliability. Regularly verifying your thermometer’s accuracy guarantees precise readings, so it functions correctly and provides trustworthy measurements every time.
Is Calibration Necessary for Digital Thermometers?
Yes, calibration is necessary for digital thermometers to guarantee accuracy. You should perform an accuracy check regularly using calibration tools like ice water or boiling water. If the thermometer’s readings are off, calibration helps correct that. By calibrating your digital thermometer, you ensure reliable temperature measurements, especially for cooking or health purposes. Regular calibration maintains the device’s precision, giving you confidence in its readings whenever you need them.
How Do I Know if Calibration Was Successful?
You’ll know calibration was successful if your thermometer reads accurately during an accuracy check. Use calibration tools like ice water or boiling water to test it. If the readings match the expected temperatures, your calibration is good. If they’re off, repeat the process and adjust if possible. Regularly perform accuracy checks to make certain your thermometer stays reliable over time.
Conclusion
Now that you’ve calibrated your thermometer, you’re not just measuring temperatures—you’re mastering a secret skill. Imagine holding the power to guarantee your food’s safety or your home’s comfort with confidence. Remember, a well-calibrated thermometer is like a trusted friend—reliable and true. So go ahead, trust yourself and keep that tool in check. After all, precision isn’t just a skill; it’s your ticket to safer, smarter decisions every day.