To install a pressure-side pool cleaner, gather all necessary tools like hoses, flotation devices, adapters, and your pool’s skimmer. Attach the flotation to the hose, ensuring it’s secure and properly balanced, then connect the hose assembly to your cleaner. Attach the system to your pool’s return line, making sure all connections are tight and leak-free. Adjust settings for peak cleaning performance, and remember regular maintenance to keep it running smoothly—more tips will help you master the setup.
Key Takeaways
- Gather all tools and materials, including hoses, flotation devices, adapters, and safety gear, before starting installation.
- Attach flotation to the hose assembly, ensuring secure, properly balanced connections for stability.
- Turn off the pool pump and connect the hose fitting securely to the return jet, checking for leaks.
- Adjust cleaning settings and pressure valve to optimize movement and prevent over-pressurization during operation.
- Perform regular maintenance, including inspecting hoses and cleaning filters, to ensure efficient and trouble-free performance.
Gathering Necessary Tools and Materials
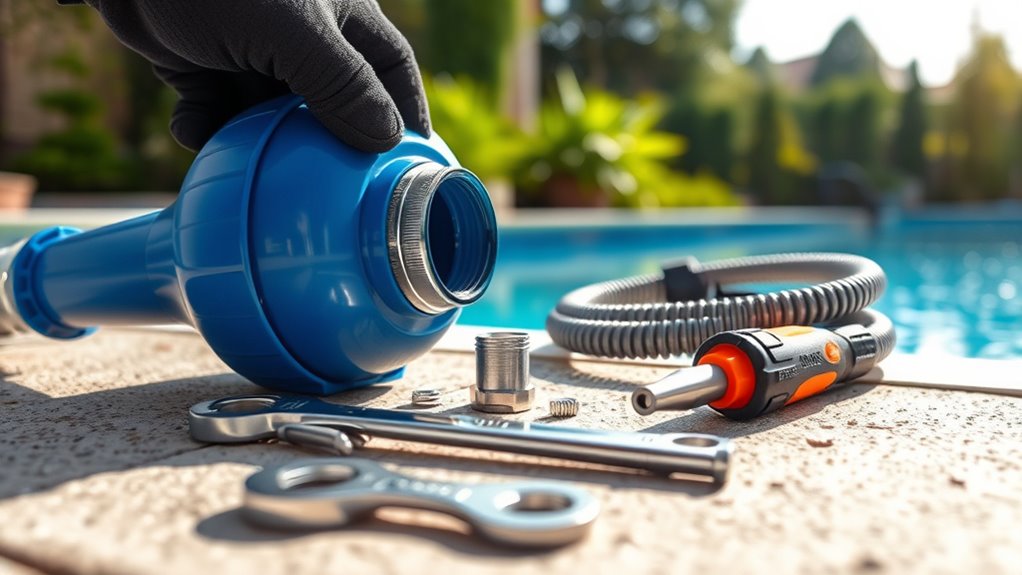
Before you begin assembling your pressure-side pool cleaner, it’s essential to gather all the necessary tools and materials. Ensure you have the cleaner’s hose, flotation devices, and any adapters recommended by the manufacturer. Checking your pool chemistry beforehand is crucial—balanced water helps prevent equipment damage and guarantees effective cleaning. Gather a pool skimmer, gloves, and safety glasses to follow safety precautions during installation. You might also need a wrench or screwdriver for securing fittings. Having everything on hand avoids interruptions once you start. Proper preparation reduces risks and makes the process smoother. Remember, following safety precautions during assembly protects you from potential injuries. Ensuring compatibility of your equipment with the best pool cleaning tools can enhance the efficiency of your installation. Additionally, understanding the importance of proper installation techniques can help prevent future issues and extend the lifespan of your cleaner. Being familiar with vetted cleaning products can also contribute to maintaining your pool in optimal condition. Recognizing the role of professional maintenance practices can further optimize your cleaning routine. Using high-quality pressure-side pool cleaners is vital for achieving thorough and reliable pool maintenance. Once you’ve assembled your tools and materials, you’re ready to move forward confidently with the installation.
Attaching the Flotation and Hose Components
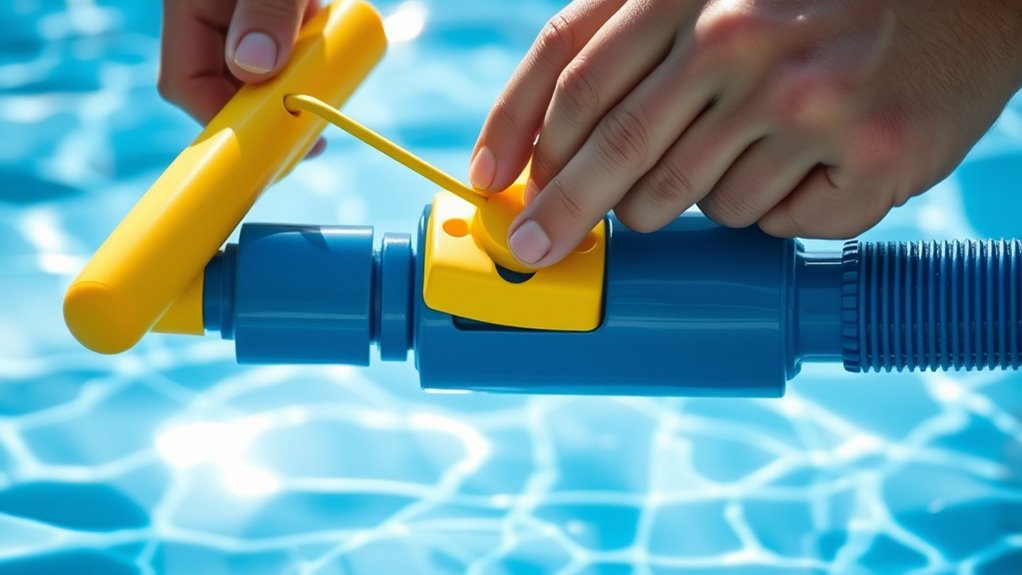
Are you ready to connect the flotation and hose components to your pressure-side pool cleaner? First, attach the flotation mechanism to the hose assembly, making sure it’s secure but not too tight. The flotation keeps the cleaner afloat and guides it along the pool floor. To help you visualize, here’s a quick overview:
| Step | Action |
|---|---|
| 1 | Connect the flotation to the hose |
| 2 | Adjust the flotation for stability |
| 3 | Attach the hose assembly to the cleaner |
| 4 | Ensure all connections are tight |
| 5 | Check the flotation’s position |
Your goal is to create a balanced hose assembly that floats correctly, allowing smooth movement across the pool surface. Proper pressure regulation is also crucial for optimal cleaning performance. Additionally, maintaining the correct workspace setup can help prevent issues with hose kinks or tangling during operation.
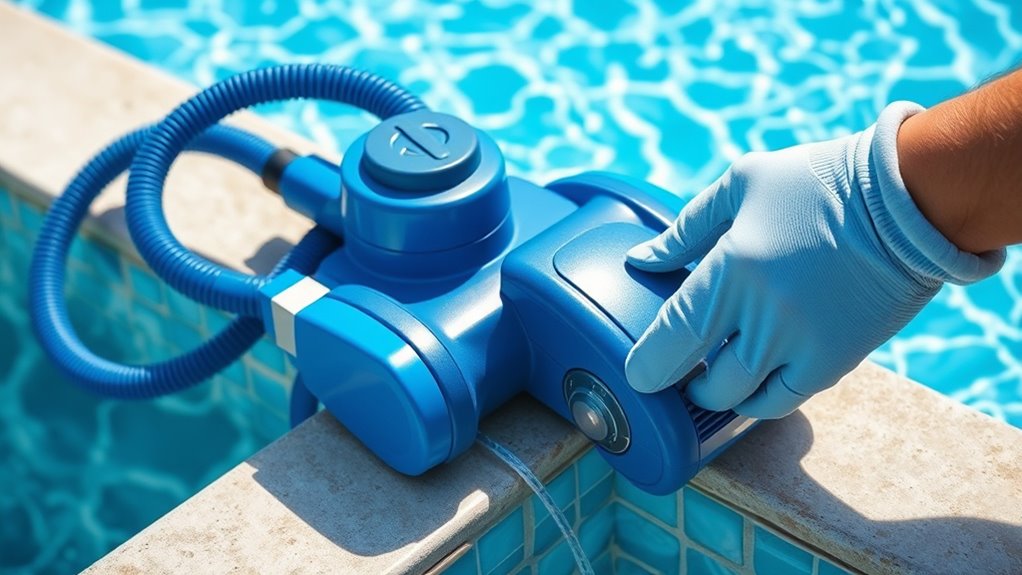
Connecting the Cleaner to the Pool’s Return Line

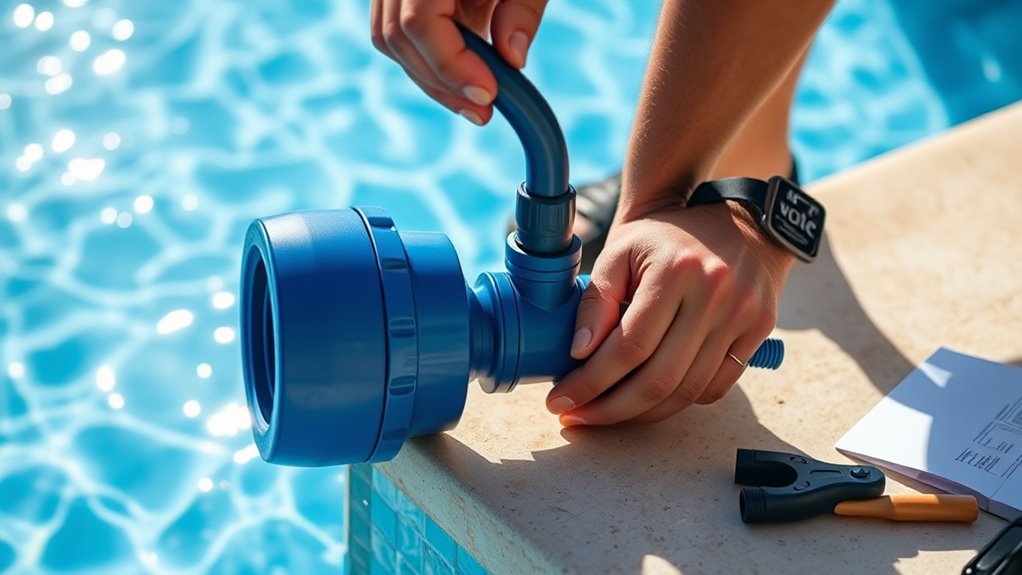
Once you’ve secured the flotation and hose components, the next step is to connect the cleaner to the pool’s return line. Turn off the pool pump before making the connection to guarantee safety. Attach the hose fitting securely to the return jet, making sure it’s snug to prevent leaks. Check your pool’s chemistry; proper water balance helps optimize cleaner performance and prevents equipment stress. Always wear safety precautions, such as gloves or goggles, if needed, especially when handling equipment or chemicals. Confirm that the hose is free of kinks or obstructions that could impair movement. Proper connection ensures efficient cleaning and minimizes issues like air leaks. Additionally, understanding the horsepower of electric dirt bikes can help you appreciate the importance of a well-functioning pump and cleaner system. Taking the time to inspect connections carefully can prevent future problems and ensure optimal operation. Remember, maintaining the right pool chemistry can also extend the lifespan of your equipment. Regularly reviewing manufacturer guidelines for your pressure-side pool cleaner can help avoid leaks or malfunctions, saving you time and effort during maintenance. Taking the time to double-check connections, keeping safety and pool chemistry in mind for a smooth setup.
Adjusting the Cleaning Settings and Testing the System
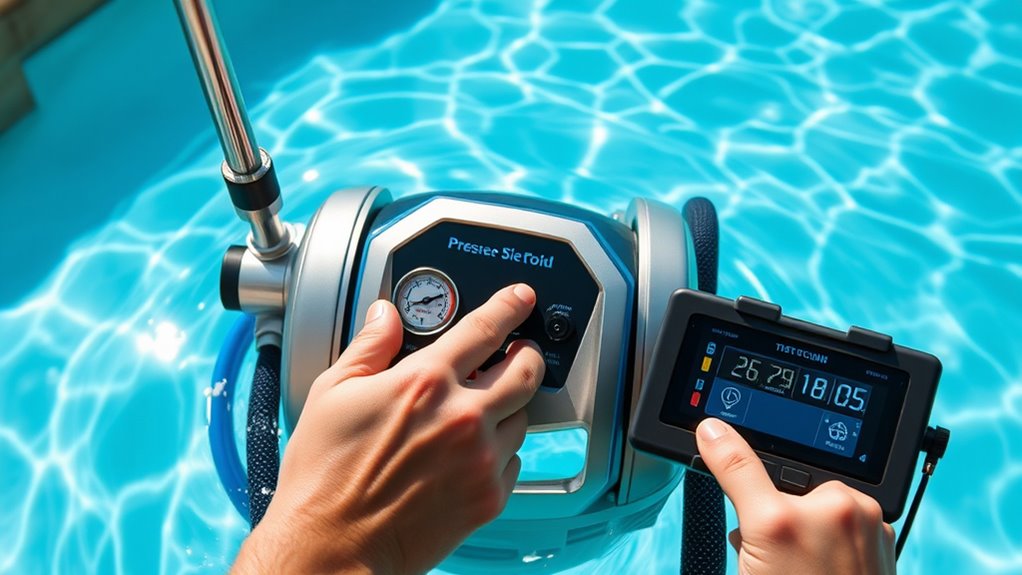
After you’ve connected the cleaner to the pool’s return line, it’s important to adjust the cleaning settings to match your pool’s needs. Proper pressure adjustment ensures ideal cleaning without stressing the system. Next, test the cleaner by turning on the pump and observing its movement. Adjust the pressure valve if the cleaner isn’t moving or is moving too quickly. Keep in mind that effectiveness of eye patches can vary based on individual skin types and conditions, so monitoring your cleaner’s performance is essential. Here are four key steps:
- Check the cleaner’s movement and coverage.
- Fine-tune the pressure adjustment for consistent operation.
- Monitor the pressure gauge to avoid over-pressurizing.
- Perform regular filter maintenance to keep water flow steady, which also supports the overall efficiency of your pool system. Properly tuning the system’s pressure settings can significantly enhance cleaning performance and prolong equipment lifespan. Ensuring your pool’s Ulta Beauty Store Hours and other retail hours are compatible with maintenance schedules can help you stay on top of routine upkeep. Additionally, regularly inspecting the filter replacement schedule helps maintain optimal water quality and system effectiveness.
Performing Maintenance and Troubleshooting Tips
Regular maintenance is essential to keep your pressure-side pool cleaner operating efficiently and to prevent common issues. Check chlorine levels regularly to ensure proper sanitation, as imbalances can affect cleaner performance. Additionally, perform routine filter maintenance by cleaning or replacing filters to prevent clogs and maintain ideal suction. Troubleshooting often involves inspecting hoses for leaks or blockages, which can hinder movement. If your cleaner isn’t picking up debris, verify that the pressure valve is set correctly. Use the table below for quick reference:
| Issue | Cause | Solution |
|---|---|---|
| Poor debris pickup | Clogged filter or hose | Clean filter, check hose for blockages |
| Inconsistent movement | Low pressure or leaks | Adjust pressure, fix leaks |
| Excessive noise | Loose parts or debris | Tighten fittings, clear debris |
| Skipping or missing spots | Improper settings | Reconfigure cleaning settings |
| System not starting | Pump or system malfunction | Inspect pump, consult manual |
Additionally, staying informed about pressure system maintenance can help prevent unexpected malfunctions. Regularly reviewing the system operation can further ensure the cleaner functions correctly over time. To optimize system performance, consider checking pressure levels periodically for consistent operation.
Frequently Asked Questions
Can I Install a Pressure-Side Pool Cleaner Myself Without Professional Help?
You might wonder if you can do a DIY installation of a pressure-side pool cleaner without professional help. The good news is, with the right tool requirements and clear instructions, you can. Just make certain you understand the steps, such as connecting hoses and securing fittings properly. If you’re comfortable with basic pool maintenance tasks and follow the manufacturer’s guidelines, you should be able to install the cleaner yourself confidently.
How Often Should I Replace the Hoses and Parts of the Cleaner?
Replacing hoses and parts is like changing the tires on your car—you gotta do it to keep everything running smoothly. You should inspect your pressure-side pool cleaner’s hoses regularly and replace them every 1-2 years or when you notice cracks, leaks, or wear. For part maintenance, check the cleaner’s components monthly, and replace worn-out parts promptly to ensure peak performance and extend the cleaner’s lifespan.
Will Installing a Pressure-Side Cleaner Affect My Pool’S Water Chemistry?
Installing a pressure-side pool cleaner can impact your pool’s water chemistry if it causes debris buildup or leaks. You might need to make some chemical adjustments to maintain proper pool water balance. Keep an eye on your water’s pH, alkalinity, and chlorine levels, especially after installation. Regularly testing your water helps verify the cleaner doesn’t disrupt your pool’s chemistry, keeping it safe and clear.
What Safety Precautions Should I Take During Installation?
During installation, you should prioritize electrical safety by turning off power sources to avoid shocks. Wear personal protective equipment like gloves and safety goggles to prevent injuries. Make certain you follow all manufacturer instructions carefully, and work in a dry area to reduce electrical hazards. Keep tools and cords organized and away from water. Taking these precautions helps you stay safe while installing your pressure-side pool cleaner efficiently and correctly.
Can a Pressure-Side Pool Cleaner Operate With a Solar Pool Heater?
You might wonder if a pressure-side pool cleaner works with a solar pool heater. Generally, solar compatibility isn’t an issue, but it’s wise to check your cleaner’s specifications. Keep in mind, using a solar heater may impact cleaner maintenance, as high temperatures can affect parts over time. To guarantee the best performance, regularly inspect your cleaner and confirm it’s compatible with your solar system, preventing potential damage.
Conclusion
Once you’ve installed your pressure-side pool cleaner, it’s like tuning a finely crafted instrument—once you get everything just right, it runs smoothly and efficiently. I remember my first time setting one up; a small leak nearly thwarted my efforts, but with patience and troubleshooting, I got it humming perfectly. Just like that experience, maintaining your cleaner guarantees your pool stays sparkling clean. With proper care, your investment will keep your pool pristine all season long.