If your pressure pool cleaner isn’t working, start by checking that it’s plugged into a secure outlet and the power switch is on. Inspect hoses and fittings for leaks, cracks, or blockages, and clear out debris inside hoses or baskets. Make sure water pressure is within the recommended range, and adjust settings if needed. Proper placement and maintaining equipment help guarantee efficient cleaning. Keep troubleshooting steps in mind for a smoother pool cleaning experience.
Key Takeaways
- Check hoses and fittings for leaks, cracks, or blockages to maintain proper water pressure.
- Ensure the cleaner’s hoses are securely connected and free of debris or kinks.
- Verify that the water pressure gauge reads within the recommended range for optimal operation.
- Inspect the pump motor for unusual noises, overheating, or clogs that could affect performance.
- Regularly clean or replace filters and baskets to prevent debris buildup and maintain steady water flow.
Checking the Power Supply and Connections

Before troubleshooting your pressure pool cleaner, you should first verify that it’s receiving power. Start by checking the power outlet where you plug in the cleaner. Make sure the outlet isn’t loose or damaged, and test it with another device to confirm it works. If your cleaner has a power switch, ensure it’s turned on. Next, examine the electrical circuit supplying the outlet. Look for tripped circuit breakers or blown fuses that could cut off power. Reset any tripped breakers or replace blown fuses as needed. Avoid plugging the cleaner into extension cords, which can cause power issues. Confirming your power outlet and electrical circuit are functioning properly is essential before moving on to other troubleshooting steps. Additionally, ensure the power source is compatible with your electrical equipment to prevent electrical problems. Checking for power compatibility can help avoid potential electrical hazards and ensure your cleaner operates smoothly. It’s also helpful to verify that your electrical system meets the requirements specified by the manufacturer to maintain safe and reliable operation. Regularly inspecting your electrical connections can further prevent unexpected malfunctions.
Inspecting the Hoses and Fittings
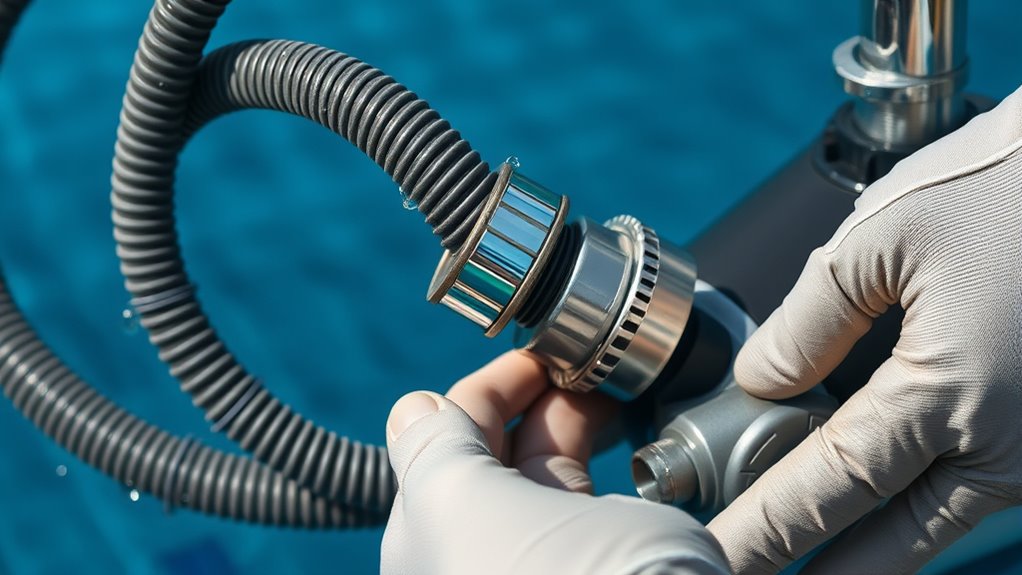
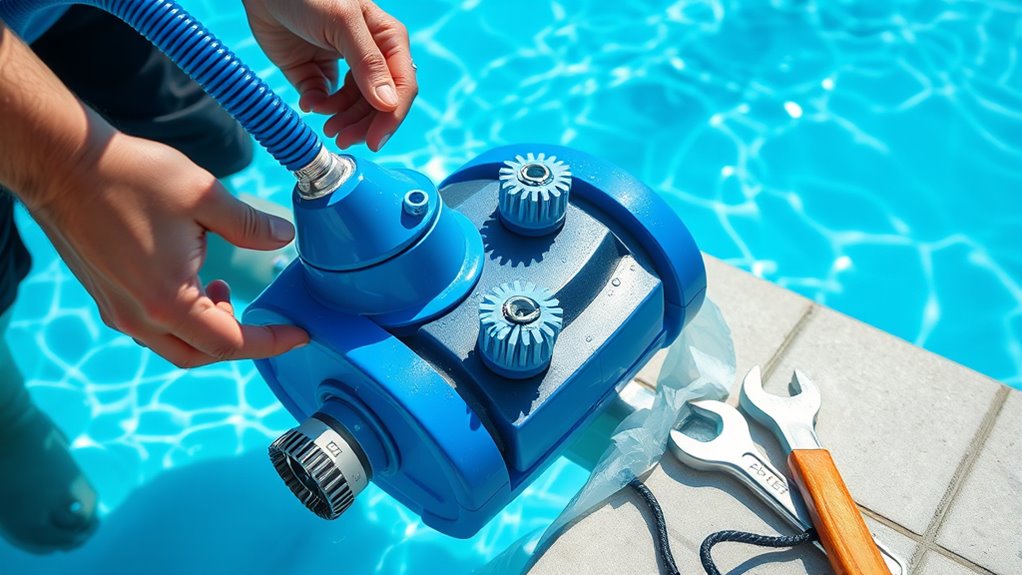
Inspecting the hoses and fittings is a crucial step in troubleshooting your pressure pool cleaner. Begin by checking the hose material for signs of wear, cracks, or leaks, which can reduce pressure and hinder performance. Confirm the hoses are flexible and free of kinks that might restrict water flow. Next, examine all fittings to verify they are tightly connected and compatible with your cleaner. Fitting compatibility is essential; mismatched fittings can cause leaks or disconnections during operation. Look for any cracks or damage at connection points and replace damaged hoses or fittings immediately. Properly secured and compatible fittings ensure maximum pressure and smooth operation. Additionally, regular inspection and maintenance of tuning components can help identify potential issues before they affect performance. Taking these steps helps prevent common issues caused by faulty hoses or incompatible fittings, keeping your cleaner working efficiently. Regularly checking for pressure loss and ensuring all parts are secure can prolong the life of your equipment and improve cleaning efficiency. Involving routine maintenance can also help extend the lifespan of your pressure pool cleaner. Ensuring that hose fittings are properly installed and free of debris can further optimize water flow and pressure.
Clearing Blockages and Debris

Blockages and debris are common culprits behind pressure issues in your pool cleaner. When debris accumulates in the cleaner’s intake or hoses, it restricts water flow, reducing efficiency. Start by turning off the cleaner and inspecting the intake basket and hoses for visible debris buildup. Clear out any leaves, dirt, or obstructions you find. If debris has been trapped for a while, consider replacing the filter to guarantee ideal flow. Regular filter replacement prevents future blockages and maintains proper pressure. Also, check for any clogs deep within the hoses or intake area. Removing debris and ensuring unobstructed pathways help restore the cleaner’s performance and prevent pressure drops. Keeping your pool free of debris is essential for smooth operation and long-lasting equipment. Additionally, performing routine inspections and understanding how electric power generation with bike generators works can further reduce the likelihood of future blockages and extend the lifespan of your pool equipment. Incorporating proper maintenance techniques, such as regularly flushing the hoses and checking for leaks, can further help maintain proper pressure and improve overall function. To further prevent blockages, consider installing debris catchers that can trap larger debris before they reach the cleaner.
Examining the Pool’s Water Pressure
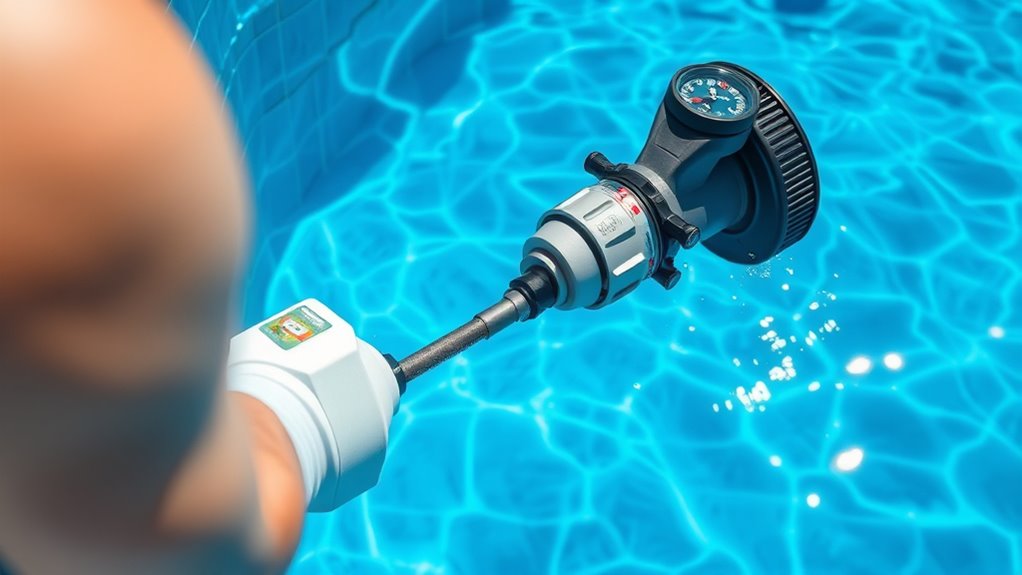
To effectively troubleshoot pressure issues with your pool cleaner, you need to examine the pool’s water pressure carefully. Start by checking the pressure gauge; if it’s too high or low, it can indicate problems. Poor pool water chemistry, such as imbalanced pH or high algae levels, can affect water flow and pressure, so ensure your water is balanced. Additionally, sun protection is essential—excessive sun exposure can cause evaporation and temperature fluctuations, impacting water pressure consistency. Inspect for leaks or blockages in return jets, which can reduce pressure. Regularly testing and maintaining proper water chemistry and protecting your pool from direct sunlight helps keep the pressure stable, ensuring your cleaner operates efficiently. Knowing how water chemistry influences pressure can help you take proactive steps to prevent issues before they arise, especially since pool water balance plays a crucial role in overall system performance. It’s also beneficial to understand how filtration system maintenance impacts water pressure and system efficiency. For optimal results, consider checking the pressure regulation components and ensuring they are functioning correctly, as faulty parts can disrupt pressure levels. Properly system troubleshooting can identify and resolve underlying issues quickly, reducing downtime and repair costs.
Adjusting the Cleaner’s Settings

To optimize your pool cleaner, start by verifying the pressure levels to guarantee they’re within the recommended range. Next, adjust the flow rate to improve cleaning performance, and if needed, reset the adjustment settings to their default positions. These steps help your cleaner operate efficiently and effectively. Additionally, ensuring your pool cleaner uses the appropriate pressure pump can enhance its overall functionality. Regular maintenance, including checking for clogged filters, can prevent performance issues and extend the life of your cleaner. Properly environmentally conscious use of chemicals and energy can also contribute to healthier pool operation.
Verify Pressure Levels
Ensuring the pressure levels are correct is essential for your pool cleaner’s ideal performance. Start by checking the pressure gauge on your cleaner or pool pump. If the pressure is too low, water flow may be insufficient, causing the cleaner to stall or miss areas. Conversely, if the pressure is too high, it can damage the cleaner or reduce its effectiveness. Adjust the settings on your pool’s valve or pump to regulate water flow, aiming for the recommended pressure range. Keep in mind that consistent, steady pressure guarantees optimal movement and debris collection. Regularly monitoring the pressure gauge helps you catch issues early and maintain proper water flow, guaranteeing your cleaner functions smoothly and efficiently. Additionally, understanding pressure regulation techniques can help optimize your pool cleaner’s performance. Incorporating automated insights from modern pool systems can assist in maintaining ideal pressure levels and improving overall efficiency. Furthermore, utilizing smart technology can provide real-time feedback and automatic adjustments to keep your system operating at peak performance.
Modify Flow Rate
Adjusting the flow rate on your pool cleaner helps enhance its performance and coverage. To do this, you may need to adjust the flow restriction or pressure regulation components. If the flow is too high, the cleaner might move too fast, missing spots or losing suction. Conversely, if the flow is too low, it may not move effectively or clean thoroughly. Check your manufacturer’s instructions for adjusting the flow restriction valve or pressure regulator. Fine-tuning these settings allows you to control the water flow, ensuring the cleaner operates at the ideal pressure for efficient cleaning. Proper flow regulation prevents unnecessary strain on the cleaner’s parts and improves overall coverage, helping you achieve a cleaner pool with less effort.
Reset Adjustment Settings
Have you ever noticed your pool cleaner not performing as expected even after making adjustments? If so, it’s time to reset the adjustment settings. Start by turning off your cleaner and disconnecting it from the return line. Resetting helps clear any incorrect pressure sensor calibration that may be causing issues. Reconnect the cleaner and turn on your pool pump. Use the control panel or adjustment valves to restore the flow rate to the recommended levels, which is crucial for flow rate optimization. This process ensures the pressure sensor calibration aligns correctly, improving cleaner performance. After resetting, observe the cleaner’s movement and cleaning pattern. If necessary, fine-tune the pressure settings again to optimize flow and pressure, ensuring your pressure pool cleaner functions efficiently.
Inspecting and Replacing Worn Parts

Inspecting and replacing worn parts is a crucial step in maintaining your pressure pool cleaner’s efficiency. Over time, components like hoses, brushes, and seals can wear out, reducing cleaning performance. Regularly check these parts for cracks, tears, or buildup. Worn parts can disrupt the cleaner’s operation, allowing algae to thrive and unbalanced pool chemicals to worsen algae prevention efforts. Ensuring your cleaner’s parts are in good condition helps maintain proper water circulation and cleaning coverage. If you notice leaks or decreased suction, it’s time to replace damaged seals or hoses. Keeping parts in top shape also makes it easier to maintain the correct pool chemical balance, which directly supports algae prevention. Regular inspections save you money and keep your pool sparkling clean.
Ensuring Proper Placement of the Cleaner
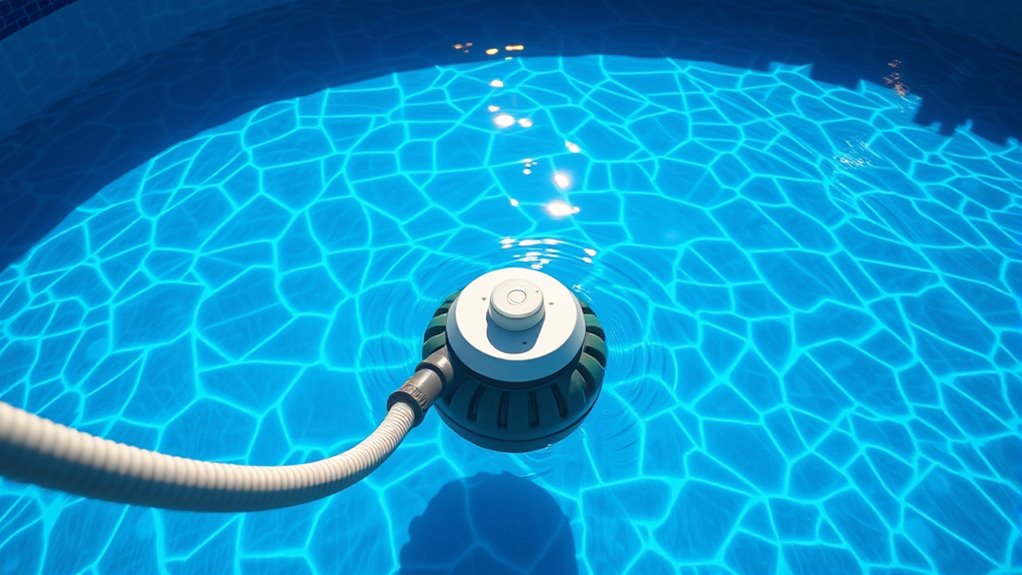
Proper placement of your pressure pool cleaner is essential for effective cleaning. Position it so that it covers all areas of your pool, avoiding obstructions that could hinder movement. Confirm your pool’s chemical balance is correct, as imbalanced chemicals can affect cleaner performance and debris collection. Regular pool cover maintenance is also important; a clean, properly fitted cover prevents debris from clogging the cleaner or disrupting its pathway. Check that the cleaner’s hoses are properly connected and not tangled, allowing for smooth operation. Place the cleaner in an ideal spot where water flow is strong enough to propel it around the pool. Proper placement reduces missed spots, enhances cleaning efficiency, and prolongs the lifespan of your pressure cleaner.
Testing for Leaks in the System
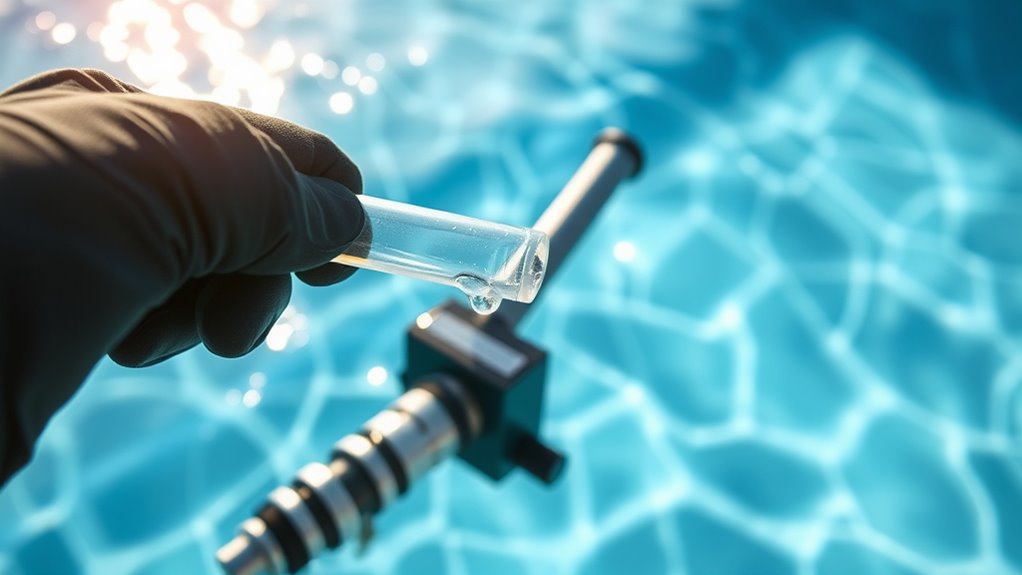
To identify leaks, start by inspecting the system for air leaks around fittings and seals. Next, check all hose connections to make certain they’re secure and tight. Finally, perform a bubble test to detect any hidden leaks in the system.
Inspect Air Leaks
Since air leaks can cause your pool cleaner to lose suction and stop working properly, it’s essential to identify any leaks in the system. Start by inspecting hoses, fittings, and connections for cracks or looseness. Listen for hissing sounds that may indicate escaping air. If you suspect leaks, try applying a soapy water solution to suspect areas; bubbles will form where air escapes. For persistent leaks, sealant application can provide a more permanent fix. Use a suitable pool-safe sealant on small cracks or leaks you find, ensuring you follow the product instructions carefully. Regularly check these spots to prevent future issues. Addressing air leaks promptly helps restore proper suction and keeps your pressure pool cleaner functioning efficiently.
Check Hose Connections
Begin by examining all hose connections thoroughly, as loose or damaged fittings are common sources of leaks. Check each connection fitting carefully to guarantee it’s secure and properly sealed. Look for cracks, wear, or damage around hose seals, which can cause leaks. To troubleshoot effectively:
- Tighten all connection fittings firmly but avoid overtightening.
- Inspect hose seals for cracks or deterioration; replace if damaged.
- Verify that hoses are securely attached without kinks or bends.
- Test each connection for leaks by running water through the system and observing for drips.
Addressing these areas promptly helps prevent pressure loss and ensures your cleaner operates efficiently. Properly sealed connection fittings are essential for a leak-free system and ideal cleaning performance.
Perform Bubble Test
How can you quickly identify leaks in your pool cleaner system? Perform a bubble test by submerging the cleaner and hose in the pool while the pump runs. Watch for bubble formation around connections, joints, and seals. If bubbles consistently form in a specific area, it indicates air entrapment or a leak. This simple test helps pinpoint where air is escaping, which could be causing the pressure issues. Make sure all connections are tight before starting the test. If you notice persistent bubbles, you may need to reseal or replace faulty parts. Conducting this bubble test is an effective way to identify leaks early, ensuring your pressure pool cleaner operates efficiently and prolongs its lifespan.
Cleaning or Replacing the Filter or Pump
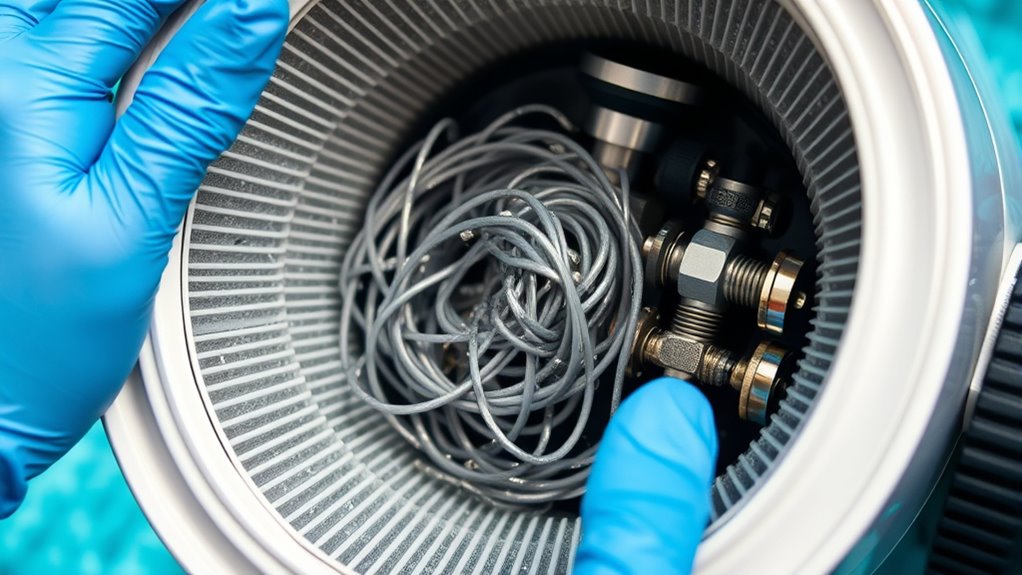
Over time, debris and mineral buildup can clog the filter or pump, reducing your pressure pool cleaner’s efficiency. Regular filter maintenance is essential to keep your system running smoothly. If you notice decreased suction or pressure, consider these steps:
- Remove and clean the filter cartridge or mesh, ensuring no debris blocks water flow.
- Inspect the pump for clogs or leaks, addressing any issues found.
- Replace the filter if it’s torn or overly dirty, as cleaning alone may not suffice.
- Check for mineral deposits or buildup, which can hinder performance and require thorough cleaning or replacement.
Maintaining Regular Upkeep for Optimal Performance

To keep your pressure pool cleaner working smoothly, you need to check the filter and hoses regularly. Make sure to clean debris often to prevent clogs and maintain proper flow. Also, inspect the pump’s functionality to catch any issues early and keep your cleaner running efficiently.
Check Filter and Hoses
Regularly inspecting the filter and hoses guarantees your pressure pool cleaner functions effectively. Proper filter maintenance prevents clogs, ensuring peak suction and cleaner efficiency. To maintain hose durability, check for cracks or wear that could cause leaks or detachment. Here are four key tips:
- Remove and clean the filter regularly to prevent debris buildup.
- Inspect hoses for signs of cracks or brittleness and replace if needed.
- Ensure hoses are securely connected to avoid pressure loss.
- Clear any obstructions inside the hoses to maintain steady water flow.
Clean Debris Regularly
Keeping your pressure pool cleaner in top shape requires consistent removal of debris that can clog its components. Regularly clearing leaves, dirt, and algae prevents blockages and maintains ideal performance. Debris buildup can disrupt circulation, affecting pool chemical balance and increasing algae risk. Use a net or vacuum to remove floating or settled debris often. Check the skimmer and pump baskets, emptying them frequently.
| Debris Type | Frequency | Removal Method |
|---|---|---|
| Leaves | Weekly | Skimmer or net |
| Dirt & Sediment | Weekly | Vacuum or skimmer |
| Algae | As needed | Brush and siphon |
| Twigs | Weekly | Net or vacuum |
| Small debris | Daily | Skimmer basket |
Consistent cleaning supports algae prevention and keeps your pool chemistry balanced.
Inspect Pump Functionality
Inspecting your pump regularly is essential to guarantee it operates efficiently and prevents breakdowns. Start by checking the pump motor for unusual noises or overheating, which can indicate issues. Next, review the pressure gauge to ensure the readings stay within the recommended range, signaling proper function. Here are four key steps:
- Examine the pump motor for signs of wear or corrosion.
- Test the pressure gauge for accurate readings.
- Inspect hoses and fittings for leaks or blockages.
- Listen for irregular sounds that might signal a malfunction.
Frequently Asked Questions
How Often Should I Perform Routine Pressure Pool Cleaner Maintenance?
You should perform routine maintenance on your pressure pool cleaner based on its cleaning frequency and your pool’s usage. Typically, check and clean the filter and hoses weekly, especially during heavy use. Establish a maintenance schedule that includes inspecting for wear and tear monthly. Regular upkeep ensures peak performance, prevents clogs, and extends the cleaner’s lifespan. Adjust your routine as needed, depending on your pool’s size and how often you swim.
What Safety Precautions Should I Take When Troubleshooting the Cleaner?
Did you know that electrical safety accidents account for over 10% of pool-related injuries? When troubleshooting your pressure pool cleaner, always prioritize electrical safety by unplugging the unit before inspecting. Wear personal protective equipment like gloves and safety goggles to prevent injuries. Keep water away from electrical components, and never work alone. Taking these precautions guarantees your safety while fixing your cleaner efficiently.
Can Weather Conditions Affect the Cleaner’S Performance?
Weather impact and environmental factors definitely affect your pool cleaner’s performance. Heavy rain or strong winds can disrupt its operation by introducing debris or causing uneven water flow. Extreme temperatures might also impact its parts or batteries if applicable. To keep it working smoothly, regularly check for debris, make certain the cleaner is protected from harsh weather, and consider bringing it inside during storms or when temperatures drop markedly.
How Do I Reset the Cleaner After Troubleshooting Issues?
Imagine your cleaner isn’t working after fixing a hose connection. To reset it, turn off the power, then locate the pressure sensor and verify it’s clean and properly connected. Unplug the cleaner for a few minutes to reset the system. Once you reconnect the hose and confirm the pressure sensor is secure, turn the power back on. This simple reset often resolves issues and gets your cleaner back in action.
Are There Compatible Parts for Different Pressure Pool Cleaner Brands?
When considering if there are compatible parts for different pressure pool cleaner brands, you should focus on brand compatibility and part interchange. Not all parts are universal, so check if the manufacturer offers compatible components or if third-party options match the specifications. This guarantees your cleaner functions properly without damaging the system. Always verify part compatibility and interchangeability before purchasing to maintain peak performance and avoid unnecessary repairs.
Conclusion
By systematically checking each component, you’ll keep your pressure pool cleaner running smoothly, much like tuning a finely crafted instrument. Regular maintenance and attention to detail prevent issues from piling up, ensuring your pool stays crystal clear and effortlessly clean. Think of your cleaner as a loyal helper—when properly cared for, it works tirelessly, like the steady beat of a heartbeat, keeping your pool pristine and inviting all season long.
