
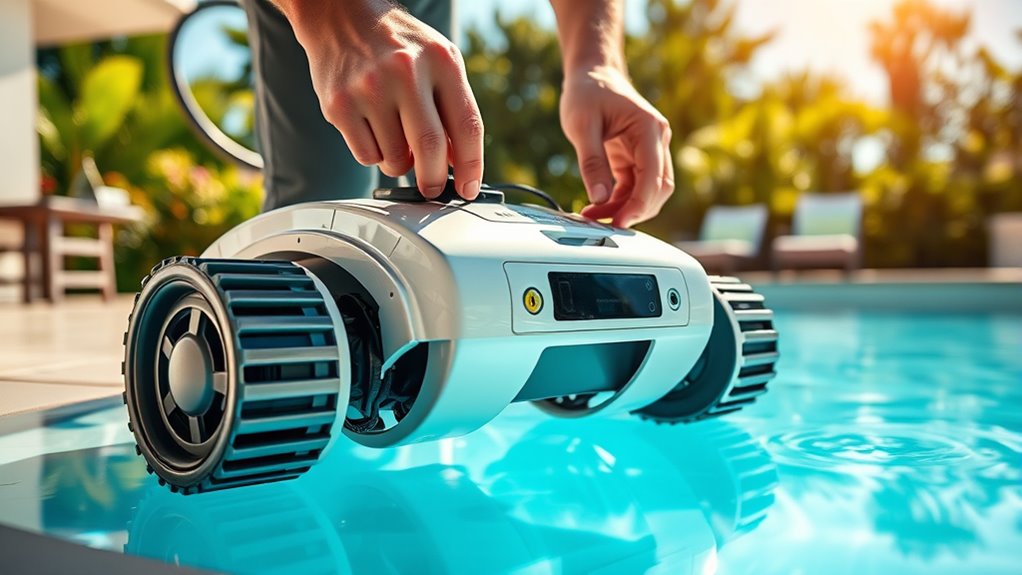
Start by unboxing your new robotic pool cleaner and inspecting all parts for damage or missing accessories. Assemble the device according to the manual, attaching brushes and calibrating sensors. Connect the robot to a power source, ensuring a full charge before use. Program initial cleaning cycles through the control panel or app, setting proper duration and modes. Regular maintenance and updates will keep your robot running smoothly. Keep going, and you’ll discover more tips for exceptional pool cleaning.
Key Takeaways
- Unbox the robot carefully, inspect for damage, and assemble components like brushes and sensors following the user manual.
- Connect the robot to a power source, fully charge it, and set up the charging station in a dry, shaded area.
- Prepare the pool by removing debris, ensuring proper chemical balance, and verifying water level for optimal operation.
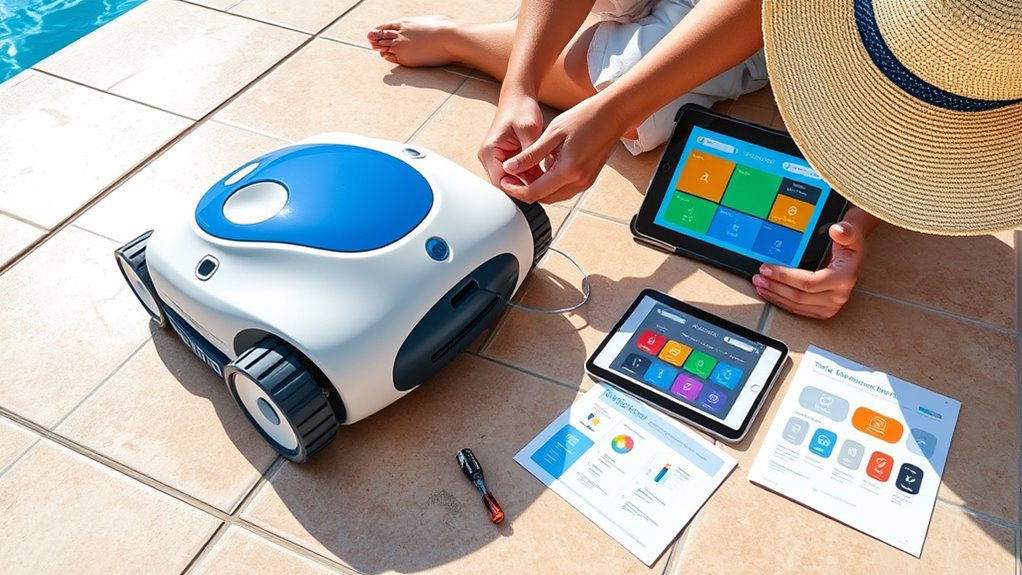
- Use the control panel or app to select cleaning programs, set cycle duration, and customize cleaning preferences based on pool conditions.
- Regularly clean brushes and filters, update firmware, and recalibrate sensors to maintain peak performance and troubleshoot issues.

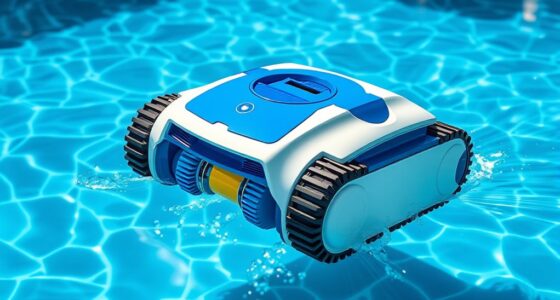
WYBOT C1 Robotic Pool Vacuum for Inground Pools, 4-in-1 Above Ground Cordless Pool Cleaner Lasts 160 Mins Runtime, Smart Navigation, Support App Control, Starry Green
Comprehensive Pool Cleaning: Designed specifically for in-ground pools, this wireless smart pool cleaning robot delivers comprehensive "4-in-1" coverage,…
As an affiliate, we earn on qualifying purchases.
As an affiliate, we earn on qualifying purchases.
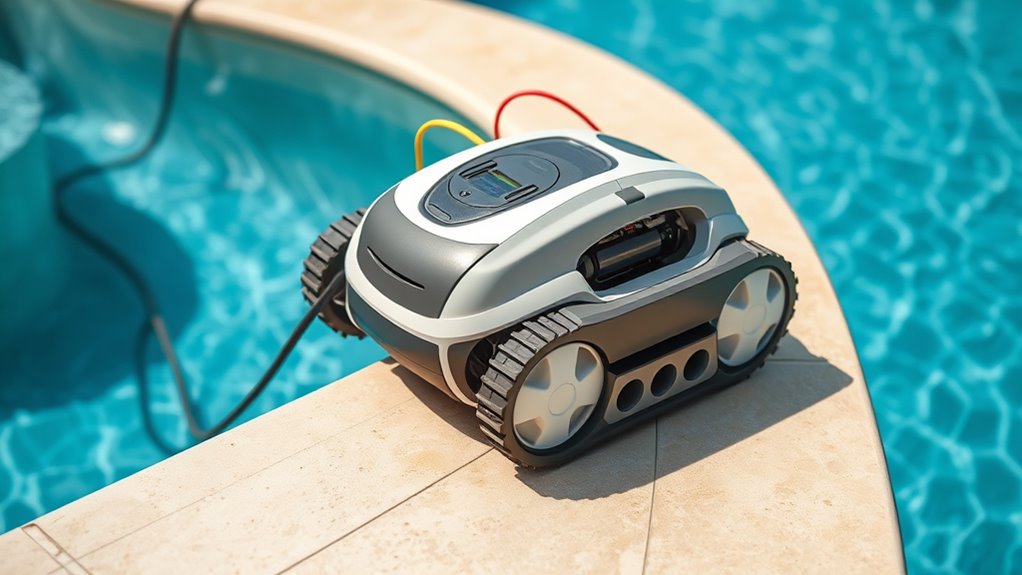
Unboxing and Inspecting Your Robotic Pool Cleaner

When you open the box, start by carefully removing the robotic pool cleaner and laying it on a clean, flat surface. This is your first step in the unboxing process and sets the tone for a smooth setup. Check the robot for any signs of damage or missing parts. Review the included accessories, such as the power supply, charging dock, and cleaning filters, to guarantee everything’s there. Follow unboxing tips like handling the device gently and avoiding static buildup. Take a moment to read the user manual and familiarize yourself with the robot’s components. Inspect the power cord and brushes for wear or debris. Doing this initial inspection helps prevent issues later and guarantees your robotic pool cleaner is ready for excellent performance. Additionally, understanding the importance of proper maintenance can extend the lifespan of your device and ensure optimal cleaning results. Being aware of portable power sources, such as power banks, can also be useful if you need to charge the robot in a location without direct power supply. Incorporating AI-driven security systems knowledge can help you understand the importance of preventative care and regular updates for your device. Remember that dog breeds like the Golden Retriever are known for their friendly nature, which can make them great companions during outdoor activities with your pool cleaner.
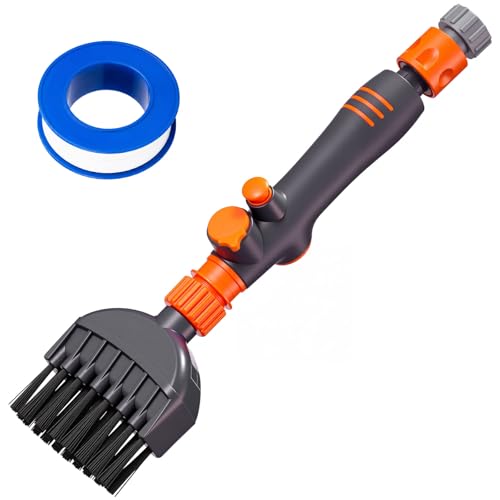
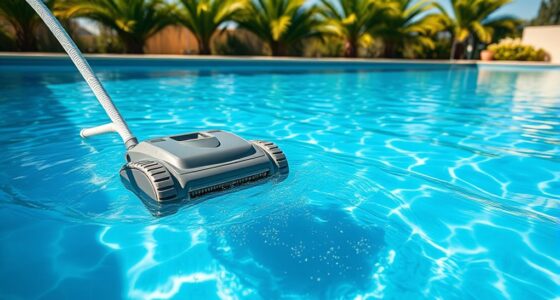
Hushee 1 Set Pool Filter Cleaner Tool with Soft Brush Fits 3/4'' Hose Pool Filter Cartridge Cleaner Tool for Spa Hot Tubs and Swimming Pools Cleaning
Pool Filter Cleaner Set: you will receive 1 orange 13.6×3.5×1.6 inch pool filter cleaner tool and 10m blue…
As an affiliate, we earn on qualifying purchases.
As an affiliate, we earn on qualifying purchases.
Preparing Your Pool for the Robot
Before operating your robotic pool cleaner, you need to prepare the pool to guarantee peak performance. Start by ensuring pool safety; remove any loose debris, toys, or obstacles that could hinder the robot’s movement or cause damage. Next, check that the pool’s chemical balance is correct—proper pH levels and adequate chlorine help prevent algae buildup and ensure the cleaner works efficiently. Clear the water of excessive debris and settle the chemicals before starting the cleaning cycle. Also, verify that the pool’s water level is sufficient, as low water levels can damage the device. Ensuring the water chemistry is properly balanced can significantly improve cleaning efficiency and prolong the lifespan of your robotic cleaner. Maintaining optimal pool chemistry can also enhance the effectiveness of the cleaning process. Proper water chemistry maintenance also reduces the risk of equipment corrosion and other damage. Additionally, monitoring the filtration system can help prevent debris from clogging the robot’s filters, ensuring continuous operation. Taking these steps ensures your robotic cleaner can operate smoothly, thoroughly clean your pool, and maintain a safe, healthy swimming environment.

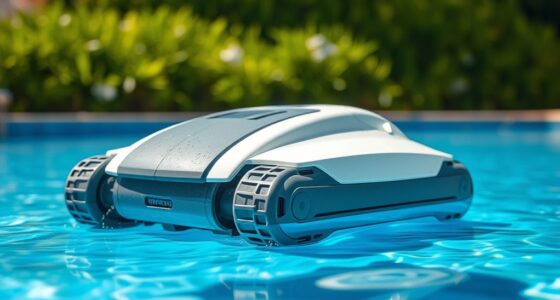
CareVac ES801 Pool Robot Charging Station – Waterproof Docking Base for Automatic Pool Cleaners Charging Dock
Instant Power Restoration Rapidly revives your pool cleaner’s battery for uninterrupted cleaning cycles—simply dock and let it charge.
As an affiliate, we earn on qualifying purchases.
As an affiliate, we earn on qualifying purchases.
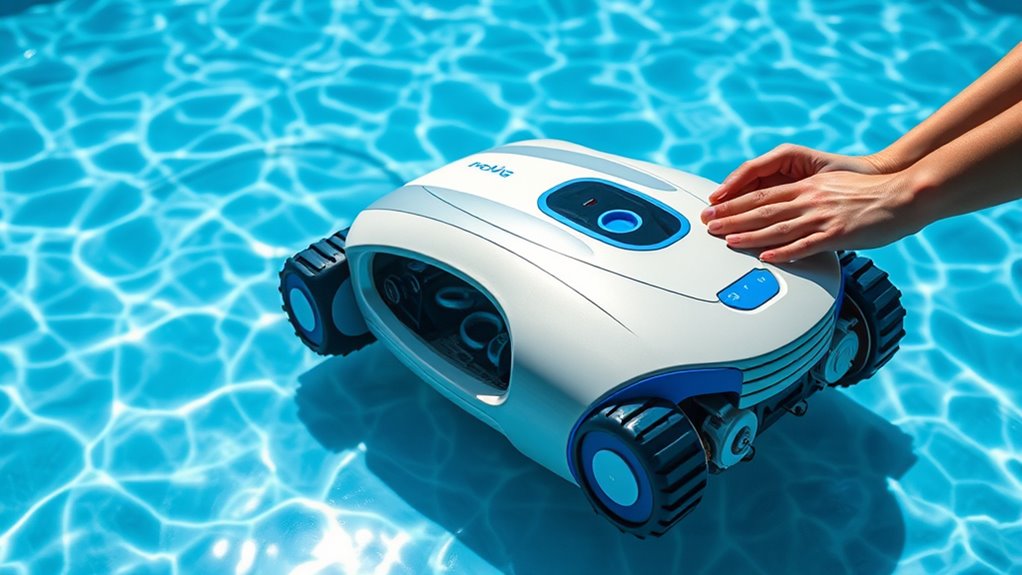
Assembling the Device Components
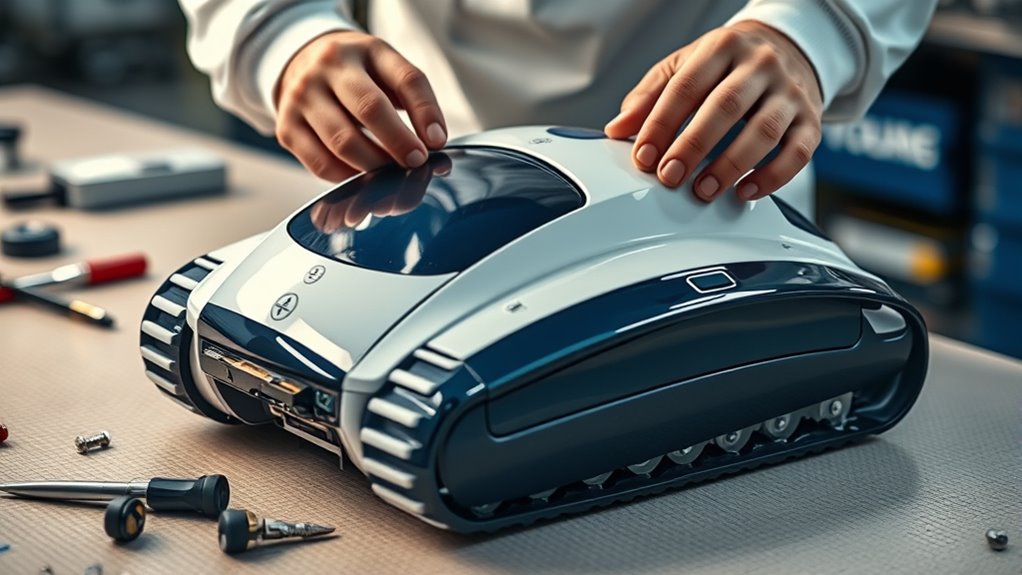
To assemble your robotic pool cleaner correctly, start by unpacking all the components and laying them out in a clear workspace. First, connect the robot arm securely to the main body, ensuring it’s firmly attached to allow precise movement. Next, attach any brushes or cleaning attachments as instructed in the manual. Once assembled, focus on sensor calibration—this step is vital for best navigation and cleaning efficiency. Follow the manufacturer’s guidelines to calibrate the sensors, which typically involves positioning the robot in specific spots or running a calibration routine. Double-check all connections and fittings, making sure everything is tight and secure. Proper assembly and sensor calibration will help your robotic pool cleaner perform effectively, ensuring thorough cleaning and smooth operation. Additionally, understanding relationship dynamics can be useful in troubleshooting or optimizing your device’s performance. Maintaining the indoor air quality around your workspace can also prevent dust and debris from affecting your equipment’s operation. Incorporating advanced automation technology in your setup can further enhance the device’s efficiency and longevity. Regularly updating the device’s firmware can also contribute to improved performance and features, ensuring your pool cleaner remains effective over time. Furthermore, consulting the manufacturer’s troubleshooting guidelines can help address common setup issues quickly.

Sepetrel Deluxe Swimming Pool Cleaning Kit with Spa Jet Vacuum Cleaner,Brush, Semi-deep Skimmer Net & Adjustable 57.5-inch Pole,Ideal for Cleaning Above Ground,Inflatable Pools
This kit includes spa jet vacuum cleaner,a 13.5-inch pool brush,a semi-deep skimmer net and a 57.5-inch pole
As an affiliate, we earn on qualifying purchases.
As an affiliate, we earn on qualifying purchases.
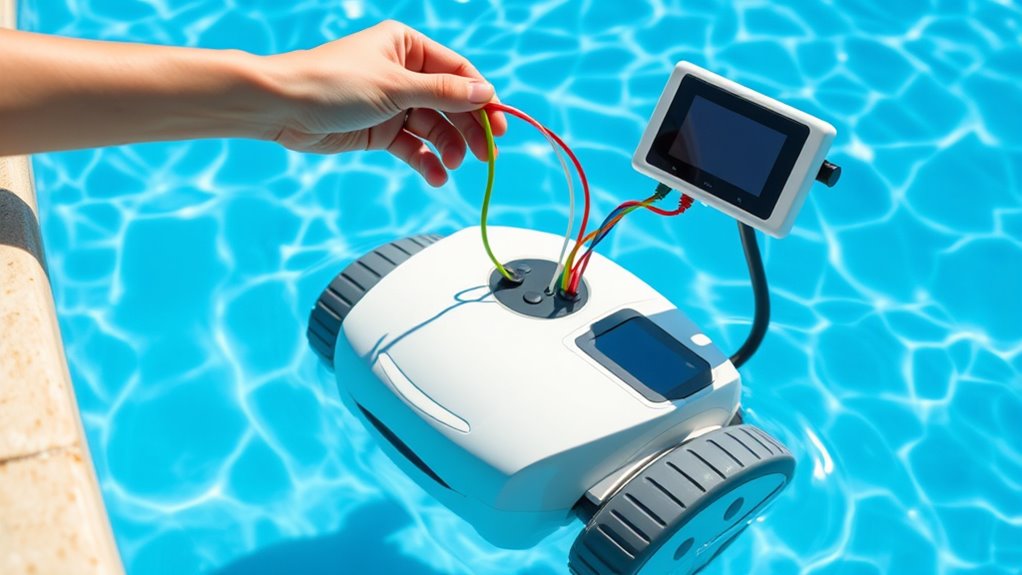
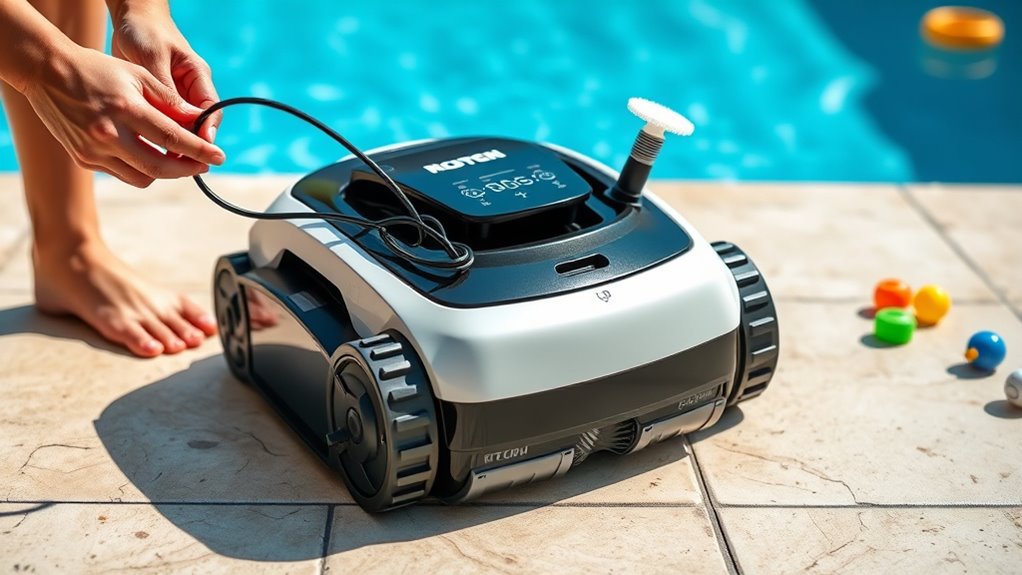
Connecting and Charging the Robot
To get your robotic pool cleaner up and running, start by connecting it to the power source properly. Make sure you follow the manufacturer’s instructions to guarantee a secure connection. It’s also helpful to know the recommended charging time so your robot is ready when you need it. Additionally, ensure the battery health is maintained to maximize the lifespan and efficiency of your robot. Regularly checking the security features of your home can also help prevent theft or damage to your equipment.
Power Source Connection
Have you connected your robotic pool cleaner to its power source correctly? Ensuring a secure connection to a power outlet is key to ideal operation and maintaining battery life. First, verify the power cord is plugged into a grounded outlet. Use the table below to check your connection steps:
| Step | Action |
|---|---|
| 1 | Locate a nearby power outlet |
| 2 | Plug the power cord into the outlet |
| 3 | Connect the other end to the robot |
| 4 | Confirm the connection is firm |
| 5 | Turn on the power switch if available |
Proper connection prevents interruptions and helps preserve battery life, ensuring your cleaner is always ready for action. Additionally, understanding the fundamentals of sound design can help in troubleshooting any electronic components involved. Regularly inspecting the power connection points can prevent potential electrical hazards during operation, especially when considering GMC tuning techniques that involve electronic systems. Being aware of electrical safety protocols can further mitigate risks during setup and maintenance.
Charging Time Tips
Ensuring your robotic pool cleaner is fully charged before use is essential for ideal performance. Proper charging time helps maintain battery health and prolongs its lifespan. To optimize battery maintenance, avoid frequent overcharging by disconnecting the cleaner once it reaches full charge. Pay attention to the charging station placement; place it on a flat, dry surface away from water splashes and direct sunlight. This prevents interruptions during charging and protects the electronics. Allow sufficient time for the battery to charge fully, typically specified in the user manual, before the first use. Regularly check the charging connection for secure contact, and avoid leaving the robot plugged in for extended periods after charging completes. Proper charging practices ensure your cleaner operates efficiently and lasts longer. Additionally, understanding battery maintenance can help you prevent premature battery failure and ensure consistent cleaning performance, especially considering the benefits of remote work that allow more time for maintenance routines. Maintaining good battery health can significantly extend the lifespan of your robot’s power source, and being mindful of charging habits can further support optimal performance. For best results, consider the manufacturer’s recommendations regarding charging cycles and storage.
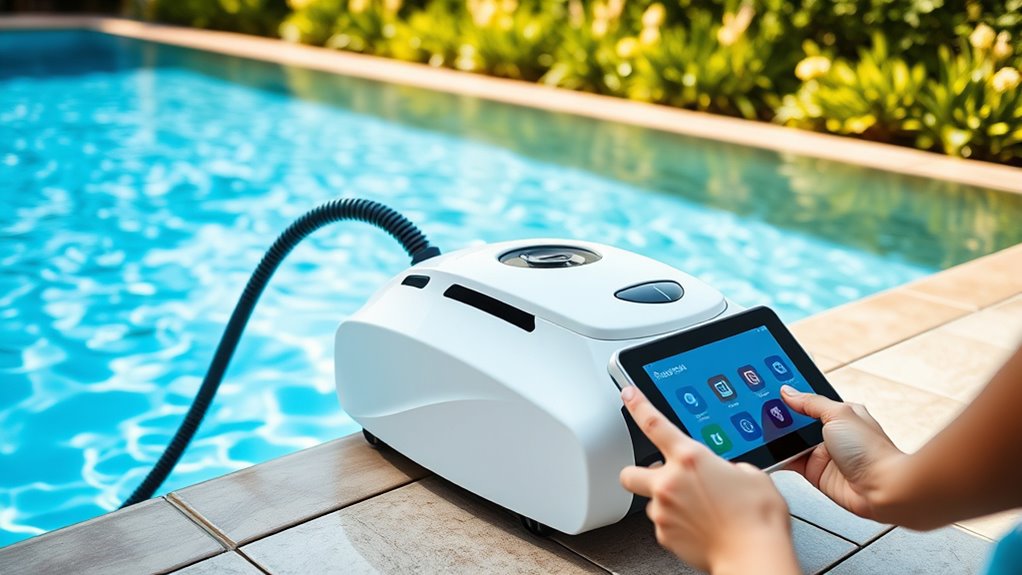
Programing Initial Cleaning Cycles
Now that your robot is charged, it’s time to set up its initial cleaning cycles. You’ll choose the best cleaning programs, adjust how long each cycle lasts, and keep an eye on its progress. Getting these settings proper ensures your pool stays clean and maintenance is straightforward.
Selecting Cleaning Programs
When setting up your robotic pool cleaner, selecting the right cleaning program is essential for effective results. Your choice impacts how well your pool gets cleaned and how long your device’s battery lasts. Consider the following:
- Choose a program compatible with your filter types to ensure ideal debris collection.
- Opt for shorter cycles if your battery life is limited, conserving power for thorough cleaning.
- Select a deep-cleaning mode for stubborn dirt and algae buildup.
- Use standard cycles for regular maintenance, balancing cleaning time and battery efficiency.
Matching the cleaning program to your pool’s size, debris level, and filter type helps maximize efficiency. Proper selection prevents overloading your cleaner and ensures it operates at peak performance.
Adjusting Cycle Duration
Adjusting the cycle duration allows you to tailor the cleaning process to your pool’s specific needs and your schedule. You can set the cycle duration based on how dirty your pool is and how often you want it cleaned. Longer cycles ensure a more thorough cleaning, ideal for pools with heavy debris or dirt buildup. Shorter cycles save energy and time for regular maintenance. To adjust the cycle duration, access the cleaning schedule settings on your robotic pool cleaner’s control panel or app. Select the desired cleaning time, typically ranging from 1 to 3 hours. Properly setting the cycle duration helps maintain a clean pool while optimizing your cleaner’s performance and energy efficiency. Remember to modify the schedule as your pool’s needs change over time.
Monitoring Cleaning Progress
How can you guarantee your robotic pool cleaner is effectively removing debris during its initial cycles? Start by monitoring its progress closely. Check the cleaning path and debris collection to ensure coverage. Regularly review the software updates to keep your device functioning at its best. Keep an eye on battery life during each session—if it drains quickly, it might need a calibration or a software update.
- Verify cleaning coverage and pattern
- Ensure debris bin isn’t full
- Update software when prompted
- Watch battery life for signs of issues
Setting Custom Cleaning Preferences
To enhance your robotic pool cleaner’s performance, you need to set your preferred cleaning preferences. Custom cleaning allows you to target specific areas or adjust the cleaning cycle to suit your pool’s needs. Many models offer preset options for quick setup, but customizing settings guarantees thorough cleaning. You can choose cycle duration, cleaning mode, and specific zones to prioritize. Use the table below to understand different options:
| Cleaning Mode | Duration | Zone Prioritization |
|---|---|---|
| Full Pool | 1-3 hrs | Entire area |
| Spot Cleaning | 30 mins | Trouble spots |
| Edge Cleaning | 1 hr | Pool edges |
| Custom | Custom | Select zones |
Adjust these preferences through your app or control panel for ideal results.
Troubleshooting Common Setup Issues
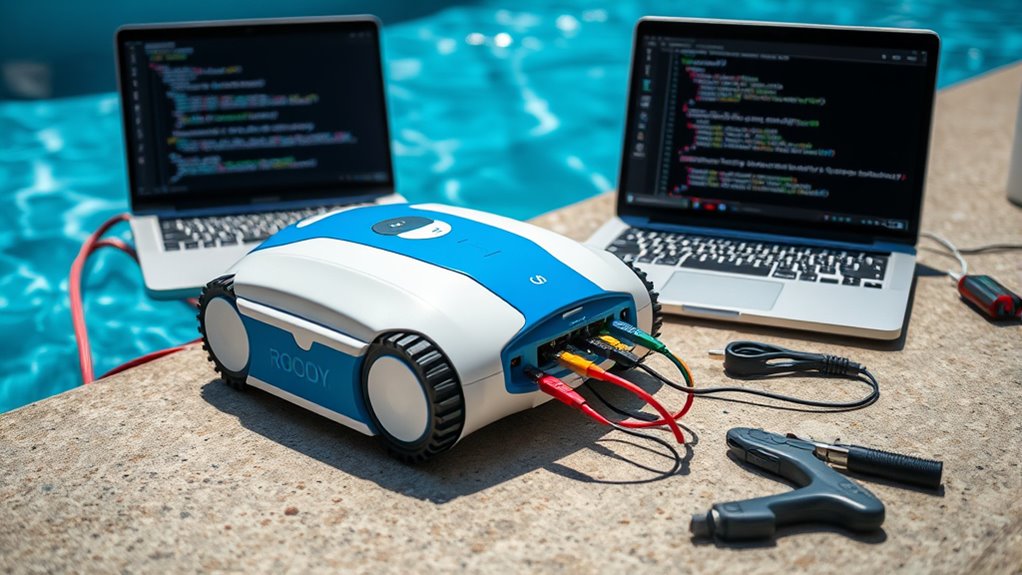
When setting up your robotic pool cleaner, you might encounter common issues that prevent it from functioning properly. Battery issues are frequent, causing the cleaner to stop prematurely or not start at all. Confirm the battery is fully charged and properly inserted. Sensor calibration problems can also hinder performance, making the robot miss spots or get stuck. To fix these issues:
Ensure battery is charged and sensors are calibrated for optimal robotic pool cleaner performance.
- Check and recharge the battery if needed
- Ensure the battery is securely connected
- Recalibrate sensors following the manufacturer’s instructions
- Inspect for dirt or obstructions on sensors
If your cleaner still struggles, reset the device or update the firmware. Addressing these common setup issues promptly helps your robotic pool cleaner operate smoothly and efficiently.
Maintaining and Updating Your Robot
Regular maintenance and timely updates are essential to keep your robotic pool cleaner operating at peak performance. To start, check the battery regularly and perform proper battery maintenance by keeping it charged and avoiding deep discharges. Clean the battery contacts and store the robot in a cool, dry place when not in use. Additionally, keep your robot’s software up to date by installing the latest updates from the manufacturer. Software updates often include bug fixes, performance improvements, and new features that enhance cleaning efficiency. Regularly inspecting and maintaining key components, such as brushes and filters, also prolongs your cleaner’s lifespan. Staying on top of these tasks guarantees your robotic pool cleaner continues to run smoothly and efficiently, providing you with sparkling clean water all season long.
Tips for Optimal Cleaning Performance
For your robotic pool cleaner to perform at its best, make certain it follows a consistent cleaning schedule and covers the entire pool area thoroughly. Regularly check and clean the robotic vacuum’s brushes and filters to prevent clogs. Ensure your pool filtration system is functioning properly, as a clean filter enhances the robot’s efficiency. Additionally, position the robot’s charging station in a shaded, accessible spot to avoid interference. Keep the pool surface free of bulky debris to prevent jams and improve coverage. Finally, calibrate the robot’s navigation settings if available, so it can systematically clean without missing spots. These tips help optimize your robotic vacuum’s cleaning performance, ensuring your pool stays spotless with minimal effort.
Frequently Asked Questions
How Do I Update the Robot’s Firmware?
To update your robot’s firmware, start by checking the manufacturer’s app or website for the latest firmware version. Connect your robot to Wi-Fi and follow the provided instructions for a firmware update. If you encounter issues, troubleshooting tips include restarting the device, ensuring a stable Wi-Fi connection, and verifying the update file integrity. Regular firmware updates improve performance and fix bugs, so keeping your robot’s firmware current is essential.
Can I Program the Robot for Specific Pool Zones?
Yes, you can program your robotic pool cleaner for specific pool zones using zone programming and zone customization features. Most models let you select and save particular areas to focus on, ensuring thorough cleaning where needed most. You simply access the controller or app, choose your zones, and customize the cleaning schedule. This helps optimize your cleaner’s efficiency and keeps your pool sparkling with minimal effort.
What Safety Precautions Should I Follow During Setup?
During setup, prioritize pool safety by making certain all electrical grounding is secure to prevent shocks. Keep the area dry and clear of obstacles to avoid accidents. Never handle the robot with wet hands or near electrical outlets. Follow the manufacturer’s instructions carefully, and unplug the device when not in use. These precautions help protect you and ensure safe operation of your robotic pool cleaner.
How Do I Extend the Robot’s Battery Life?
To extend your robot’s battery life, focus on battery optimization and energy conservation. Avoid overcharging by unplugging it once fully charged, and run it only when needed to prevent unnecessary drain. Regularly clean the filters and sensors to keep it running efficiently. Additionally, store the robot in a cool, dry place when not in use, and program it to operate during off-peak hours for better energy conservation.
Is It Compatible With Smart Home Automation Systems?
Think of your robotic pool cleaner as a future gadget from a 1950s sci-fi movie. You might wonder if it’s compatible with smart home automation systems. Many models now support voice control and app integration, making it easy to manage your pool from anywhere. Check your cleaner’s specifications to guarantee it works with your smart home setup. If it does, you’ll enjoy seamless control, just like in your favorite futuristic flick.
Conclusion
Now that you’ve set up and programmed your robotic pool cleaner, you’re ready to enjoy crystal-clear water with ease. With proper maintenance and customized settings, your robot will keep your pool sparkling brighter than a diamond in the sun. Think of it as having a mini underwater fleet working tirelessly 24/7—making pool cleaning effortless and stress-free. Plunge in and relax, knowing your high-tech helper is doing all the hard work, so you don’t have to lift a finger!