
To double your lash volume, start by curling your lashes with a padded curler, focusing on the outer third for an open look. Apply a volumizing mascara with a dense brush, wiggling it at the roots in small zigzag motions to deposit more product. Layer thin coats, letting each set slightly, and focus on the outer lashes for a fan-out effect. Finish with a lash comb for separation. Keep these tips in mind, and you’ll discover even more techniques to boost your lashes.
Key Takeaways
- Use a thick, dense mascara wand and focus on wiggling it at the lash roots for maximum product deposit and fullness.
- Layer multiple thin coats, allowing each to set for 15-20 seconds to build volume without clumping.
- Concentrate mascara on the outer lashes and tip ends to create a fanned, voluminous effect.
- Apply mascara in a zigzag or wiggle motion to evenly coat lashes and separate them for added fullness.
- Finish with a clean spoolie or lash comb to separate and lift lashes, enhancing the appearance of doubled volume.
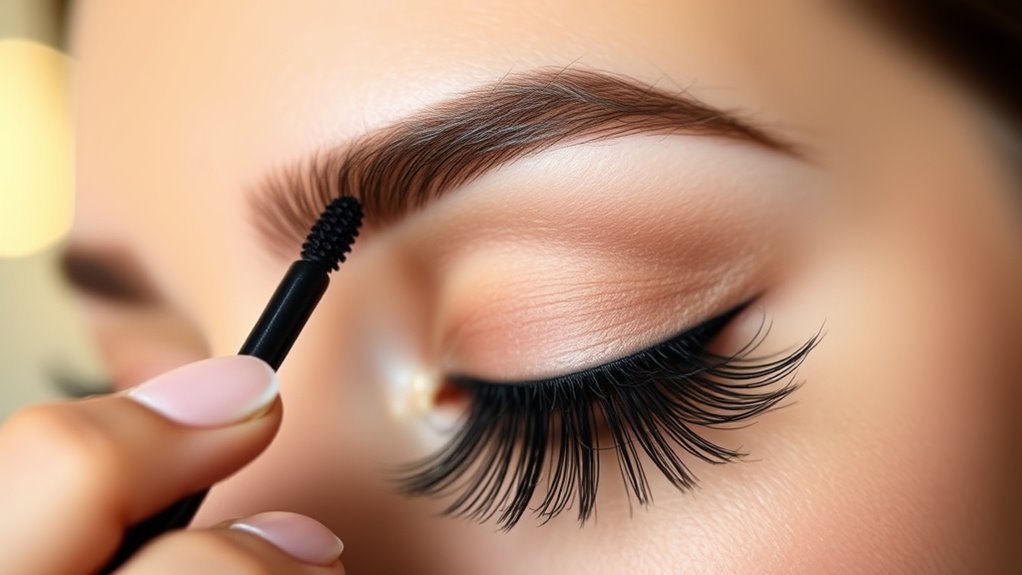
Preparing Your Lashes for Maximum Impact
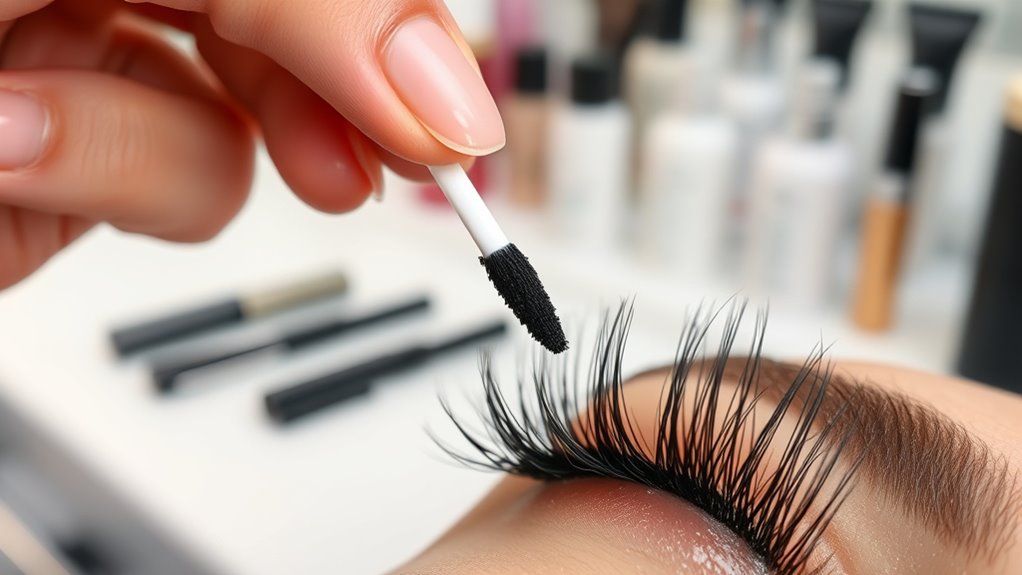
To achieve a stunning mascara look, start by thoroughly cleaning your lashes to remove any residual makeup or residue. Priming is essential; apply a lash primer like Cils Booster XL to create a smooth, voluminous base that boosts lash fullness. Use a clean spoolie or lash comb to gently separate your lashes after priming—this step promotes lash separation and prevents clumping. For an eye-opening effect, lightly curl your lashes with a padded eyelash curler before applying primer and mascara. Make sure your lashes are fully dry after priming but before applying mascara; this improves adherence and helps avoid smudging. Proper color accuracy in your makeup application can also enhance the overall impact of your look. Additionally, understanding fatherhood can inspire confidence and support in your daily routines, just as precise mascara application boosts your confidence. Mastering this application technique ensures your lashes are well-prepared, curled, and clump-free, setting the perfect foundation for dramatic, high-impact mascara results. Incorporating Glycolic Acid benefits into your skincare routine can further improve skin texture, making your overall appearance even more striking. Moreover, being aware of animated movies that touch hearts can inspire a sense of creativity and emotional connection, enhancing your overall well-being. Remember that essential oils for eye health may also help soothe the delicate skin around your eyes, enhancing your overall look.
Choosing the Right Mascara Formula for Volume

When selecting a mascara for volume, focus on formulas that contain thickening agents like polymers and waxes, which coat each lash to create a fuller, more dramatic look. Volumizing formulas are specifically designed to maximize lash fullness and strength, making them ideal for a bold effect. The brush size also matters—large, dense brushes pick up more product and help evenly coat every lash, enhancing the overall volume. For long-lasting wear, waterproof mascara with volumizing properties is a smart choice, as it maintains lash fullness throughout the day without smudging or flaking. Be sure to choose a mascara labeled for volume to ensure the formula contains ingredients that boost thickness and lash health, giving you that dramatic, eye-catching lash look. Additionally, considering application techniques can help you achieve an even, volumized finish and prevent clumping or uneven coating, maximizing your lash volume.
Properly Curling Your Lashes Before Application
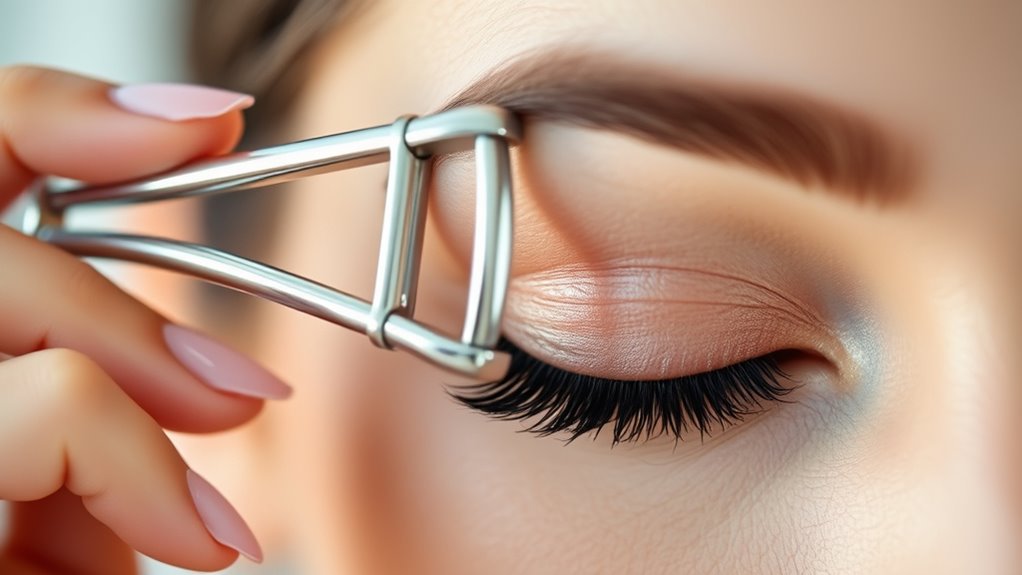
Start with a fresh, padded eyelash curler to prevent damage and guarantee even lifting. Focus on curling your outer lashes first for a more open, voluminous look. Always hold the curler at the base for 10-15 seconds to achieve a natural, long-lasting curl. Using a heatless styling technique with the curler can help maintain the health of your lashes over time. Incorporating proper retirement planning strategies can also ensure your overall beauty and financial goals are aligned for long-term success. Additionally, understanding AI in Education can inform innovative teaching methods that support your beauty routines through personalized tutorials and virtual assistance. Being aware of the security in payment processing sector is important for safeguarding your investments in beauty products and tools. Properly cleaning your headphones after use can prevent the spread of bacteria and keep your tools hygienic.
Use a Fresh Curler
A clean, padded eyelash curler is essential for a gentle, effective curl that won’t damage your lashes. Always use a fresh curler to avoid transferring bacteria or dirt, which can lead to eye irritation or lash breakage. Before curling, slightly warm the curler with a blow dryer for a few seconds to lift lashes more efficiently. Position the curler at the base of your lashes, holding for 10-15 seconds to create a natural, long-lasting curl. Curl your lashes before applying mascara to maximize volume and prevent the mascara from weighing lashes down. Avoid squeezing too hard to prevent pinching or breaking delicate lashes. Using a fresh, properly prepared curler ensures your lashes are ideally shaped, giving you the perfect foundation for voluminous, fluttery lashes. Additionally, selecting a quality eyelash curler can make a significant difference in achieving the best results. Proper tool maintenance also helps extend the lifespan of your curler and maintain hygiene standards. Remember, a clean tool minimizes the risk of lash damage and ensures a hygienic beauty routine. Incorporating regular cleaning into your routine helps prevent buildup of bacteria and ensures optimal performance of your curler.
Focus on Outer Lashes
To enhance your eye shape and create a more dramatic look, focus on curling your outer lashes with a fresh, rounded eyelash curler. Concentrate the curling motion on the outer third of your lashes to lift and open the eye, giving a sweeping, winged effect that accentuates the corners. Hold the curler at the base of the outer lashes for 10-15 seconds to achieve a strong, lasting curl before mascara application. Use a gentle, upward press to prevent lash damage and maintain a natural curl. After curling, lightly brush the outer lashes with mascara to maximize lift and create a voluminous, fanned-out look. This focus on the outer lashes helps mimic a lash lift, adding drama and dimension to your overall mascara technique. Incorporating protective styling methods can help maintain the health and longevity of your curls.
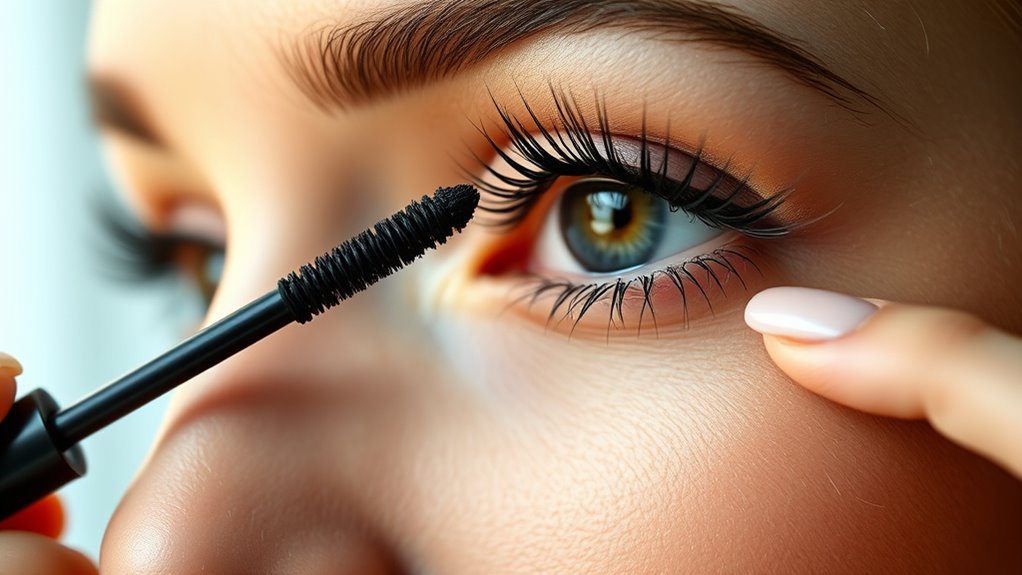
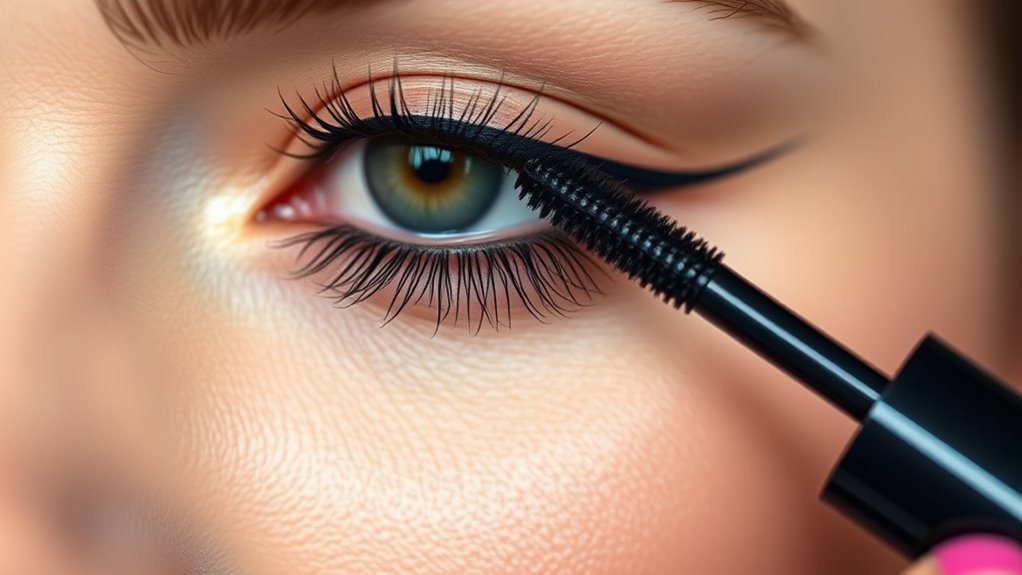
Mastering the Wiggling Technique at the Lash Base

Mastering the wiggling technique at the lash base involves positioning your mascara wand close to your lash roots and gently moving it back and forth. Use a zigzag motion to deposit more product and lift your lashes from the root, creating a fuller look. Keep a steady, gentle pressure to prevent pulling or damaging delicate lashes. Repeat the wiggle at each section of your lash line before pulling the wand upward, ensuring even, voluminous coverage. Focus on small, rapid movements to help with lash separation and prevent clumping, especially at the base. For a dramatic, fanned-out effect, pay special attention to the outer corner lashes during this step. This technique maximizes the benefits of your volumizing mascara while maintaining lash health and separation. Incorporating a layered application can further enhance the fullness and dimension of your lashes. Additionally, ensuring your mascara formula is suitable for self watering plant pots can help you maintain a clean and organized makeup space.
Building Fullness With Multiple Thin Coats
Building fullness with multiple thin coats of mascara is an effective way to achieve a natural, voluminous look without clumping. By layering coats carefully, you add volume gradually while preventing excess product from weighing down your lashes. Start with a light coat at the roots, then allow it to set for 15-20 seconds before applying the next. This layering technique ensures even coverage and enhances lash separation. Use a zigzag or wiggle motion during each application to help coat lashes evenly and avoid clumping. Focus each layer on the middle to tips of your lashes after the base coat to create a layered effect that amplifies fullness. Repeating this process with thin coats builds intense volume without sacrificing natural separation.
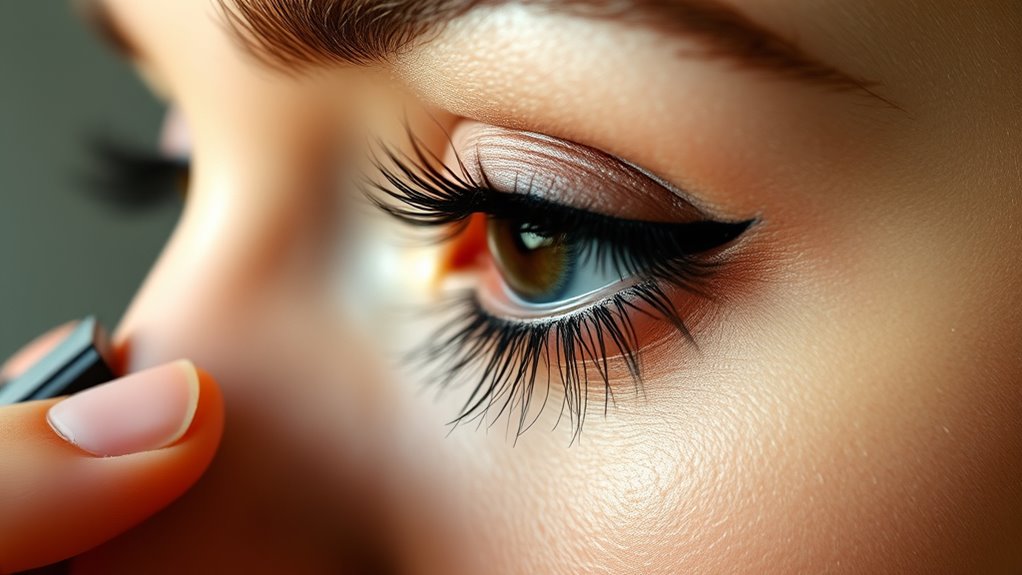
Focusing on Outer Lashes for a Winged Effect
Focusing on the outer lashes is key to creating a striking winged, cat-eye effect. To achieve this, apply extra coats of lengthening mascara to those lashes, emphasizing their fan-out. Use the tip of your mascara wand to coat the outer lashes precisely, avoiding clumps and ensuring lash separation. Hold the wand vertically and wiggle it at the outer corner to lift and extend the lashes outward. Concentrate product on the tips to enhance length and create a natural winged look. Afterward, use a clean spoolie or lash comb to separate and lift the outer lashes, refining the winged effect. This technique accentuates your eyes’ shape, making your lash line appear more elongated and dramatic.
| Outer Lashes | Winged Effect | Lash Separation |
|---|---|---|
| Lengthening mascara | Precise coating | Clean spoolie |
| Vertical wiggling | Fan-out technique | Clump-free finish |
| Extra coats | Dramatic lift | Polished look |
Applying Mascara to Bottom Lashes for Balance
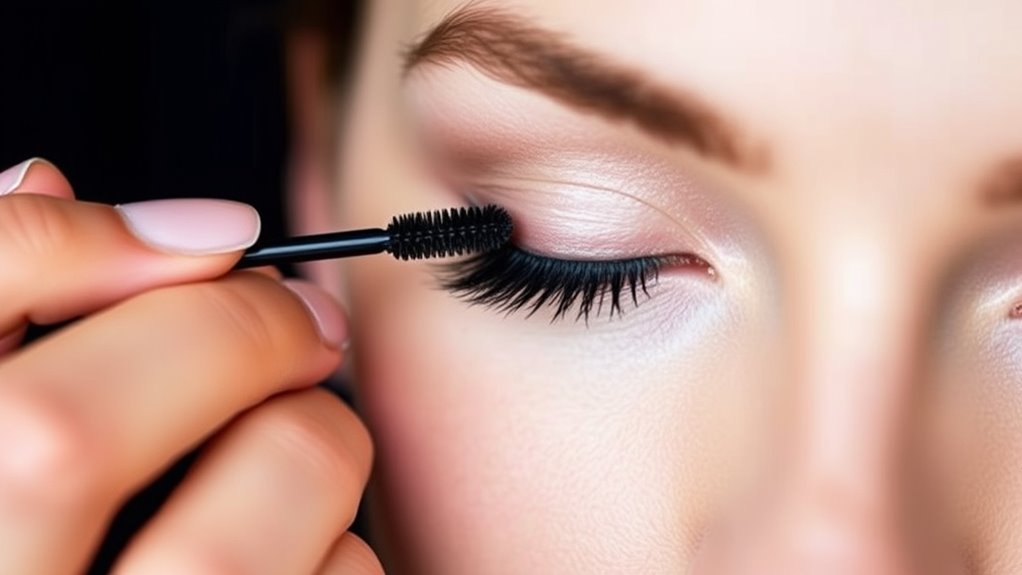
When applying mascara to your bottom lashes, use a small wand and a light hand to avoid clumping and smudges. Focus on the roots and tips, applying just enough product to define without overdoing it. Take your time to separate each lash for a natural, balanced look.
Use Minimal Product Amount
Applying mascara to your bottom lashes with a light hand and minimal product helps create a natural, balanced look. Using minimal product reduces the risk of clumping and smudging, keeping your bottom lashes defined without overpowering your eyes. To achieve this, follow these tips:
- Dip the wand lightly and wipe off excess mascara before applying.
- Use a clean spoolie or small brush for precise coating.
- Focus on the outer third of your bottom lashes for subtle enhancement.
- Apply thin coats to prevent excess mascara from falling onto your skin and to maintain an even, natural finish.
Apply Lightly Near Edges
To achieve a balanced and natural look, start by applying mascara lightly to the outer edges of your bottom lashes. This technique creates subtle definition and enhances your eye shape without overwhelming the overall look. Focus on the outer corners to add a slight winged effect, making your eyes appear larger and more open. Using minimal product during mascara application prevents clumping and smudging, keeping your finish clean and polished. Carefully targeting the edges of your bottom lashes also helps with lash separation, avoiding the heavy, downward-dragging appearance. Remember, a light hand near the outer corners ensures your mascara enhances your natural beauty while maintaining a balanced, effortless vibe. This simple step makes a significant difference in achieving a harmonious, eye-brightening effect.
Separate for Natural Finish
Ever wonder how to achieve a truly natural finish when applying mascara to your bottom lashes? To keep your look balanced and refined, focus on precise application and separation. Here’s how:
- Use a small, precise brush or the tip of your wand to avoid excess product.
- Gently roll the mascara wand from root to tip, focusing on separating each lash.
- Hold a mirror at a downward angle to see your bottom lashes clearly and prevent smudges.
- Finish by using a clean lash comb or spoolie to separate and refine the lashes, ensuring a natural, balanced look.
This technique prevents clumping and enhances the natural finish of your bottom lashes, giving you a polished yet effortless appearance.
Tips for Preventing Clumping and Smudging
Preventing mascara from clumping and smudging starts with proper application techniques. First, avoid pumping the wand in and out of the tube, as this adds air and causes the product to dry out and clump. Remove excess product from the wand with a tissue before applying; this prevents overloaded lashes and reduces clumping. Apply thin, even coats and let each layer dry slightly before adding more to avoid lashes sticking together. To keep smudging at bay, wait until eye creams or oils are fully absorbed before applying mascara—this prevents transfer. After applying, use a clean spoolie or lash comb to separate lashes and eliminate any clumps. These tips help you achieve a smooth, voluminous look without unwanted smudges or clumps.
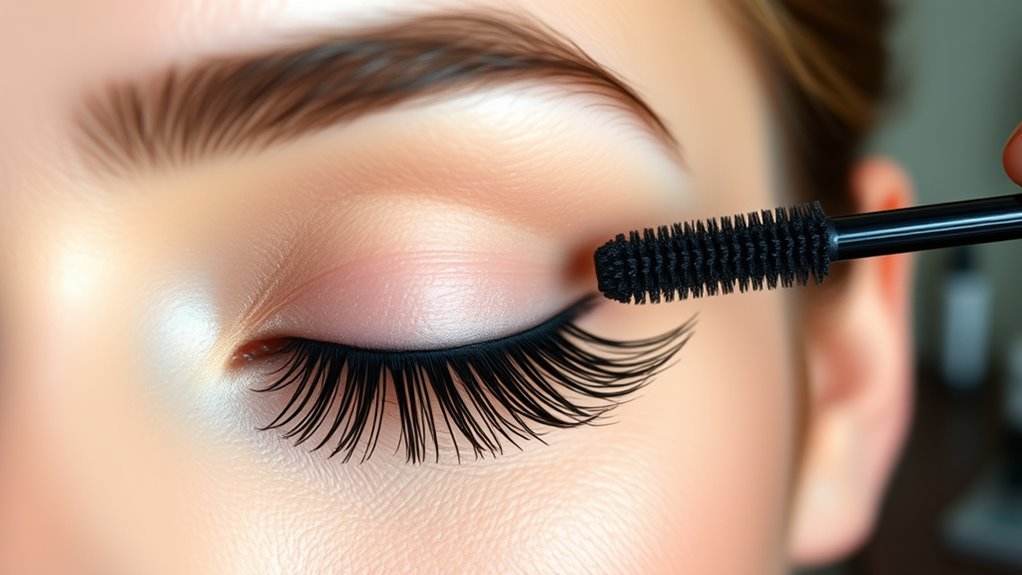
Using Tools to Enhance Lash Separation and Length

Using the right tools can make a big difference in achieving perfectly separated and lengthened lashes. After applying mascara, run a lash comb or spoolie through your lashes to prevent clumps and enhance their appearance. Properly curling your lashes beforehand and separating them immediately after application also helps create a more defined, fanned-out look.
Use a Lash Comb
Have you ever noticed how mascara can sometimes leave lashes clumped together or unevenly coated? Using a lash comb can solve this. It helps separate lashes after mascara application, preventing clumping and creating a fanned-out look. To maximize its benefits:
- Use a clean lash comb immediately after applying mascara to evenly distribute the product.
- Gently run the lash comb through your lashes between coats to enhance length and separation.
- Focus on the roots and tips for a natural, voluminous lash effect.
- Opt for a lash comb with fine, closely spaced teeth for delicate detangling without damage.
Properly Curl Lashes
After applying mascara and using a lash comb to separate your lashes, the next step is to enhance their natural curl and length with an eyelash curler. Use a clean, padded eyelash curler with rounded pads to gently curl lashes without causing breakage. Curl your lashes in a zigzag motion at the base, middle, and tips to achieve a natural lift and wide-open effect. Hold the curler for about 10 seconds per eye, applying slight pressure for a long-lasting curl. For extra lift, you can heat the curler briefly with a blow dryer—just ensure it’s not too hot. After curling, use a clean spoolie or lash comb to improve lash separation, distribute the curl evenly, and prevent clumping, creating a flawless, voluminous look.
Separate Immediately After Applying
Once the mascara is still wet, gently comb through your lashes with a clean spoolie or lash comb. This step helps separate lashes, preventing clumping and assuring even separation and lash extension. Using a lash comb immediately after application can make a big difference in achieving a natural, fanned look. Here are some tips:
- Focus on the outer and center lashes first for balanced volume.
- Gently detangle from root to tip to maintain lash length and avoid pulling.
- Remove excess product with the lash comb to prevent clumping.
- Regularly using tools for separation keeps your lashes looking sleek and helps maintain your mascara’s effect.
This quick step ensures your lashes stay defined, separated, and beautifully extended all day long.
Removing Mascara Safely to Maintain Lash Health
To remove mascara safely and protect your lash health, start by saturating a cotton pad with an oil-based eye makeup remover like Bi-Facil. Gently press it onto closed eyelids for 20-30 seconds to dissolve waterproof mascara. Use a downward wiping motion along the lash line, avoiding rubbing or tugging to prevent lash damage. For residue near the lashes or under the eyes, dip a cotton swab in remover and carefully clean without applying pressure. Follow up with a clean, damp cloth to remove any leftover product, then apply a nourishing eye cream to hydrate lashes.
| Step | Tip |
|---|---|
| 1 | Use gentle removal techniques |
| 2 | Avoid harsh rubbing or pulling |
| 3 | Prioritize lash health and hydration |
Frequently Asked Questions
What Is the Mascara Applicator Called?
The mascara applicator is called a mascara wand or brush, and it’s designed with various shapes to give you different lash effects. You handle it by gripping the handle attached to a spoolie or brush, which holds the mascara formula. Whether tapered, straight, or hourglass-shaped, the applicator helps you apply mascara precisely. Densely packed bristles add volume, while spaced bristles create length and separation.
How Do You Make Your Eyelashes Voluminous With Mascara?
Imagine your lashes as a garden needing extra care. To make them voluminous, pick a thick, hourglass-shaped mascara wand like a watering can, loading up your lashes with rich product. Wiggle from roots to tips, then layer thin coats, letting each dry. Focus on outer lashes for a fanned effect, and finish with a lash comb to separate and enhance fullness. Your lashes will bloom with vibrant, dramatic volume.
How Do You Make Mascara More Volume?
To make your mascara more volumizing, focus on building layers gradually. Wiggle the wand at the roots to lift and deposit more product, then comb through your lashes with a zigzag motion. Use a large, dense brush for better coverage, and apply multiple thin coats, letting each dry slightly. Don’t forget to concentrate extra coats on the outer lashes for a dramatic, winged effect.
What Is the Lower Mascara Hack?
Think of the lower mascara hack as giving your eyes a subtle frame, like the perfect border around a beautiful painting. You apply a light coat of mascara to your bottom lashes using a small wand or the tip of your brush. This balances your look, making your eyes appear bigger and more defined, without smudging or overwhelming your makeup. Just focus on the tips for a natural, polished finish.
Conclusion
Follow these steps, and you’ll release lashes so voluminous, they’ll stop traffic! Your eyes will shout, your gaze will conquer, and even the tiniest lashes will seem like fierce, fluttering fans. With just a little effort, you’ll turn your mascara routine into a powerhouse of drama, making everyone wonder if you’re secretly a lash magician. Get ready to double, triple, and defy eyelash limits—because your lashes deserve to be legendary!